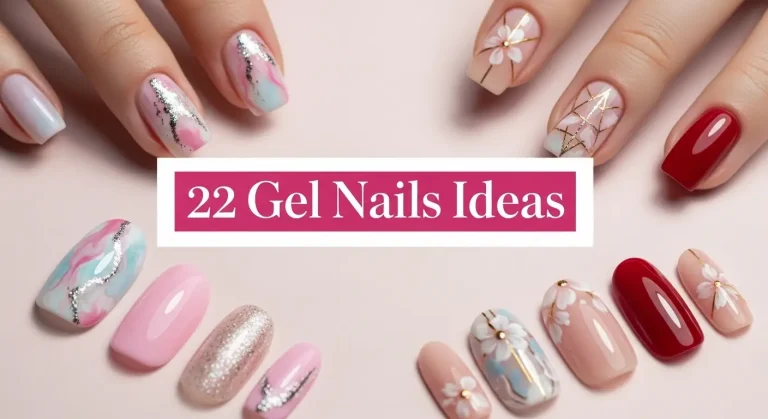
22 Gel Nails at Home: Easy DIY Designs You Can Master
Want gorgeous, long lasting nails without the salon price tag? Gel nails at home are totally achievable, and we’re here to show you exactly how! Doing your own gel manicure saves money, gives you creative freedom, and lets you have beautiful nails whenever you want them. No more scheduling appointments or rushing to the salon before big events.
Gel nails at home have become incredibly popular because the results rival professional manicures. With the right tools and a little practice, you can create stunning designs that last two to three weeks without chipping. The gel formula gives you that glossy, smooth finish that regular polish just cannot match. Plus, doing nails at home means you can experiment with colors and designs without worrying about extra charges or feeling rushed. We’ve gathered 22 amazing gel nails at home ideas that work perfectly for DIY enthusiasts at every skill level. From simple solid colors to creative nail art, these designs prove you don’t need to be a professional to have salon quality nails. Each idea includes tips to help you succeed and avoid common beginner mistakes. Get ready to transform your home into your personal nail salon and discover how satisfying it is to create beautiful gel nails yourself!
Why Gel Nails at Home Are Worth Learning
Doing gel nails at home is one of the best beauty skills you can master in 2026. Understanding the benefits helps you see why so many people are ditching expensive salon visits and creating gorgeous manicures in their own space.
First, the cost savings are absolutely incredible over time. A single gel manicure at a salon can cost anywhere from 35 to 60 dollars or even more depending on your location. That adds up quickly when you get your nails done every two to three weeks. A complete at home gel nail kit costs between 50 to 150 dollars initially, but then you can do unlimited manicures for just the cost of polish and supplies. Most people recover their investment after just three or four manicures, and everything after that is pure savings.
The convenience factor cannot be overstated either. You can do your nails whenever it fits your schedule, whether that’s late at night, early morning, or during weekend downtime. No more booking appointments weeks in advance or rearranging your schedule around salon availability. You also have complete creative control over your designs. Want to try something wild and experimental? Go for it! Want to change your color after just a few days? No problem! Your home setup gives you freedom to explore and express yourself without judgment or extra fees.
Gel nails at home also let you work at your own pace without feeling rushed. You can take breaks, fix mistakes, and perfect your technique without someone waiting for their appointment slot. The process becomes relaxing self care time instead of a rushed errand. Plus, you learn a valuable skill that you can use to help friends and family too. Many people who start doing gel nails at home find it so enjoyable that it becomes a beloved hobby. The satisfaction of creating beautiful nails with your own hands is truly rewarding and builds confidence in your abilities!
22 Gel Nails at Home Designs Anyone Can Master
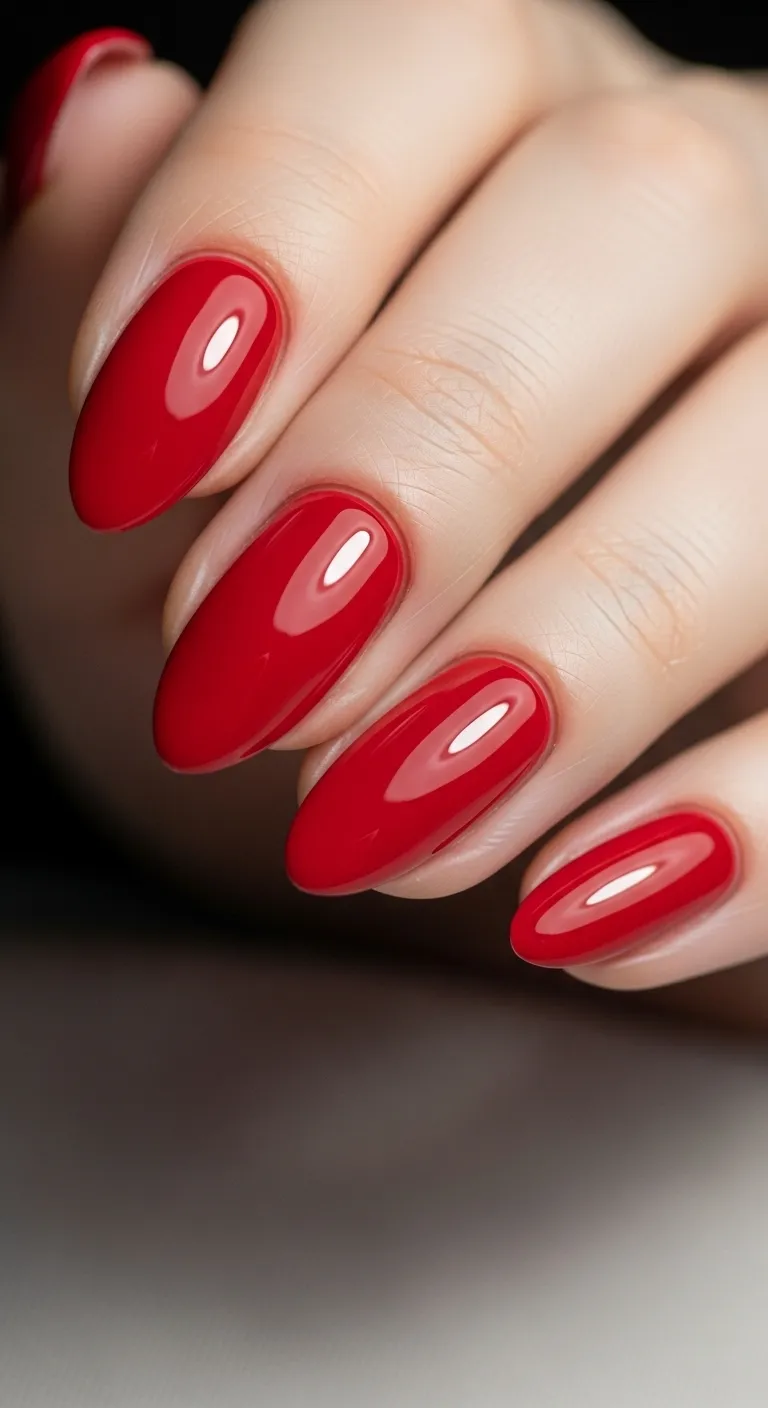
1. Classic Solid Color
Start your gel nail journey with simple, solid color application on all nails. Choose one gorgeous gel polish color and apply it smoothly to each nail. This basic technique is essential to master before moving to more complicated designs. Solid color lets you practice proper application, curing times, and achieving smooth, bubble free results. Pick a color you absolutely love so you stay motivated through the learning process. Apply thin coats instead of thick ones for best results and fastest curing. This simple design looks polished and professional while building your foundational skills. Practice solid colors until you can get perfectly smooth, even coverage every single time.
2. Simple French Tips
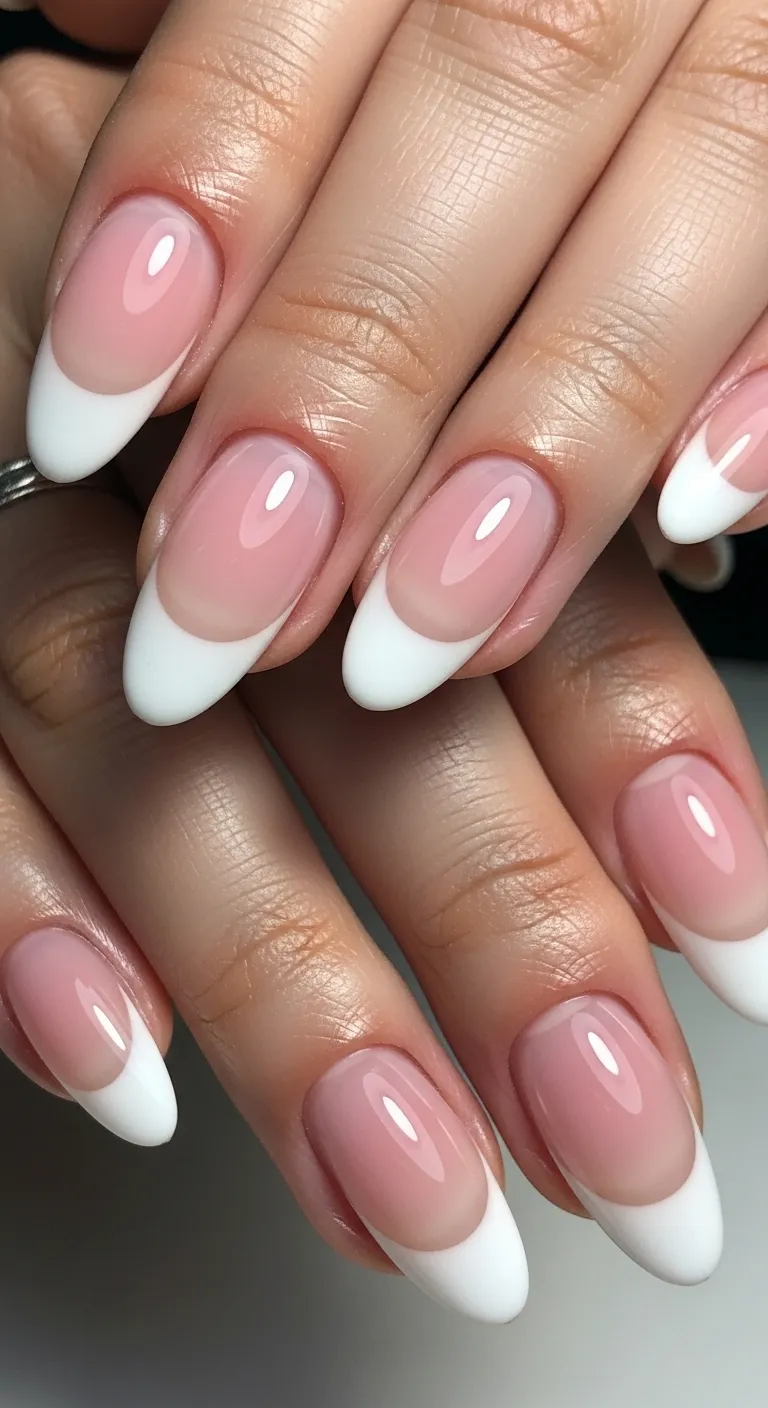
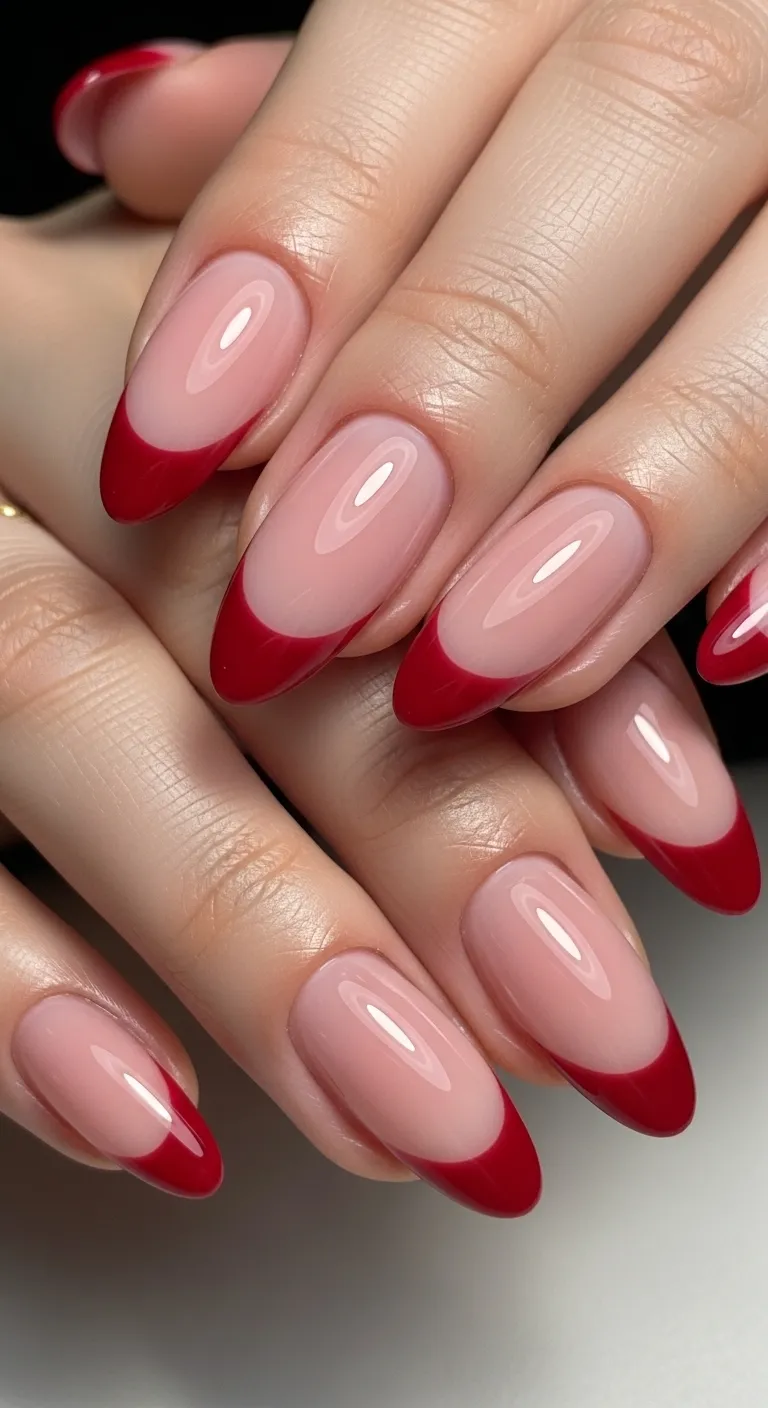
Classic French manicure is surprisingly easy to create at home with gel polish. Use a nude or pale pink base, then carefully paint white tips using a thin brush. French tips look elegant and professional, working for absolutely any occasion or outfit. You can use striping tape as a guide to create perfectly straight tip lines. Start with thinner tips as you learn, then make them thicker as your confidence grows. The gel formula keeps French tips chip free much longer than regular polish. This timeless design is perfect for beginners who want something more interesting than solid color. French tips also grow out nicely, extending time between manicures beautifully.
3. Two Tone Simplicity
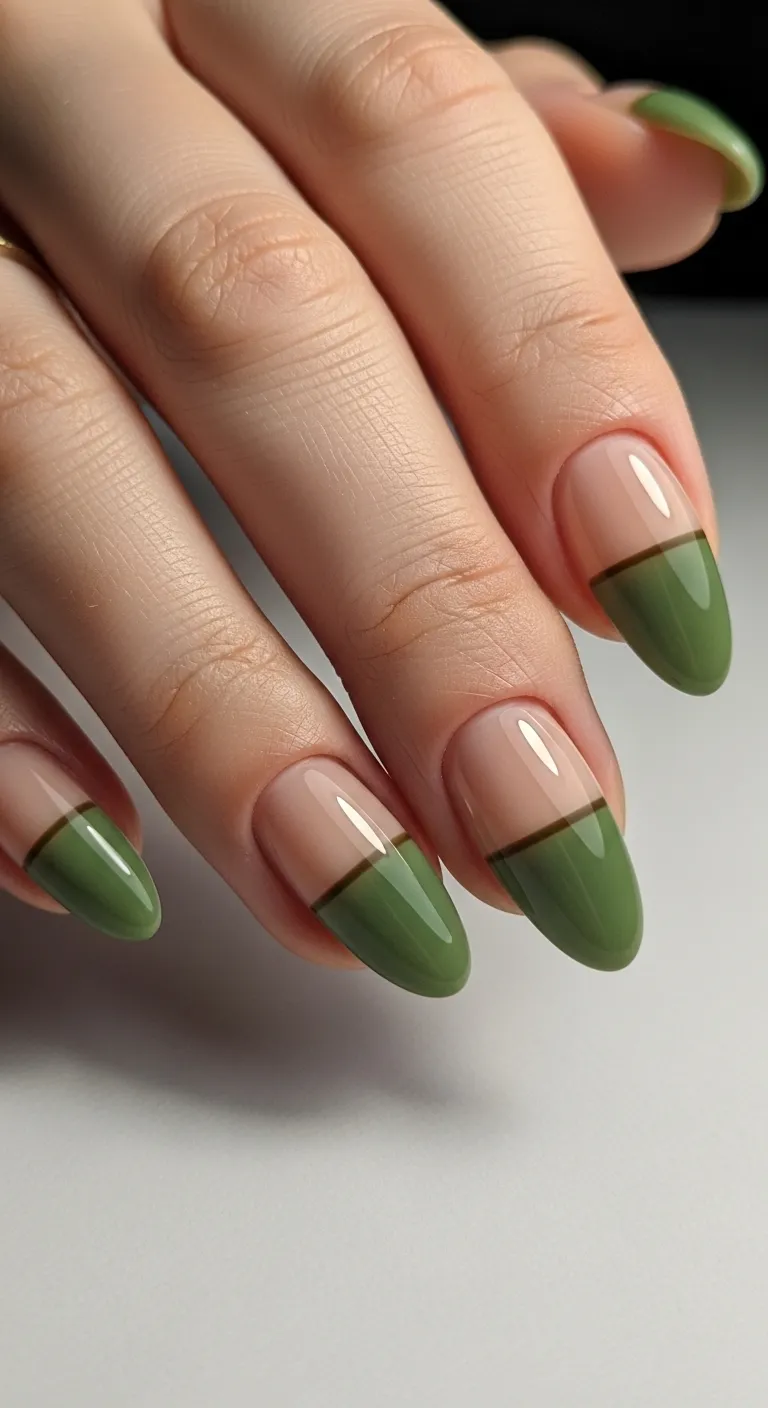
Paint half your nails one color and half another for easy visual interest. Choose two complementary gel colors like pink and white, or nude and burgundy. This design requires no special skills beyond basic gel application but looks intentional and stylish. Two tone nails let you enjoy multiple favorite colors in one manicure. The contrast creates visual interest without requiring any nail art abilities or steady hands. Try painting thumbs and ring fingers one color, with other fingers in the contrasting shade. This simple technique works beautifully for beginners building confidence with gel application. Experiment with different color combinations to find pairings you love most.
4. Glitter Accent Nails
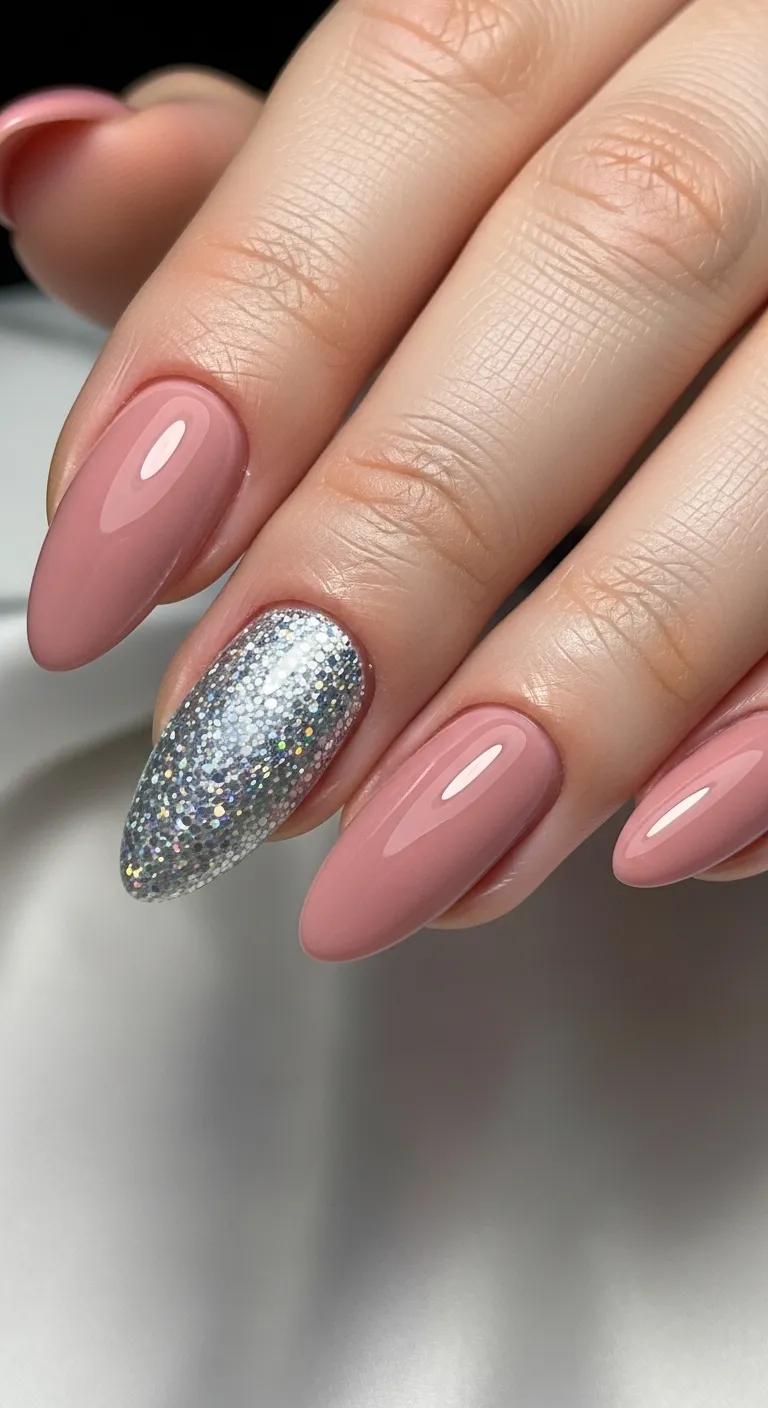
Add sparkle easily by applying glitter gel polish to just one or two accent nails. Paint most nails in a solid color, then use glitter polish on ring fingers or thumbs. Glitter accent nails add interest without requiring artistic skills or complicated techniques. The sparkle catches light beautifully and makes your manicure feel more special and finished. Choose glitter that complements your base color, like gold glitter over nude or silver over gray. Glitter gel polish is easier to apply and remove than loose glitter options. This beginner friendly design lets you experiment with sparkle while keeping most nails simple. Accent nails are perfect for learning how different gel formulas work and cure.
5. Nude Everything
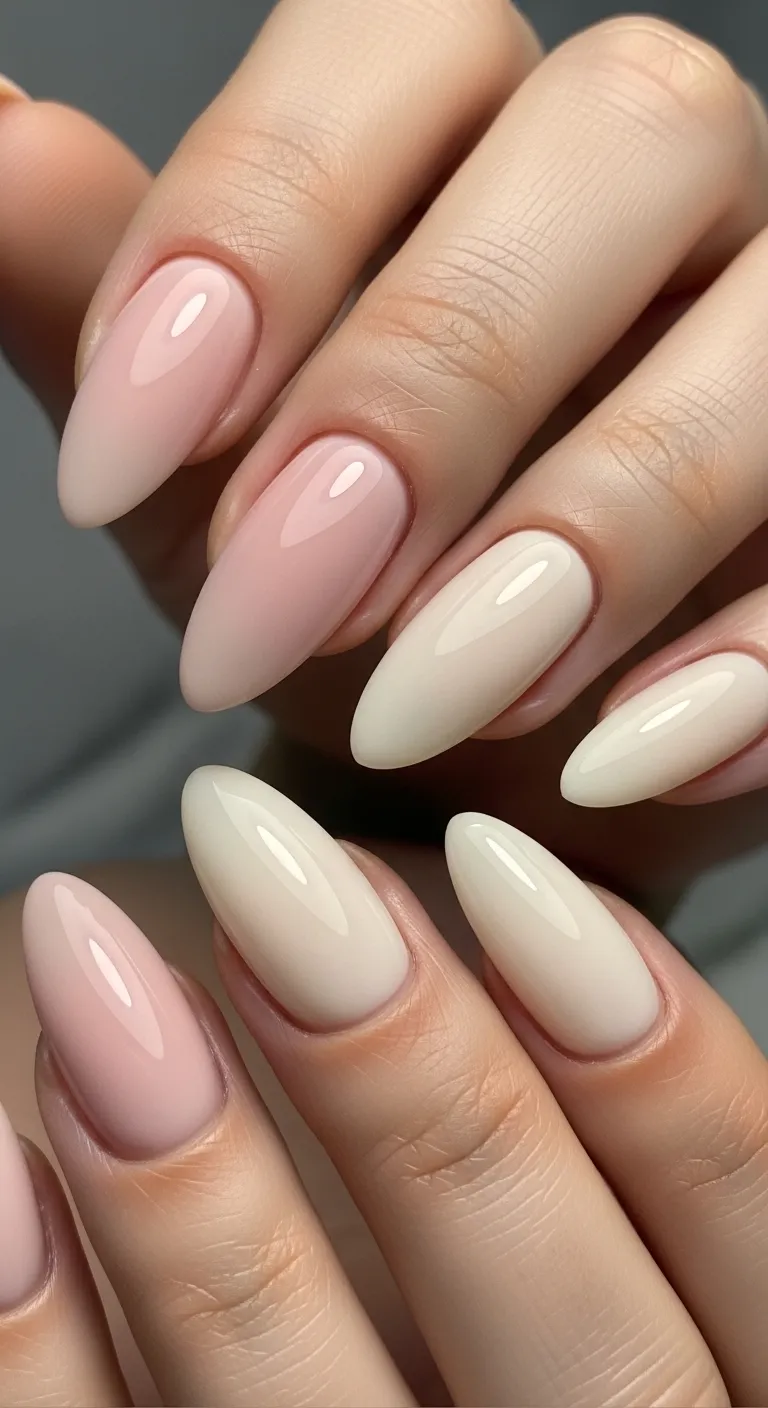
Create a classic, versatile look with nude gel polish on all nails. Choose a nude shade that closely matches your natural skin tone for seamless beauty. Nude nails look expensive and polished while being incredibly easy for beginners to apply. The neutral color hides minor application imperfections better than bold or dark shades. Nude gel nails work for absolutely any setting from professional to casual to formal. This simple design lets you focus on perfecting your technique without worrying about color choice. The forgiving shade also makes cleanup around cuticles much easier during learning stages. Master nude application before moving to more demanding colors and designs.
6. Ombre Gradient
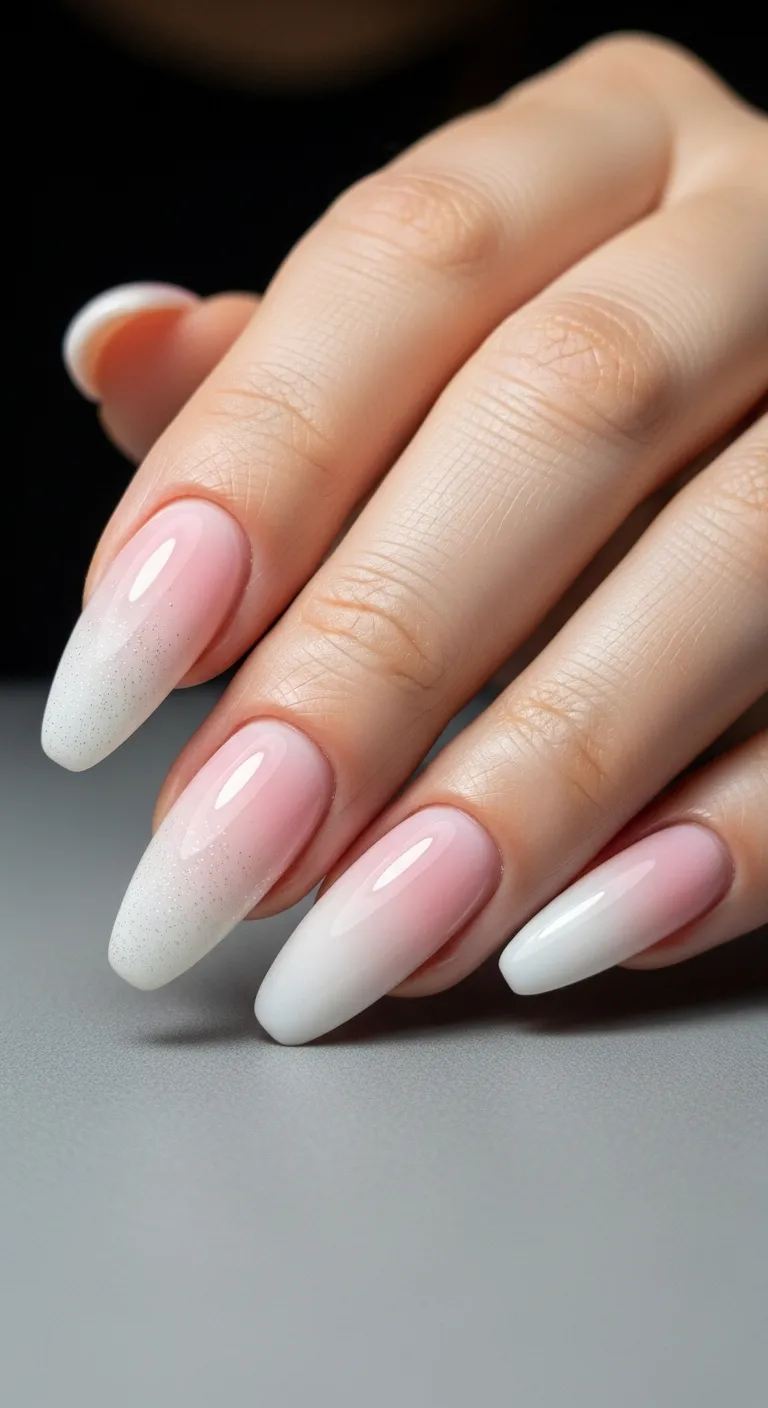
Create beautiful color gradients using makeup sponges and two gel polish colors. Apply your lighter color as a base, then sponge darker color from tips fading upward. Ombre looks complicated but is actually quite forgiving and beginner friendly with practice. The blended effect hides imperfections and creates artistic results even with shaky hands. Use colors in the same family like light pink to hot pink for easiest blending. Sponge gently and build color gradually instead of trying to achieve results in one application. Cure between layers to build your ombre effect slowly and carefully. This technique teaches color blending skills useful for many other gel nail designs.
7. Simple Dots
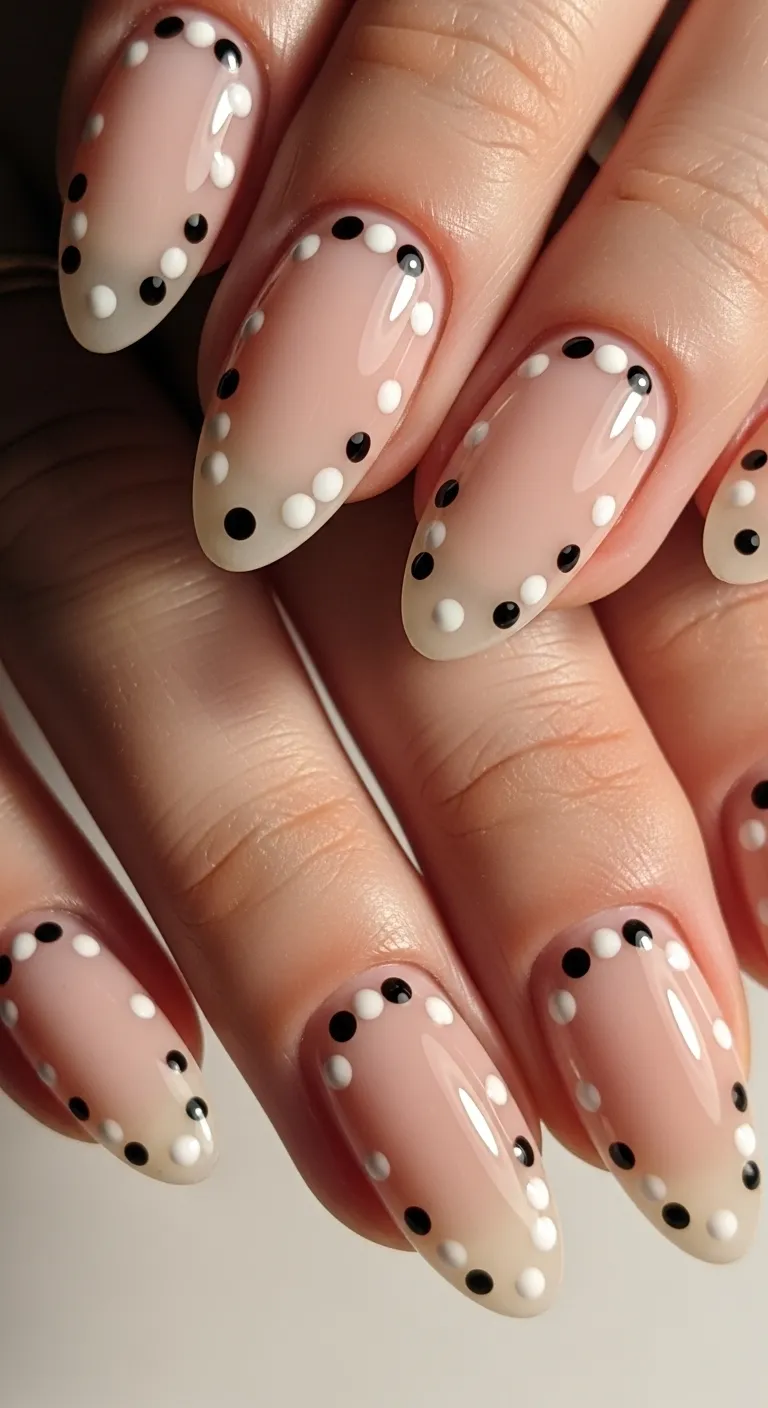
Add playful polka dots using a dotting tool or even a toothpick on cured gel base. Apply and cure your base color, then create dots in contrasting color before final curing. Dots are incredibly forgiving and look intentionally cute even when they’re not perfectly round. This easy nail art builds your confidence for more detailed designs later. You can make dots uniform and organized or random and scattered depending on preference. Use different sized dotting tools to create varied dot patterns and visual interest. Dots work beautifully over any base color and with any accent color combination. This simple technique proves nail art at home is totally achievable for everyone.
If You Liked This; 31 Short Gel Nails Ideas
8. Clean Matte Finish
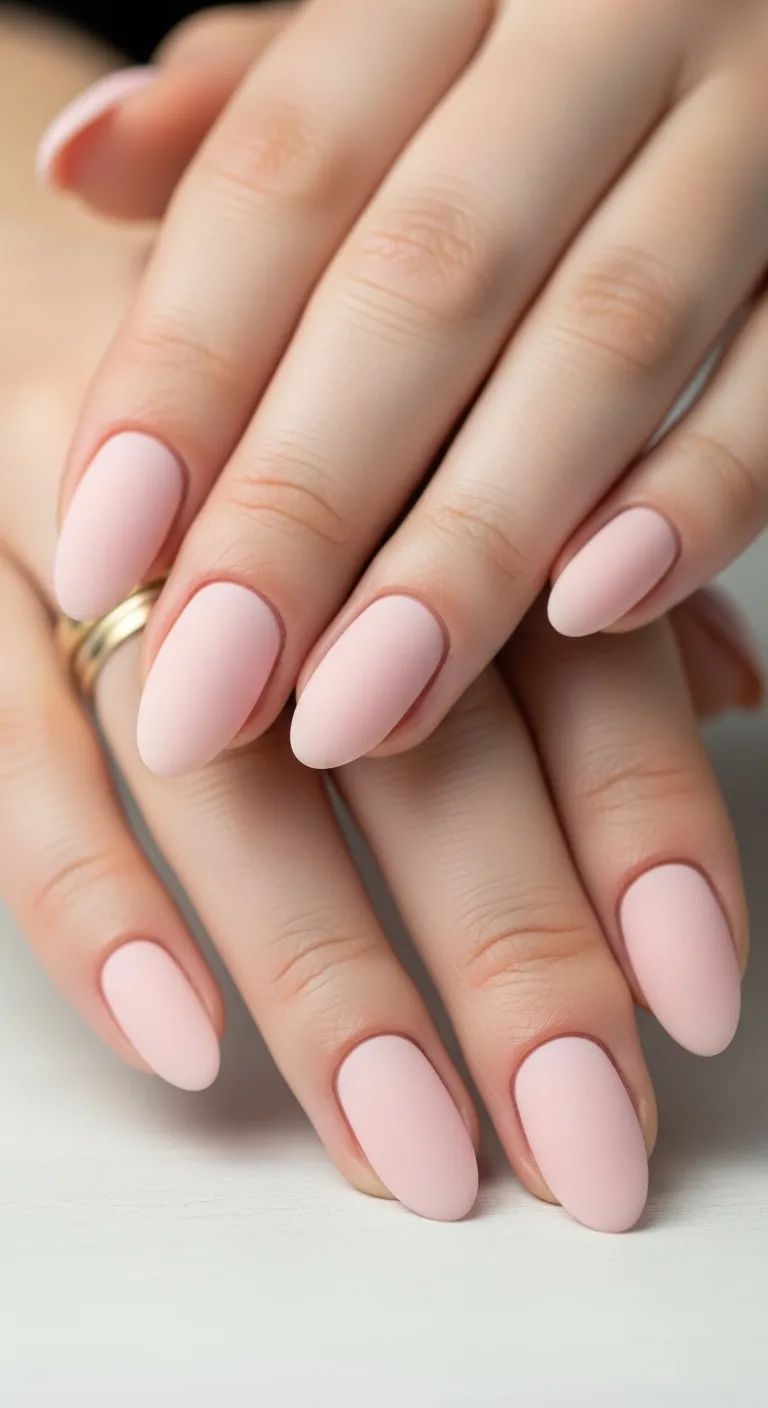
Transform any gel color with matte top coat for modern, velvety results. Apply your color gel as usual, then finish with matte top coat instead of glossy. Matte finish feels contemporary and sophisticated, completely changing the look of any polish. This easy technique requires no special skills beyond normal gel application. Matte works especially beautifully on deep colors like burgundy, navy, and forest green. The non shiny surface also hides minor imperfections better than high gloss finishes. Experiment with the same color in both matte and glossy to see dramatic differences. Matte top coat is an easy way to make basic colors feel fresh and modern.
9. Striping Tape Lines
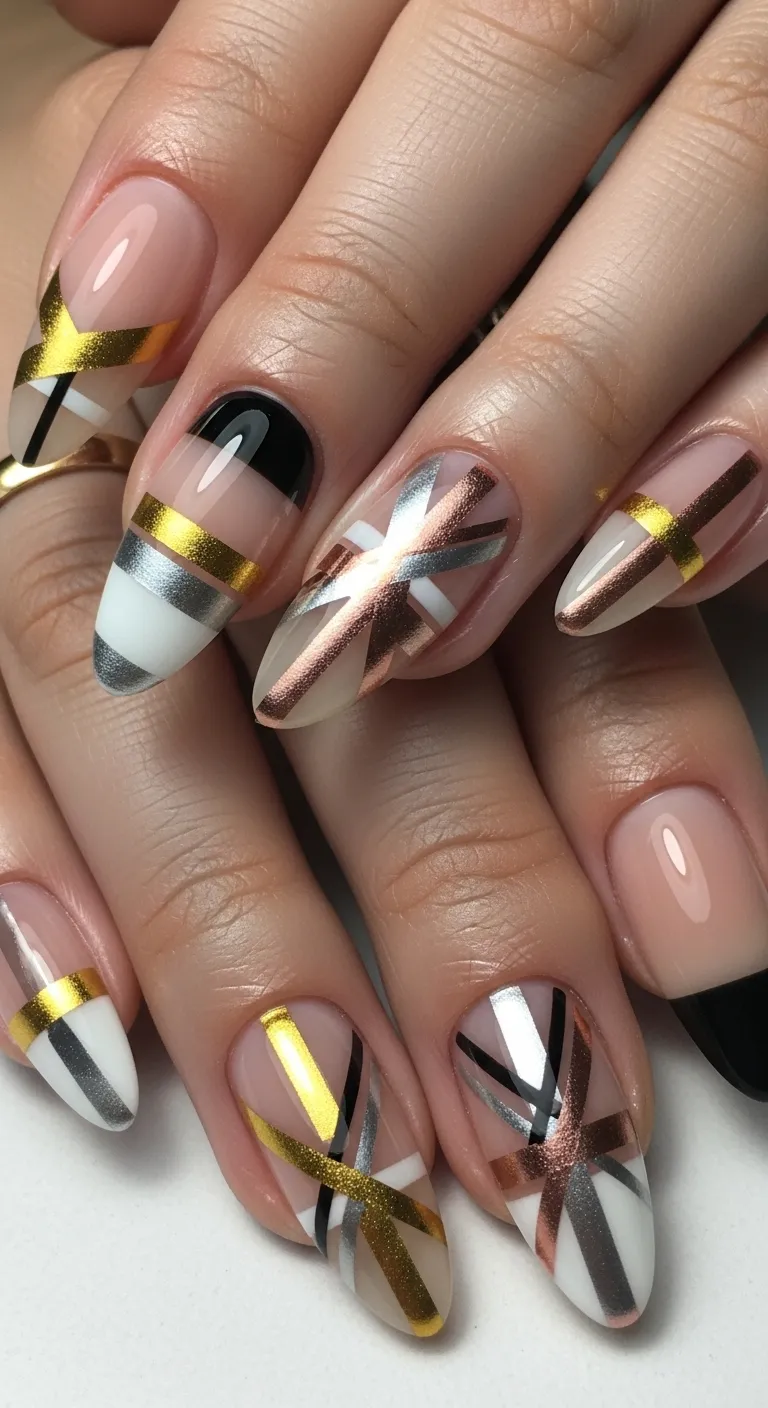
Create clean, professional lines using striping tape over cured gel base colors. Apply and cure your base, place thin striping tape in patterns, then seal everything. Striping tape comes in gold, silver, black, and colors for different effects and styles. The tape creates perfectly straight lines that would be impossible to paint freehand. You can make simple single lines, geometric patterns, or abstract designs easily. Striping tape is inexpensive and reusable, making it perfect for home nail art. This technique teaches precision and planning while creating impressive looking results. Lines add visual interest to basic manicures without requiring artistic painting skills.
10. Pastel Pretty
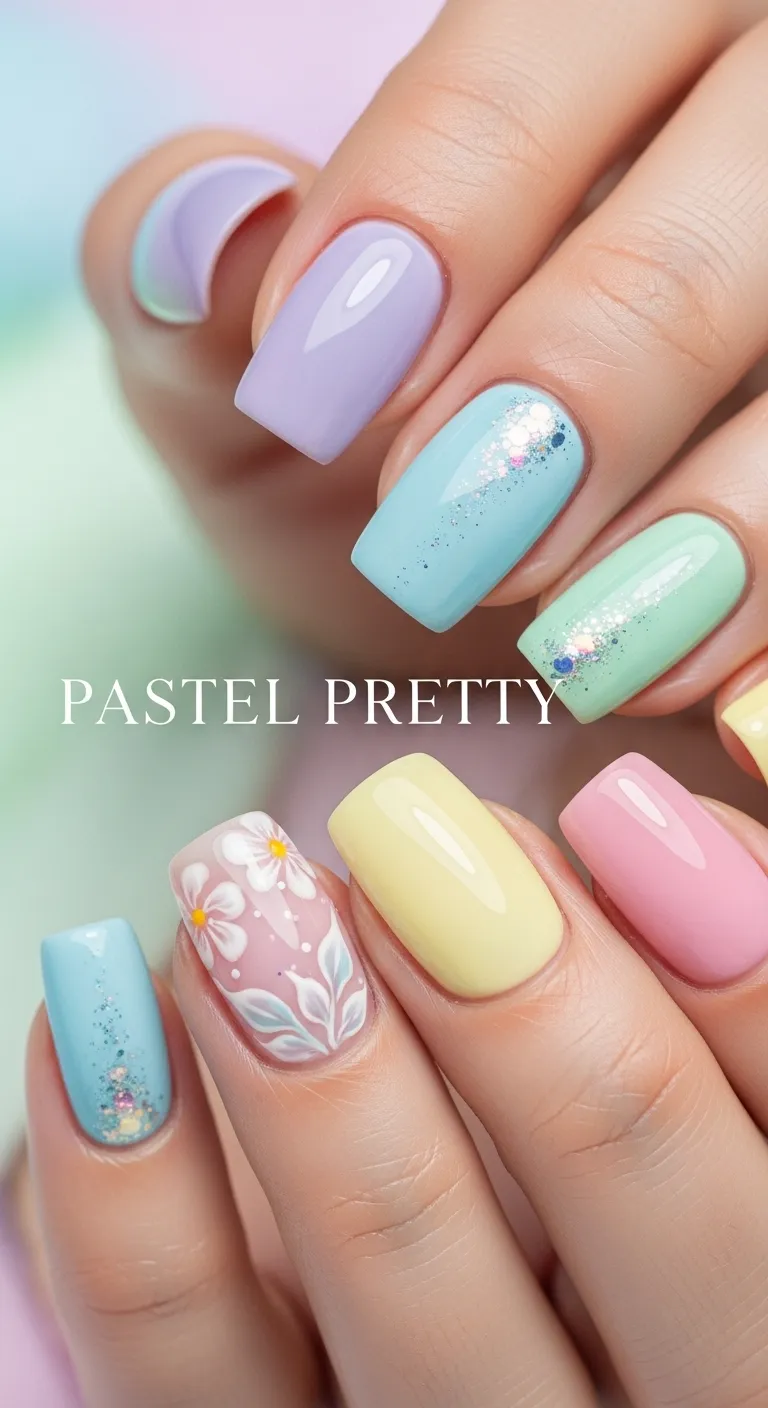
Soft pastel gel colors create sweet, wearable looks perfect for beginners. Choose gentle shades like baby pink, mint green, lavender, or sky blue. Pastels are forgiving colors that hide application streaks better than bold shades. The soft colors feel fresh and appropriate for any season or occasion. Pastels also complement absolutely any outfit and skin tone beautifully. These gentle shades cure well and typically require two thin coats for full coverage. Practice your application technique with pastels before moving to more demanding colors. The pretty results keep you motivated as you develop your gel nail skills.
11. Reverse French
Put a twist on classic French by painting the base of nails instead of tips. Use white or colored gel at the cuticle area, leaving the rest of the nail nude or clear. Reverse French looks modern and unexpected while being quite easy to create. The design draws attention to healthy cuticles and makes fingers look longer. You can make the base color thick or thin depending on your preference and style. This technique is actually easier than traditional French tips for many beginners. Reverse French grows out beautifully and looks intentional even with visible regrowth. Try this when you want something different but still simple and classic.
If You Liked This; 25 Best Gel Nails
12. Glitter Tips Only
Apply glitter gel polish just to nail tips for sparkling French variation. Use nude or clear base with glitter concentrated at the tips fading slightly downward. Glitter tips feel celebratory and fun while being incredibly easy to create. The sparkle catches light beautifully and adds interest without full glitter coverage. This design works with any glitter color from classic silver to rose gold to multicolor. Glitter at tips grows out nicely and extends time between necessary touch ups. The technique requires no precision since glitter naturally hides edges and imperfections. Choose glitter tips when you want easy sparkle and celebration energy.
13. Single Color Accent
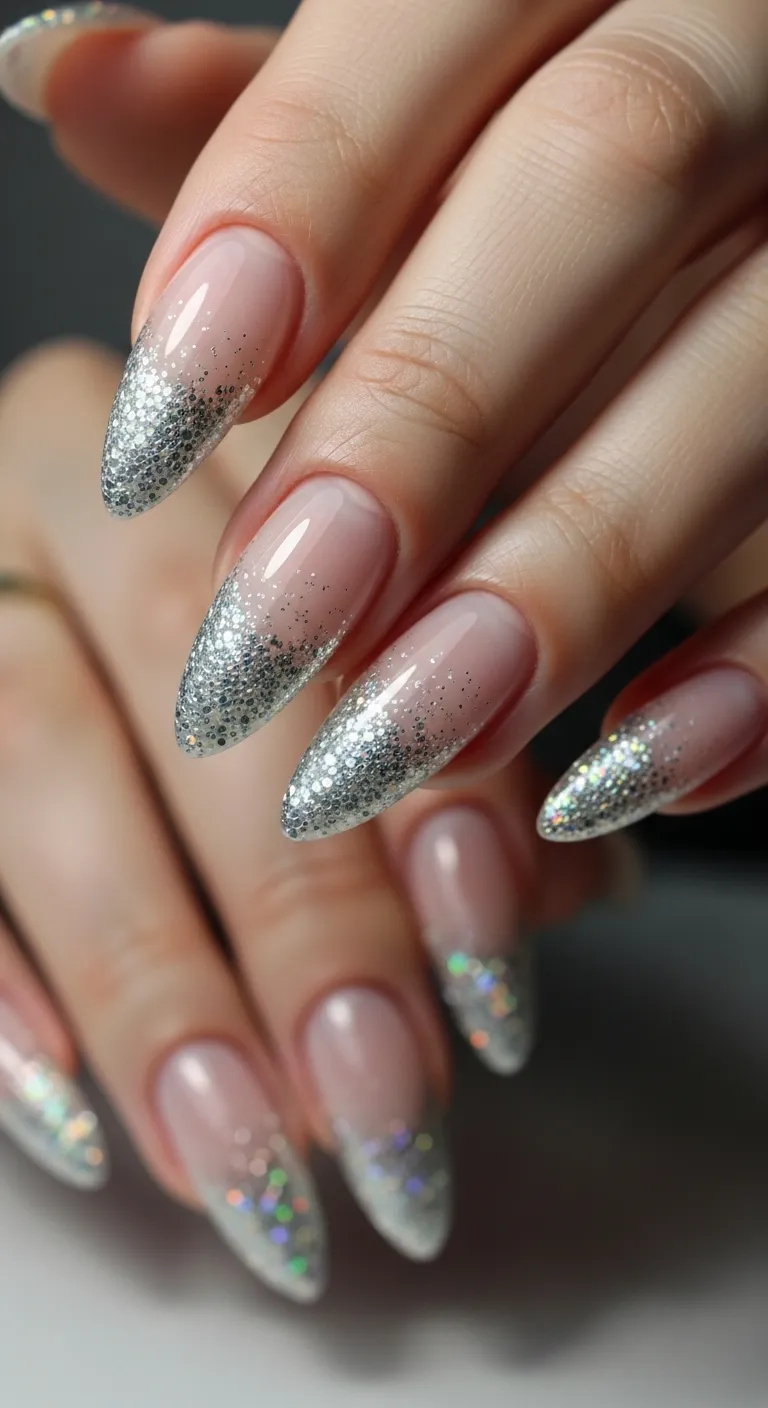
Paint four nails one color and one accent nail a completely different shade. This simple technique adds variety without requiring any artistic skills or steady hands. Choose accent colors that complement or contrast with your base color beautifully. The single different nail becomes a focal point and conversation starter. This design lets you use multiple favorite colors without committing to full rainbow nails. Accent nails are perfect for testing new gel colors before buying full bottles. The contrast teaches color theory and helps you understand what combinations you love. Experiment freely since you’re only committing one nail to each experimental color.
14. Nude with Sparkle
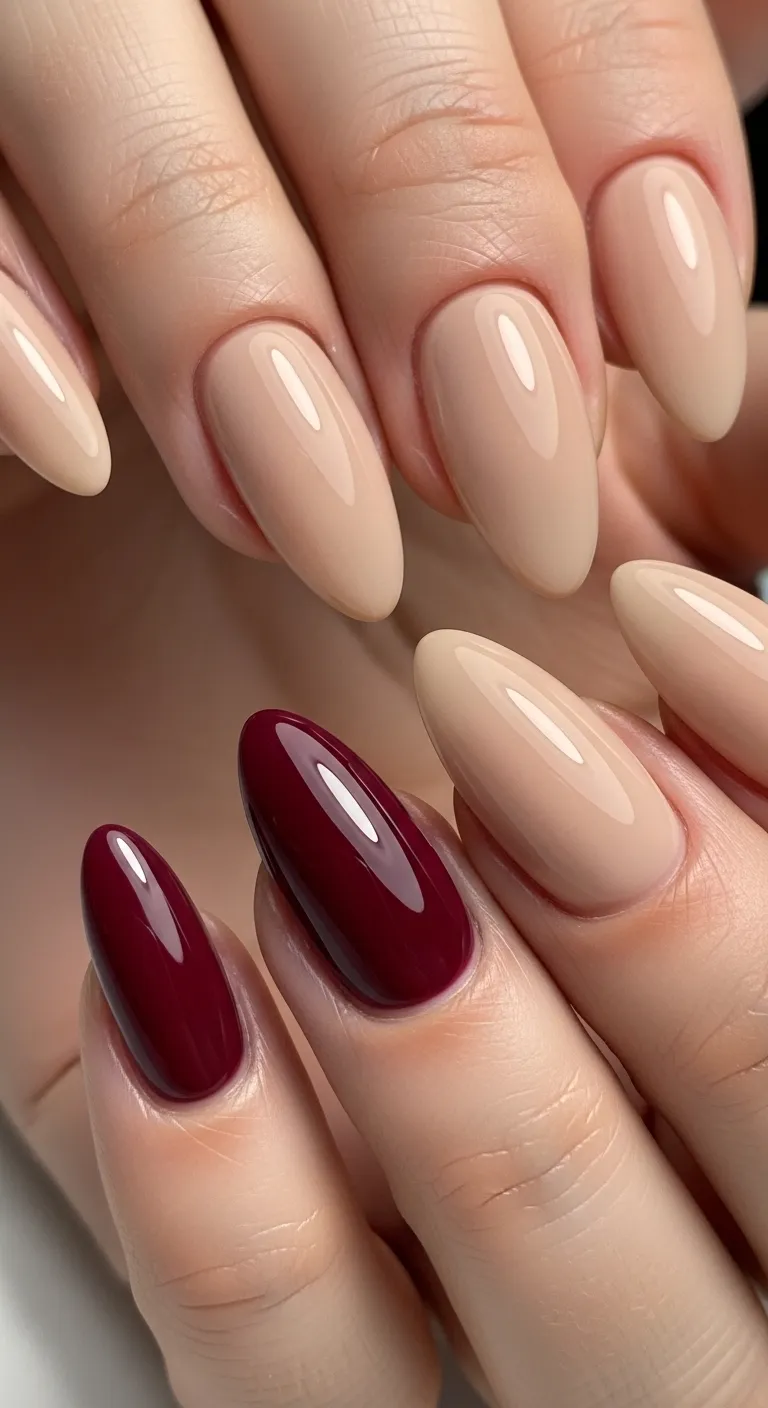
Combine nude base color with subtle shimmer or micro glitter top coat. The nude keeps everything wearable while sparkle adds special interest and dimension. This combination works beautifully for people who want understated elegance with a touch of glamour. Shimmer top coats are easy to apply and create professional looking results immediately. The subtle sparkle catches light without being too flashy or attention demanding. This design works for any occasion from professional settings to evening events. The forgiving nude base makes application easy while sparkle hides minor imperfections. Try this when you want gel nails at home that feel polished and special.

15. Color Block Simple
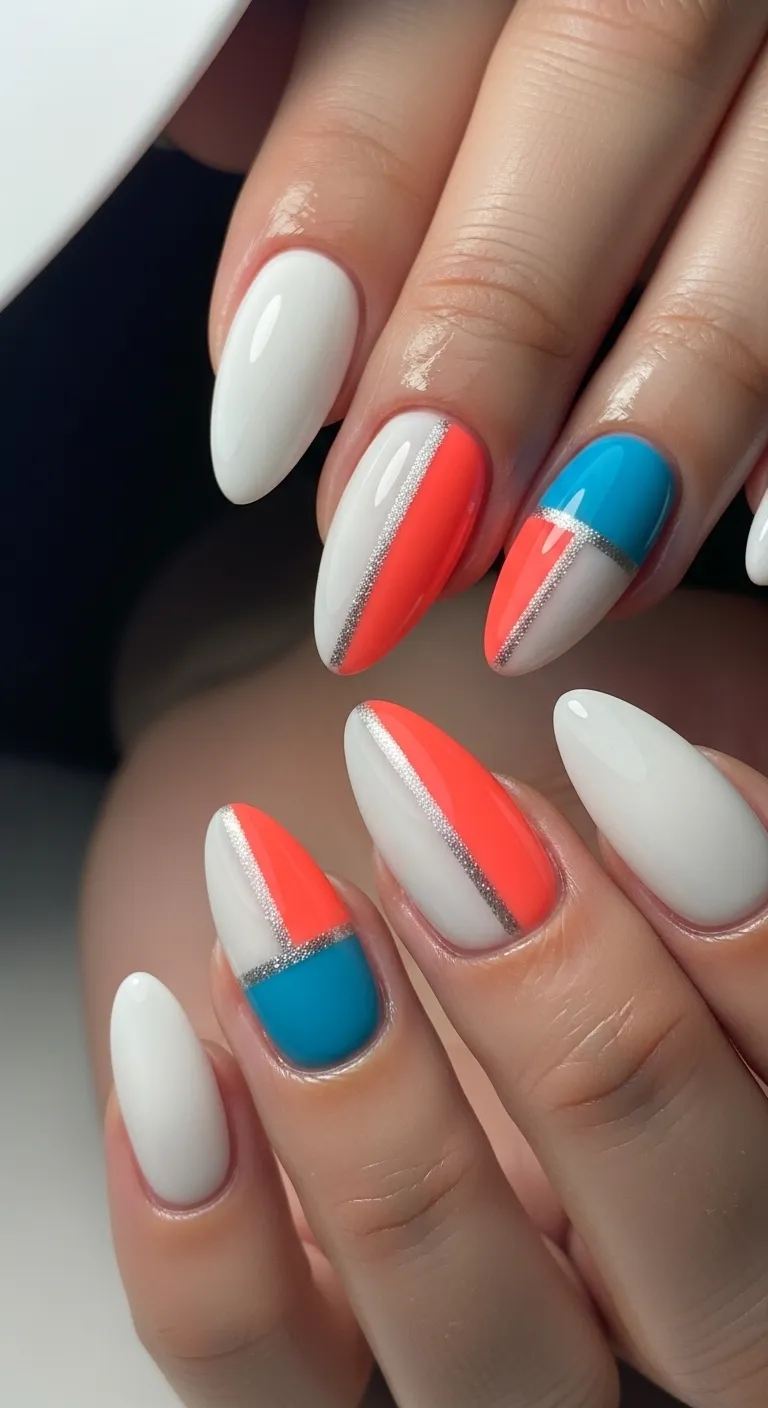
Divide each nail into two color sections using tape as a guide. Apply one color, cure it, tape off a section, then apply the second color. Color blocking looks modern and artistic while being quite achievable at home. The geometric division creates clean, intentional looking designs without freehand painting. You can block horizontally, vertically, or diagonally for different effects and styles. Use contrasting colors for bold impact or similar shades for subtle sophistication. This technique teaches proper taping methods useful for many other nail art designs. Color blocking lets you explore geometric design without needing artistic drawing abilities.
16. Pearl Embellishments
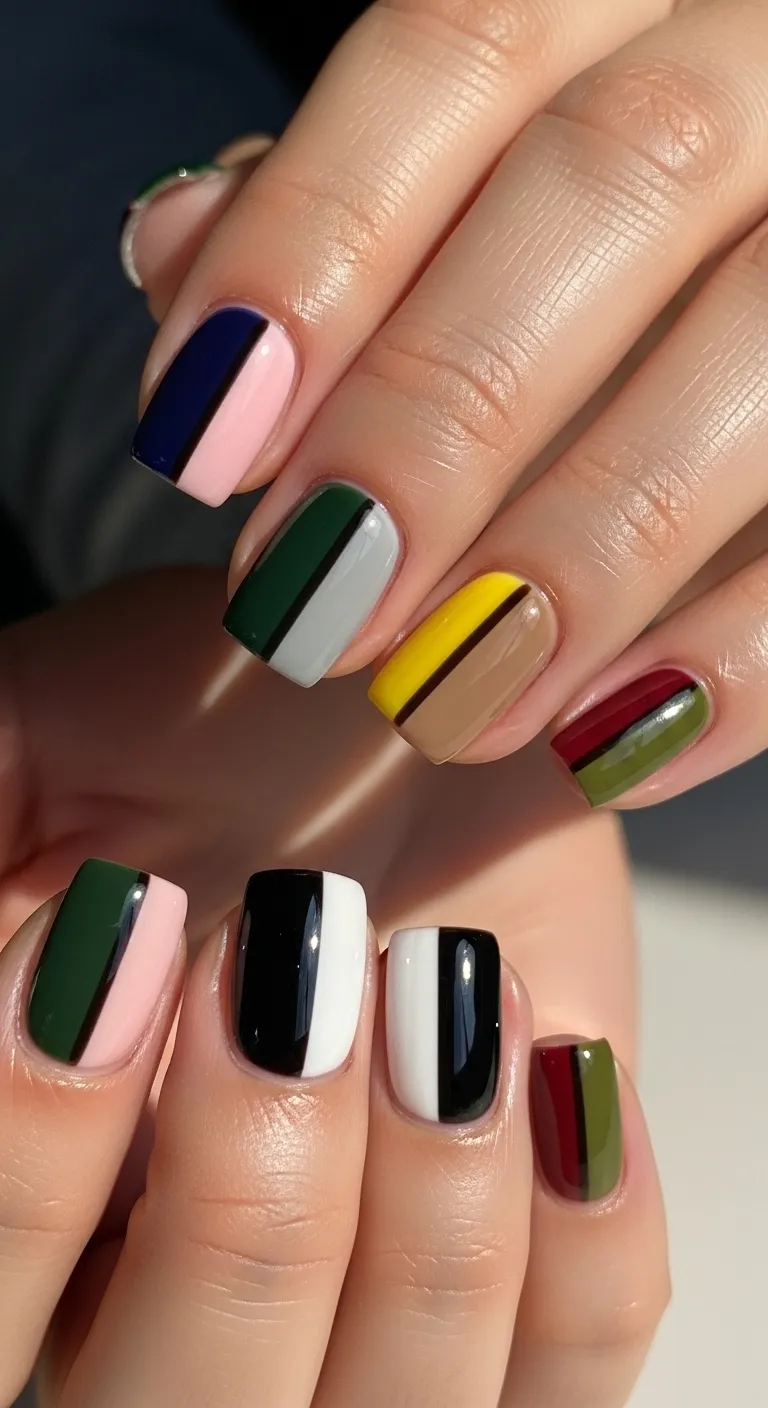
Add tiny pearls to wet gel top coat for easy three dimensional beauty. Apply your color and cure it, then add top coat and place pearls before curing. Pearls create elegant texture and visual interest with minimal effort required. Small nail pearls are inexpensive and available in craft stores and online. You can place one pearl as an accent or create patterns and clusters. The pearls get sealed in place when you cure the top coat over them. This simple technique adds sophistication and makes basic colors feel more special. Pearls work beautifully for weddings, dates, or anytime you want elevated elegance.
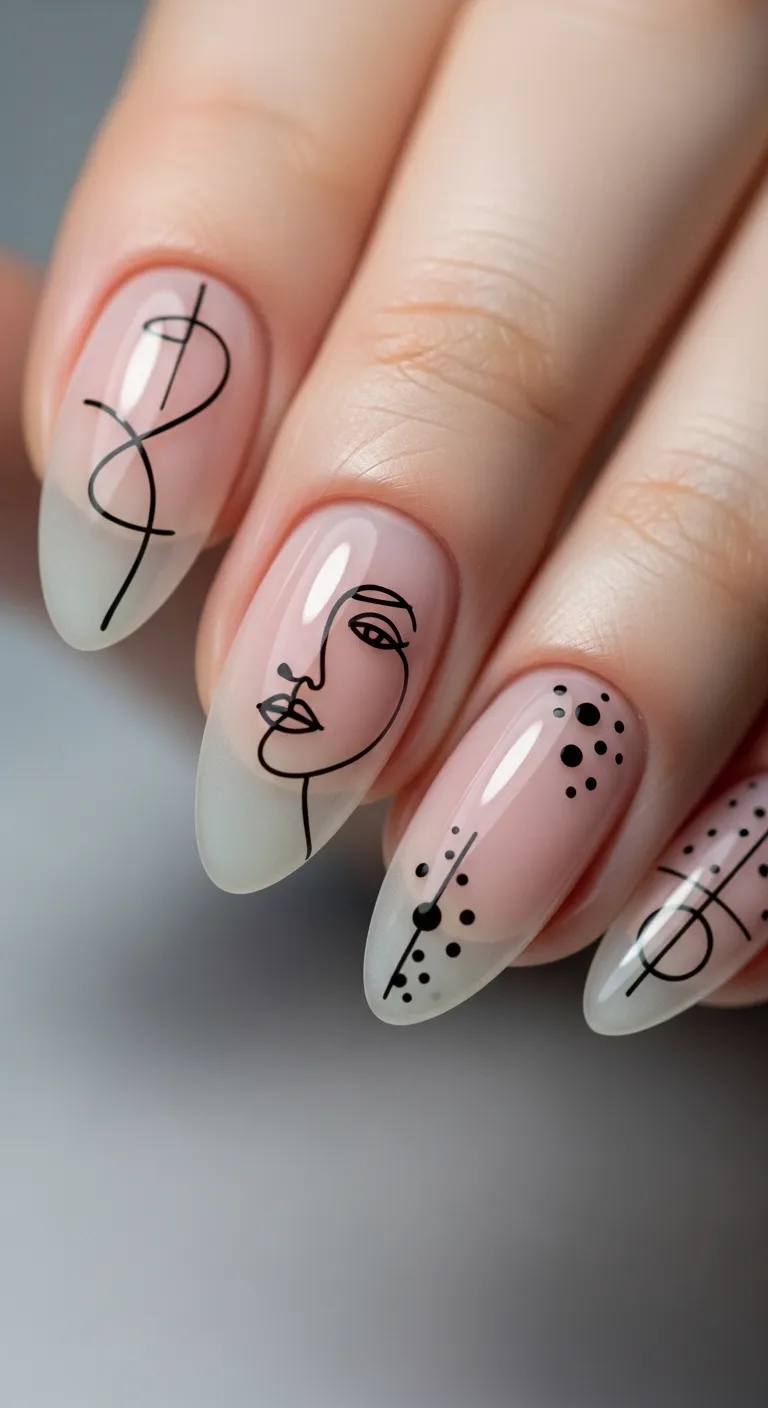
17. Minimalist Line Art
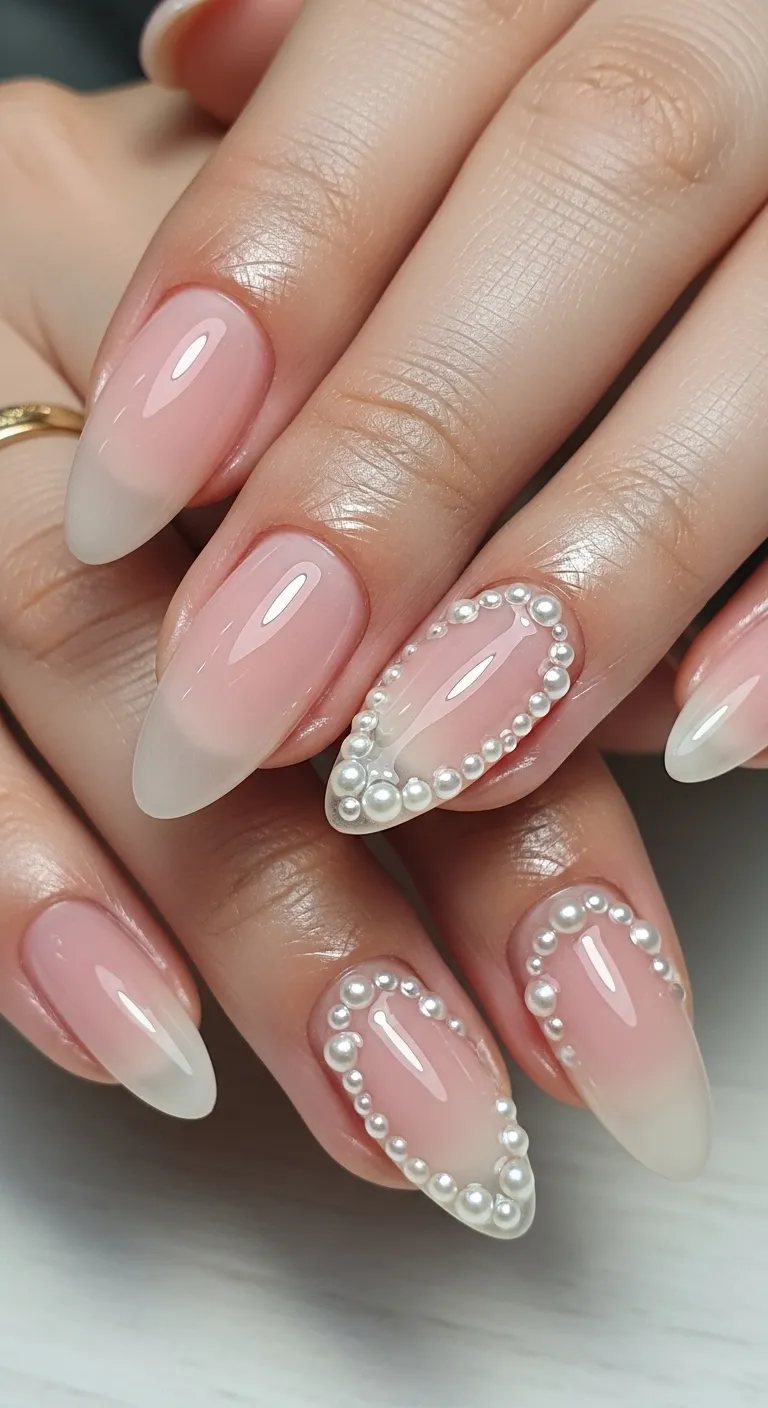
Draw simple thin lines in contrasting color over cured base using a striping brush. Create abstract designs, geometric shapes, or delicate patterns with steady hand practice. Line art looks intentional and artistic even when imperfect or slightly wobbly. Start with simple designs like single lines or crosses before attempting complicated patterns. Use a thin nail art brush and gel polish in contrasting colors for best results. The beauty of minimalist art is that less is more, so simple works perfectly. This technique builds hand steadiness and confidence for more detailed future designs. Line art transforms basic manicures into contemporary, artistic statements.
If You Liked This; 22 Gel X Nails Ideas
18. Half Moon Accent
Leave a small half moon shape unpainted at the base of each nail. Apply gel to the rest of the nail, creating a curved unpainted section near cuticles. Half moon manicures feel retro and elegant, reminiscent of vintage Hollywood glamour. You can use reinforcement stickers as guides to create perfect half moon curves. This classic technique is easier than it looks and very forgiving with practice. The unpainted section can be your natural nail or painted a different contrasting color. Half moons create visual interest and make nails appear longer and more elegant. Try this when you want vintage inspired gel nails at home.
19. Monochrome Textures
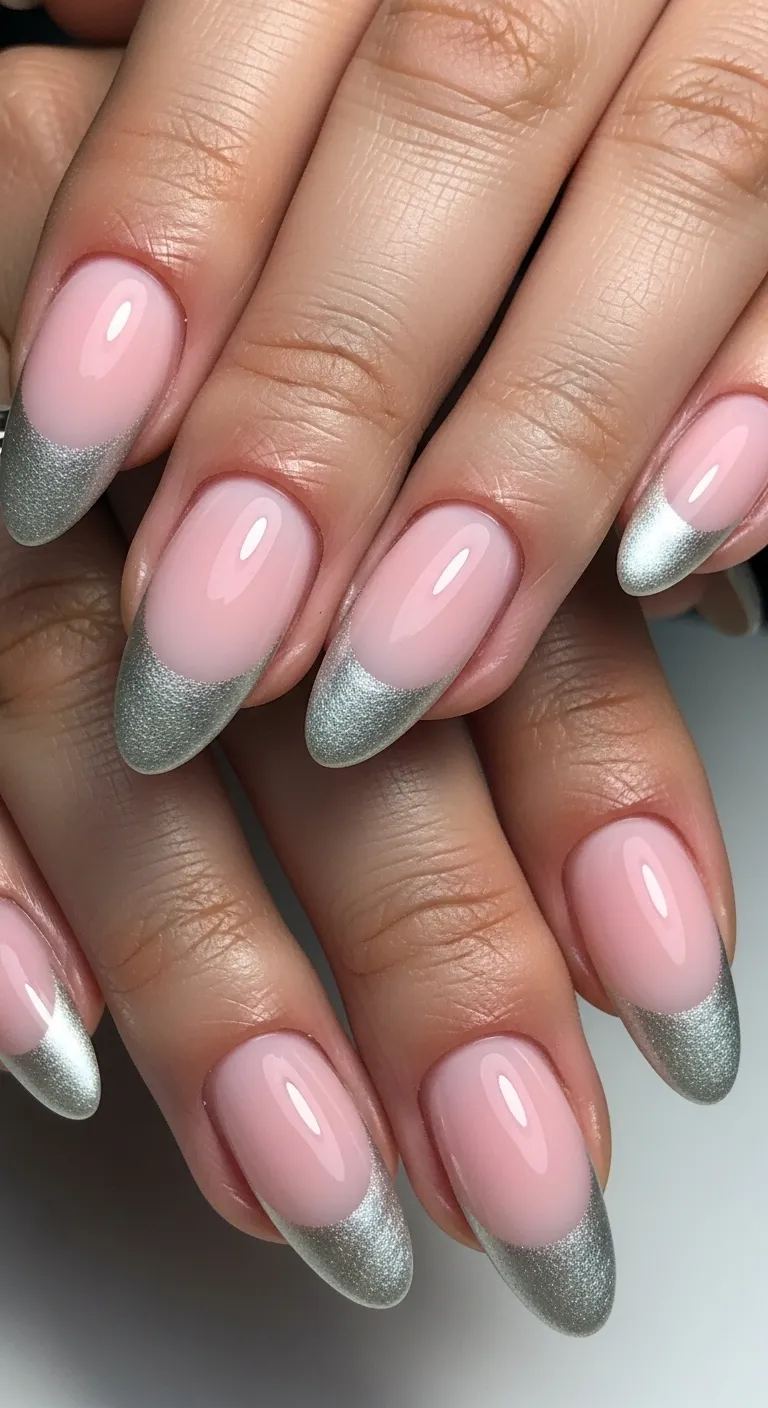
Use the same color family but different finishes like glossy, matte, and shimmer across nails. Paint some nails glossy red, others matte red, and one with red glitter. Monochrome with varied textures creates sophisticated, cohesive looks with built in interest. This technique teaches you about different gel formulas and how finishes change appearances. The same color looks completely different in matte versus glossy, creating variety without clashing. Texture variation adds depth and dimension while keeping everything coordinated and intentional. This approach works with any color and lets you explore your gel polish collection. Monochrome textures prove variety doesn’t require using multiple different colors.
20. Simple Gradient Sponge
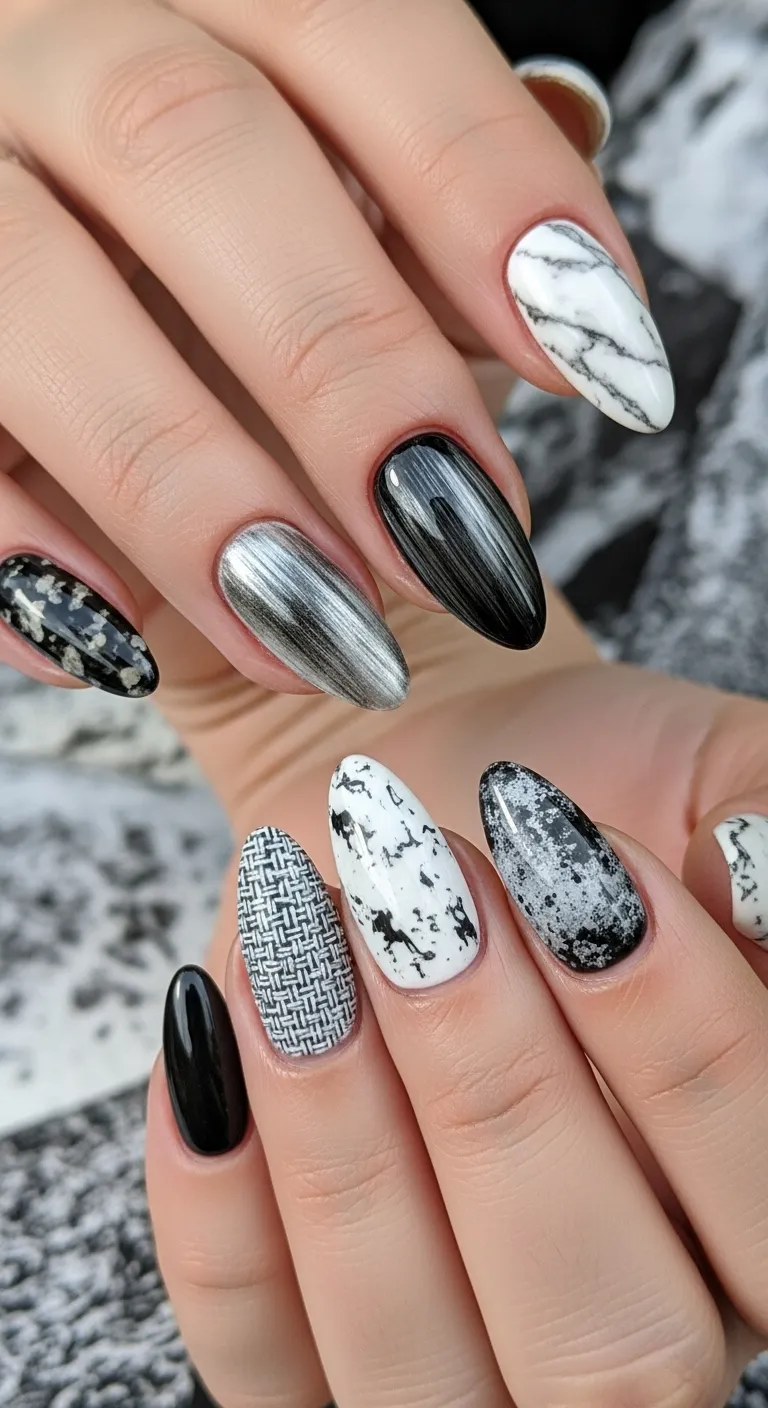
Create easy gradients by dabbing two colors onto a makeup sponge then pressing onto nails. Apply lightest color as base, cure it, then sponge on gradient before final cure. Sponge gradients are forgiving and create beautiful blended effects even for absolute beginners. The sponge technique requires minimal skill but delivers impressive, artistic looking results. Choose colors next to each other on the color wheel for easiest, prettiest blending. Build gradient slowly with multiple light applications instead of trying to achieve results in one sponge. This fun technique lets you experiment with color combinations and creative blending. Gradients add artistic flair to gel nails at home without requiring painting skills.

21. Solid with One Rhinestone
Keep nails simple with solid color but add a single rhinestone to each accent nail. Apply your gel color and cure it, then place rhinestone in wet top coat before curing. One rhinestone adds just enough sparkle and interest without being overwhelming or too busy. This minimalist approach to bling works for people who want subtle embellishment. Small rhinestones are inexpensive and available in countless colors to match any polish. The single stone creates a focal point without requiring pattern planning or design skills. This technique teaches embellishment application without major time or supply investment. Try this when you want gel nails at home with just a touch of sparkle.
22. White and Color Combo
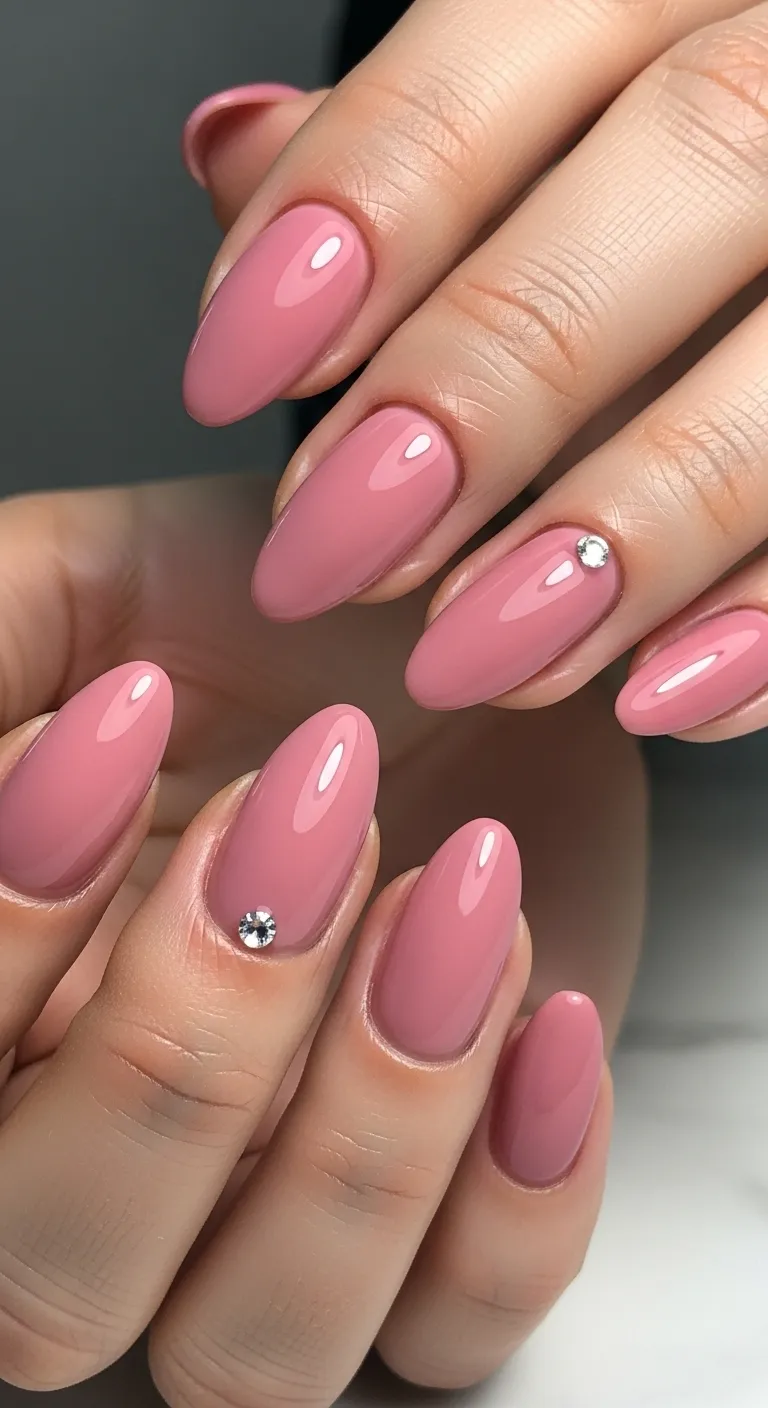
Pair crisp white gel with any other bold color for fresh, clean combinations. Paint some nails white and others in bright colors like coral, turquoise, or yellow. White makes any color look brighter, cleaner, and more vibrant by contrast. This simple pairing creates summery, fresh looks that feel intentional and styled. White is also very forgiving and covers smoothly, making it perfect for beginners. The high contrast between white and bold colors creates visual impact easily. Experiment with different color combinations to find pairings that make you happy. White combos prove you don’t need complicated nail art for beautiful, interesting gel nails at home.
Essential Tips for Perfect Gel Nails at Home
Create salon quality gel nails at home by following these important tips and avoiding common beginner mistakes. Success comes from proper preparation, quality products, and patience with the learning process.
Always start with proper nail preparation. Push back cuticles gently, file nails to your desired shape, and lightly buff the nail surface. Clean nails thoroughly with alcohol or nail prep solution to remove all oils. Apply thin gel coats instead of thick ones, as thin layers cure better and prevent bubbling. Cap the free edge by running polish over the tip with each coat to prevent early chipping.
Cure your gel polish for the full recommended time under your lamp. Don’t rush this step or your manicure won’t last properly. Keep gel polish bottles tightly closed when not in use to prevent premature hardening. Clean your brush after each use to maintain smooth application. If you make mistakes, wipe uncured gel off completely with alcohol before trying again. Store your gel polish in a cool, dark place away from sunlight. Practice regularly to improve your technique and speed over time. Remember that even professionals made mistakes when learning, so be patient and kind to yourself!
Conclusion
These 22 gel nails at home designs prove you absolutely can create beautiful, professional looking manicures yourself. From simple solid colors and classic French tips to creative gradients and embellishments, you have endless options at every skill level. The key is starting with basic techniques and gradually building your skills and confidence over time.
Doing gel nails at home saves money, gives you creative freedom, and becomes enjoyable self care time. Don’t be discouraged by early mistakes because every expert started exactly where you are now. Invest in quality tools, practice regularly, and celebrate your progress along the way. Your perfect at home gel manicure is just practice away, so grab your supplies and start creating the beautiful nails you deserve!