
25 Simple DIY Christmas Nails 2027 Easy Festive Nail Art Guide
Doing your own Christmas nails at home is easier than ever, and 2027 is the perfect year to embrace simple DIY festive manicures. You do not need professional training or expensive tools — just a few polishes, household items like toothpicks and tape, and a little holiday spirit. These 25 simple DIY Christmas nail ideas are all genuinely achievable at home, with step-by-step friendly designs.
The secret to great DIY holiday nails is choosing techniques that forgive imperfection. Dots, stripes, sponged gradients, and sticker-like decals all look fantastic even with a slightly shaky hand. Start with clean, well-shaped nails and a good base coat, work in thin layers, and always finish with top coat to smooth everything into a salon-like finish.
This guide walks you through 25 easy designs grouped from simplest to slightly more adventurous. Each one uses tools you likely already own or can buy cheaply. Put on a Christmas movie, pour something warm, and turn your kitchen table into a nail studio this holiday season.
Super Easy Starter Designs
1. Toothpick Polka Dot Garland
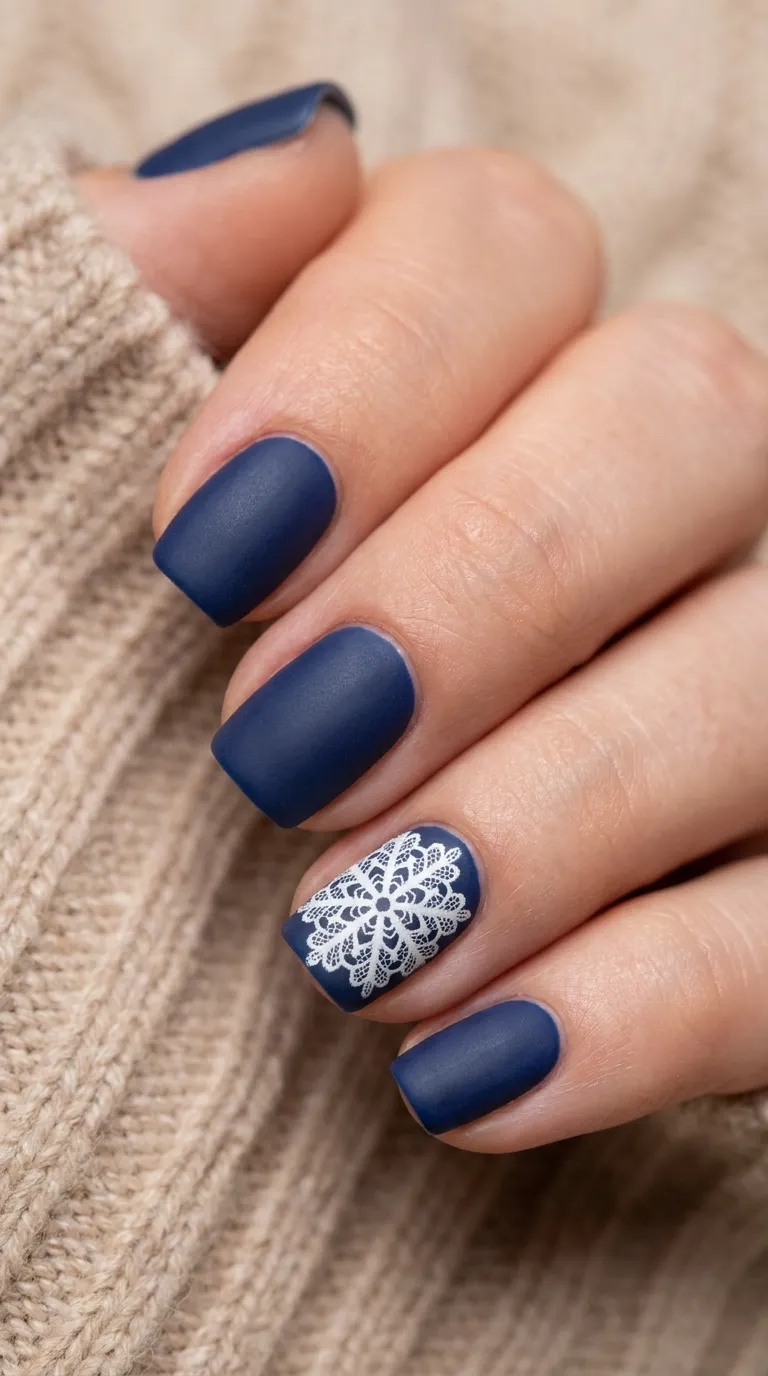
Use the tip of a toothpick to dot a curved garland of red, green, and gold dots across a nude base. The simple dotting technique needs zero artistic skill yet looks genuinely festive. Let each color dry before adding the next, and seal with top coat for a smooth finish.
2. Tape Stripe Candy Canes
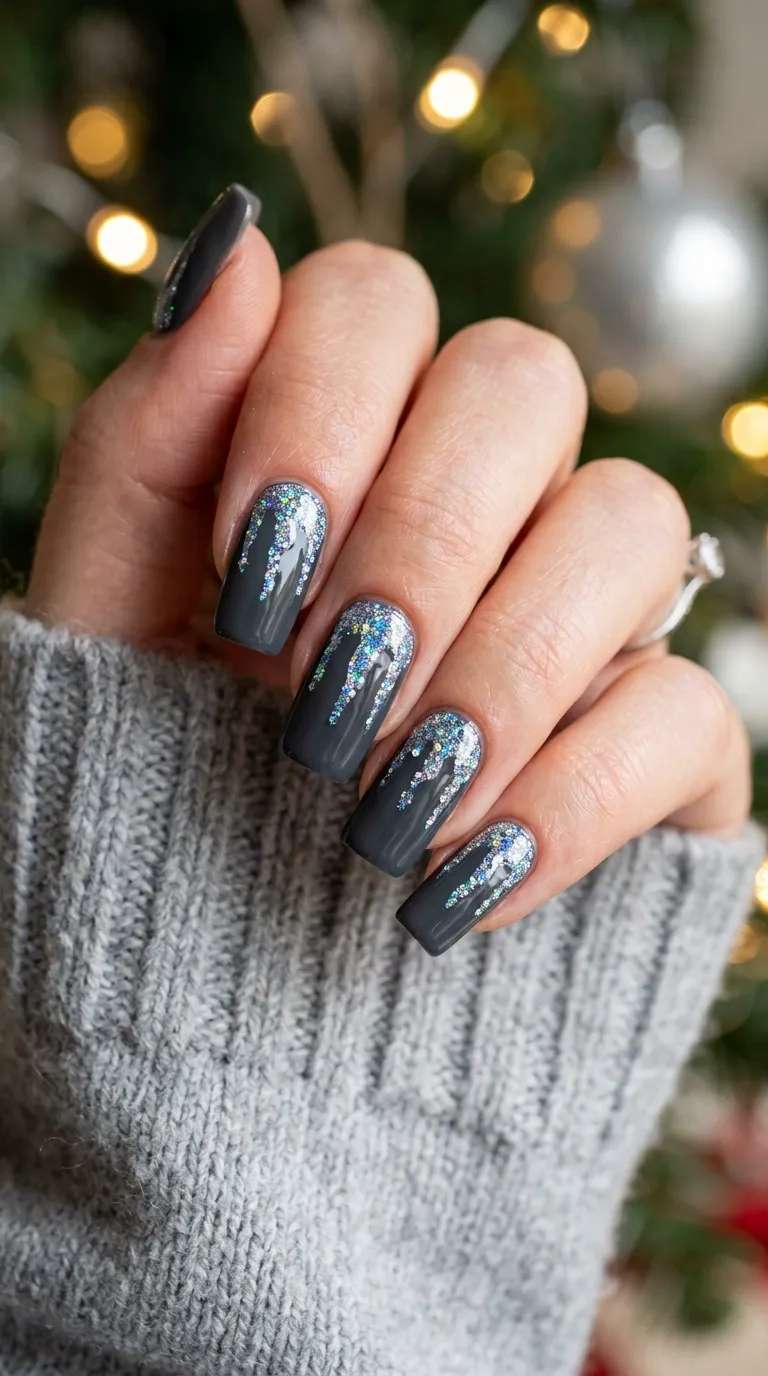
Apply thin strips of tape diagonally across white nails, paint red over the top, then peel the tape away for crisp candy cane stripes. The tape does all the precision work for you. Make sure the white base is fully dry first so the tape lifts cleanly.
3. Sponge Dabbed Snowfall
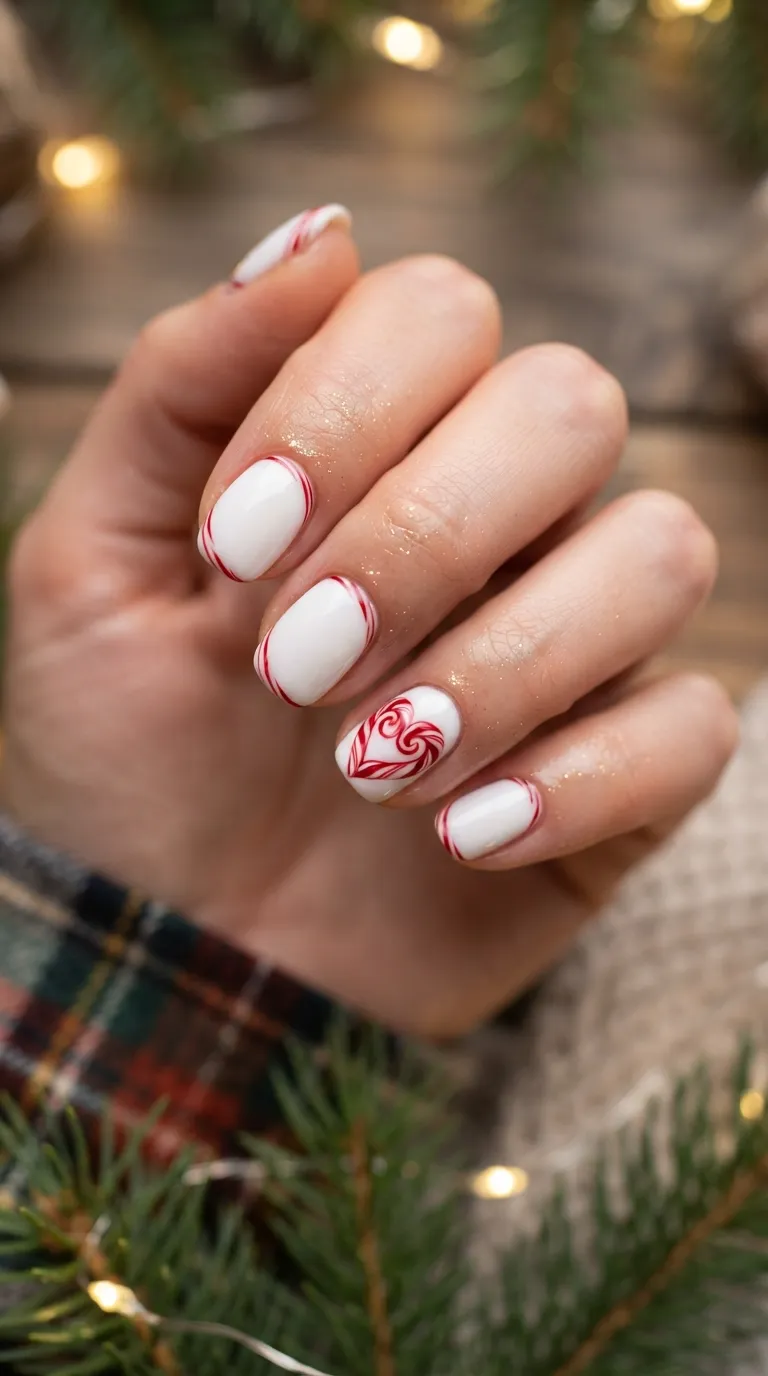
Dab white polish through a piece of cosmetic sponge onto a blue or dark base for a soft snowfall texture. The sponging creates natural, irregular snow that looks far more realistic than painted dots. Build up layers gradually, letting each dry for a dimensional blizzard effect.
4. Single Glitter Accent Nail
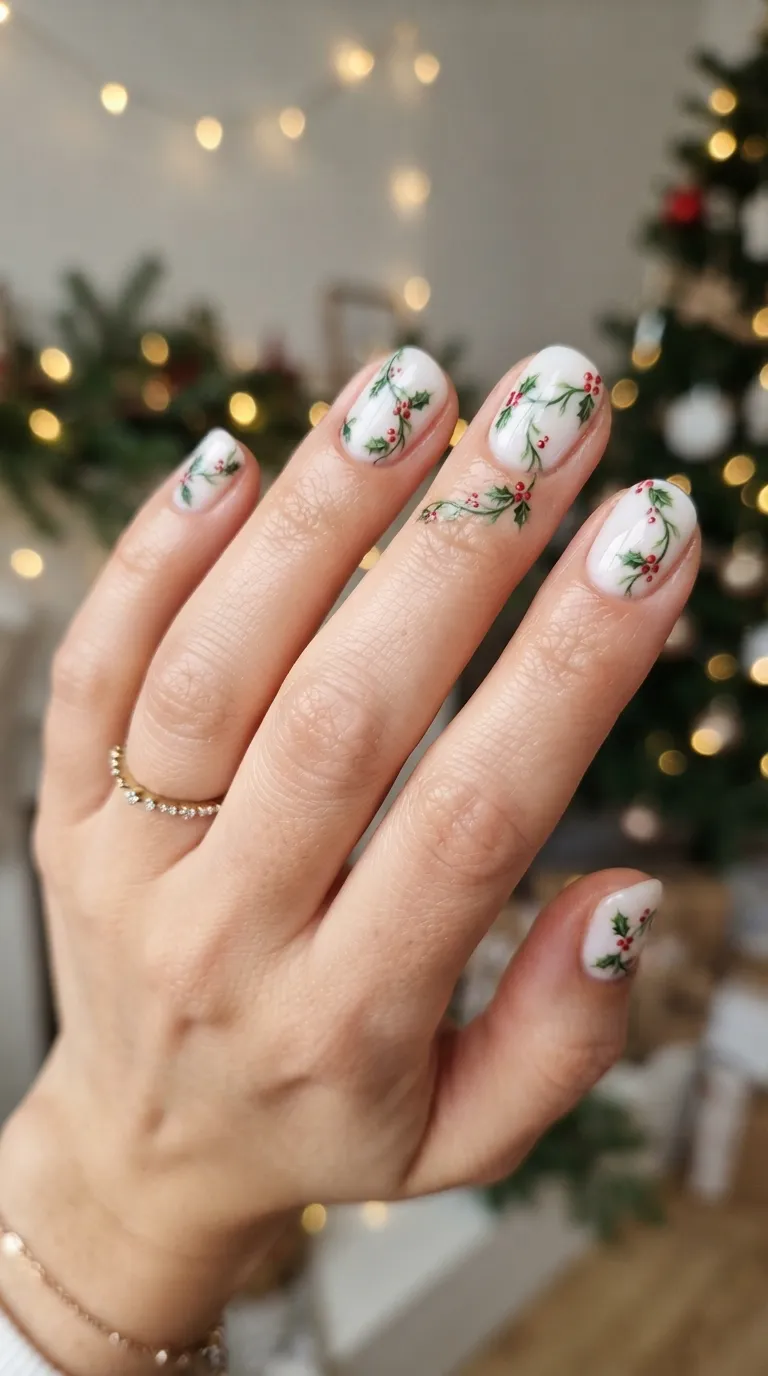
Paint nine nails in a solid holiday shade and one accent nail in chunky glitter polish. It is the simplest festive upgrade imaginable and takes minutes. The glitter hides any application wobbles, making it the perfect confidence-building first DIY design.
5. Q-Tip Snowman Dots
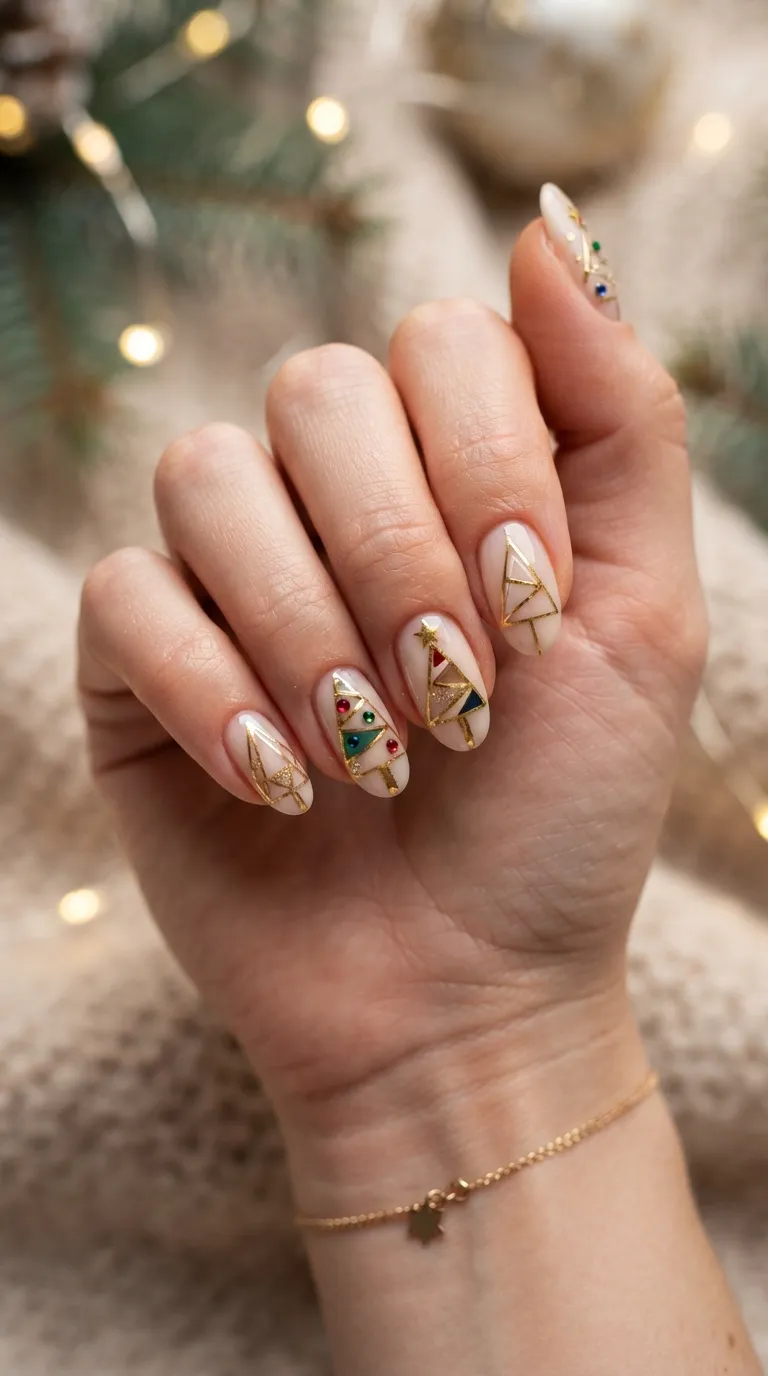
Use both ends of a cotton swab to stamp white circles — big for the body, small for the head — forming tiny snowmen. Add dot eyes and an orange nose with a toothpick. The stamping method keeps the shapes round and cute without any freehand drawing.
6. Sticker Star Nails
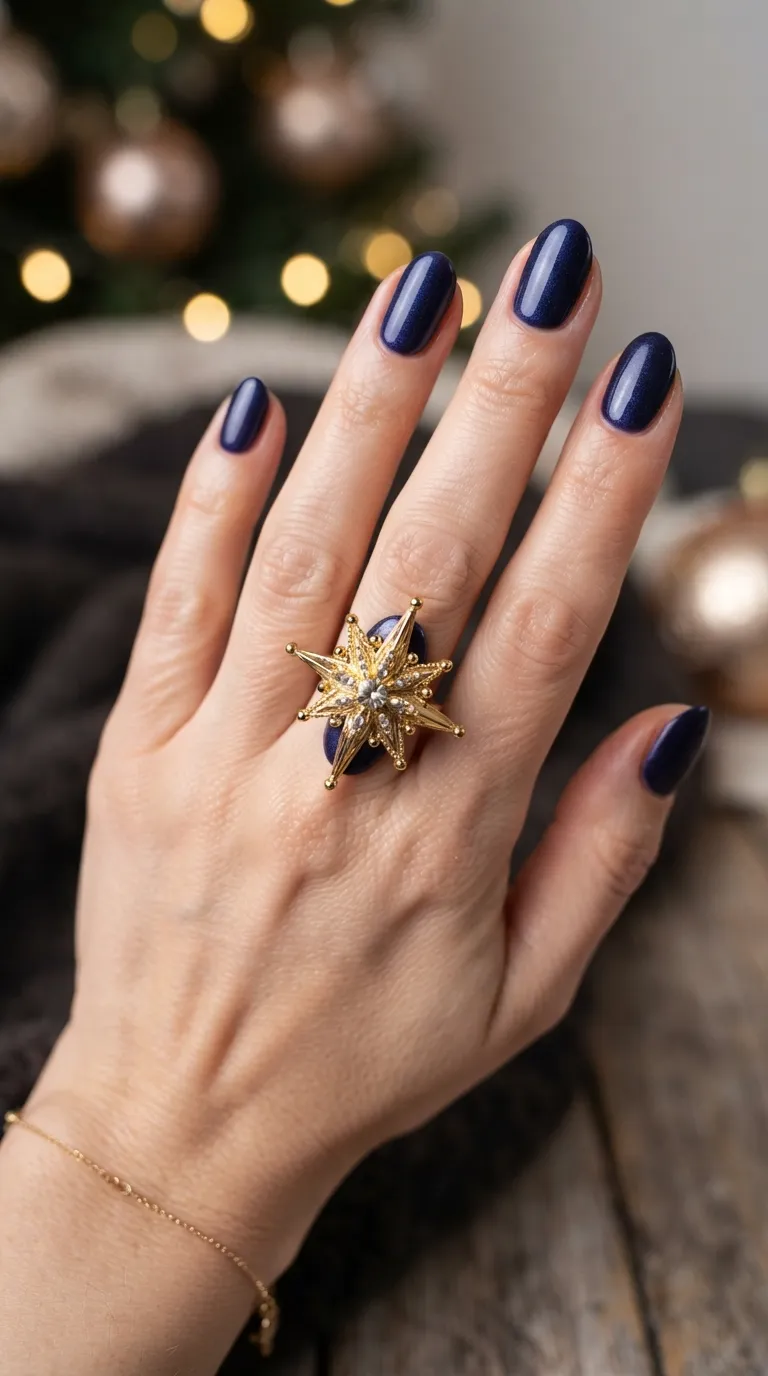
Apply tiny star stickers or nail decals over a solid red or green base for instant festive art. Decals are the ultimate DIY shortcut — perfectly shaped every time. Press them onto tacky polish, then seal with two layers of top coat so the edges disappear.
7. Dry Brush Tinsel Tips
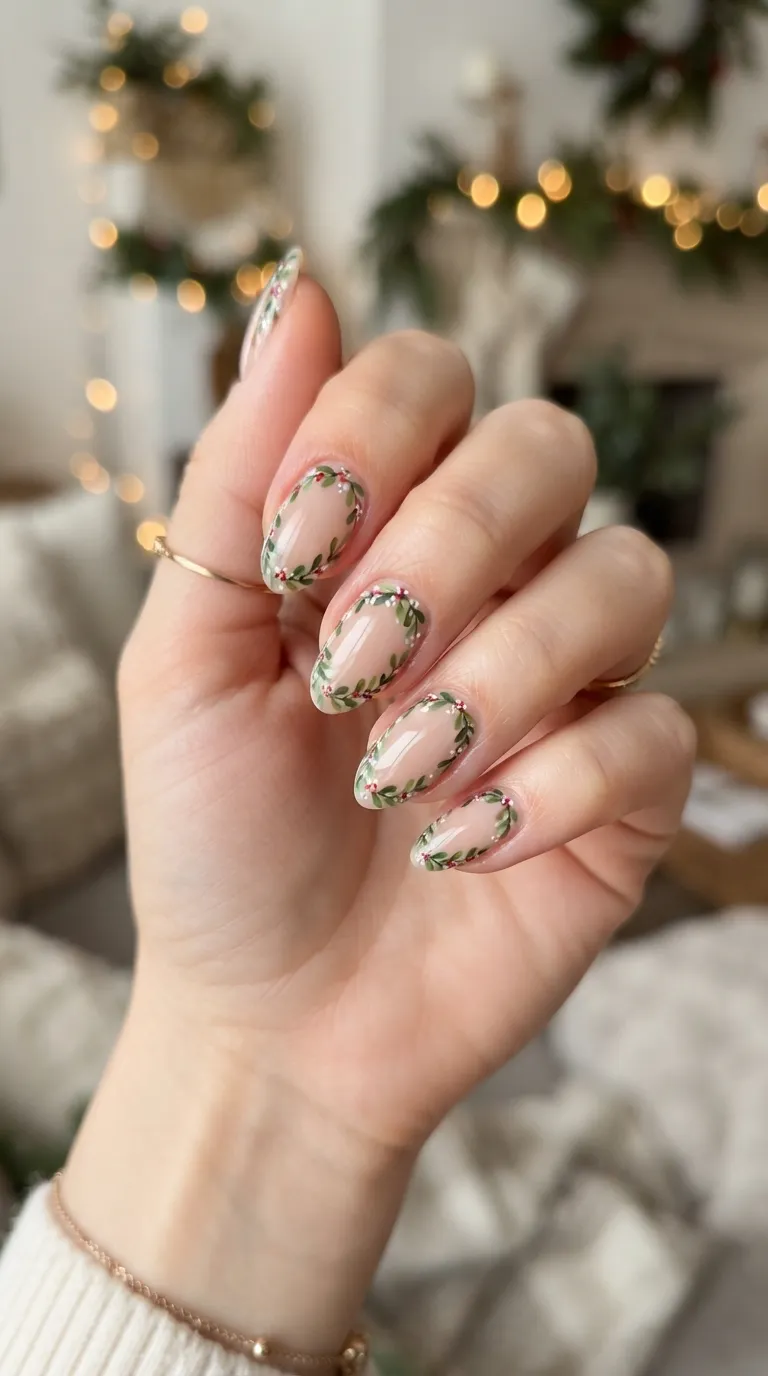
Wipe most polish off the brush, then lightly drag metallic gold across the tips of dark nails for a tinsel-like shimmer. The dry-brush technique is wonderfully forgiving and creates a soft, feathery sparkle. No precision needed — the messier, the more tinsel-like it looks.
8. Newspaper-Free Simple French
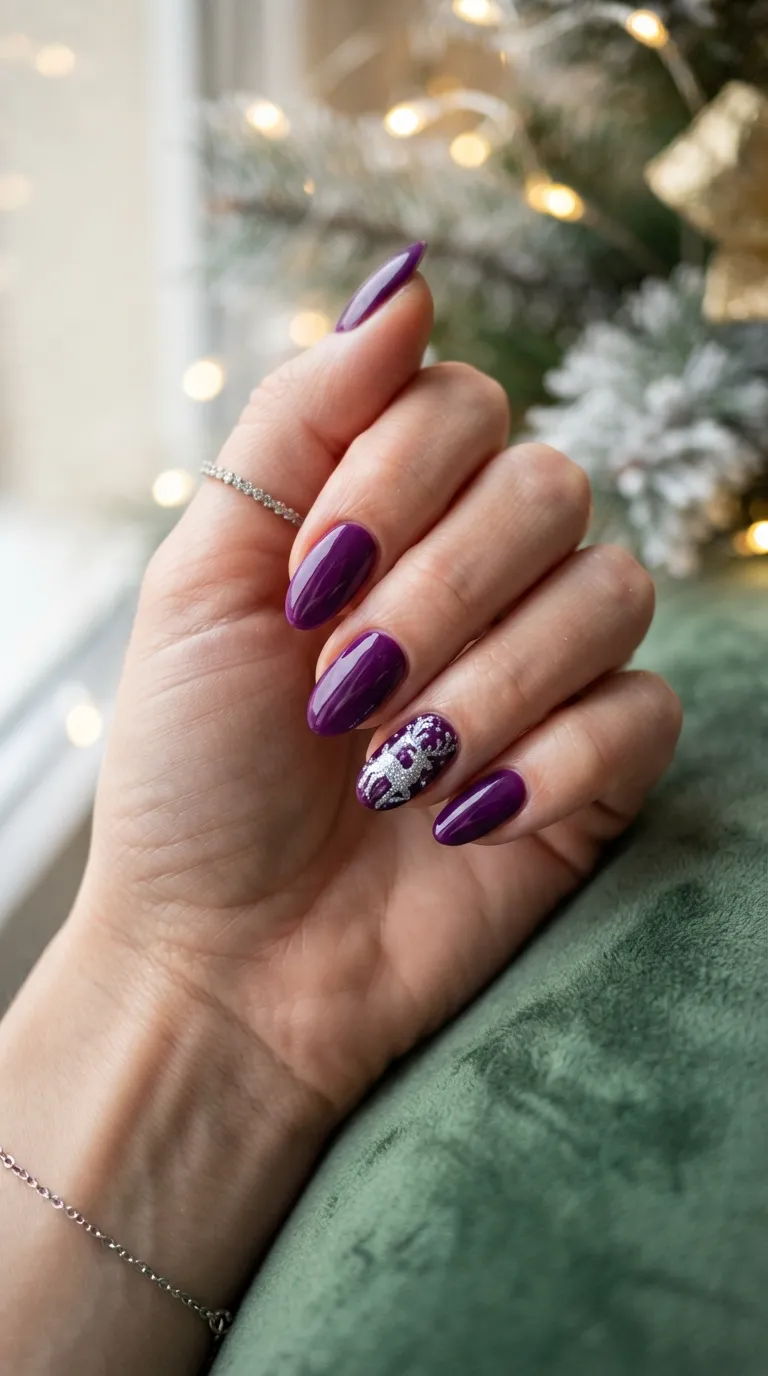
Paint classic white French tips over a sheer pink base using the polish brush’s natural curve. Christmas-ify it by swapping white for red or green on the tips. The familiar technique is easy to master with practice, and the festive color swap makes it seasonally fresh.
9. Confetti Top Coat Party
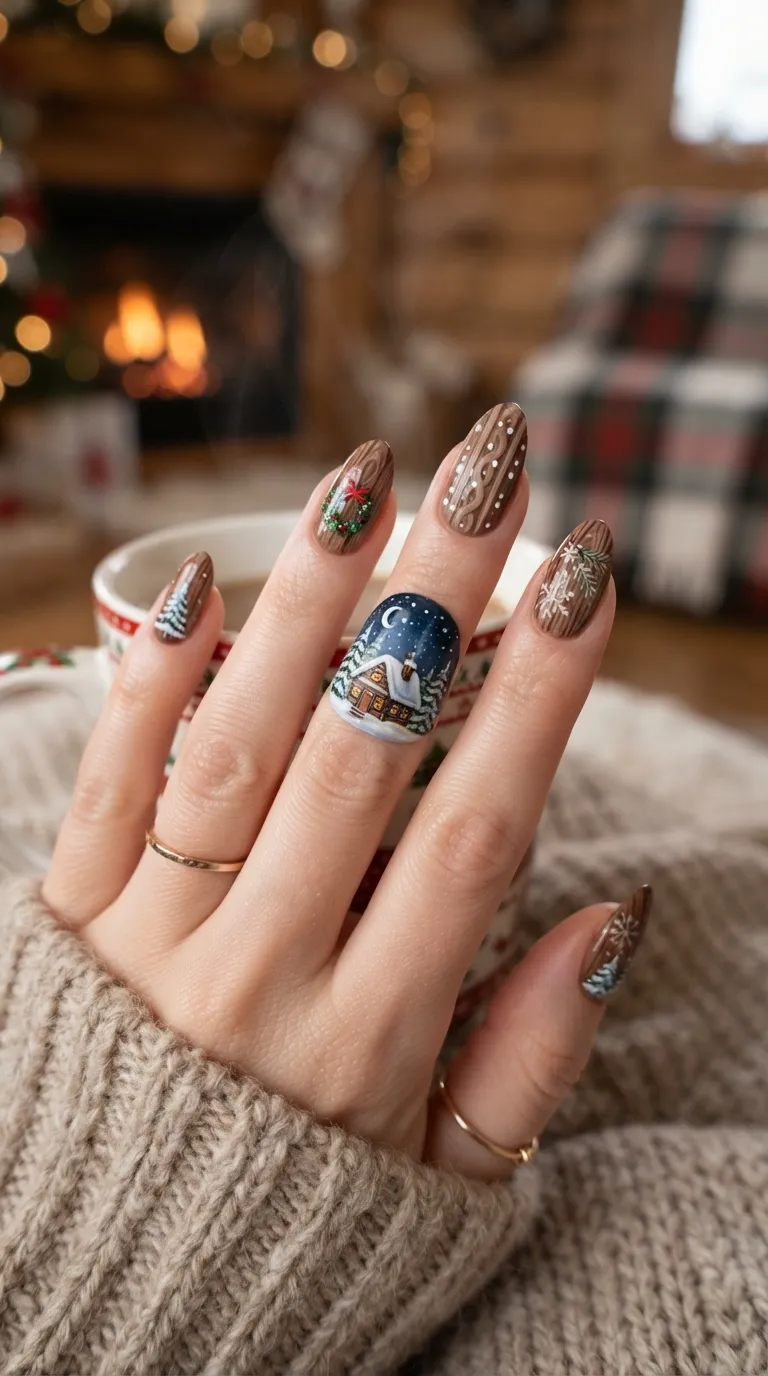
Layer a confetti or chunky glitter top coat over any solid holiday color for instant celebration. The topper does all the decorative work while you just paint normally. Choose red-green-gold mixes for Christmas, and one bottle transforms your entire existing polish collection.
Fun Festive Motifs At Home
10. Bobby Pin Holly Berries
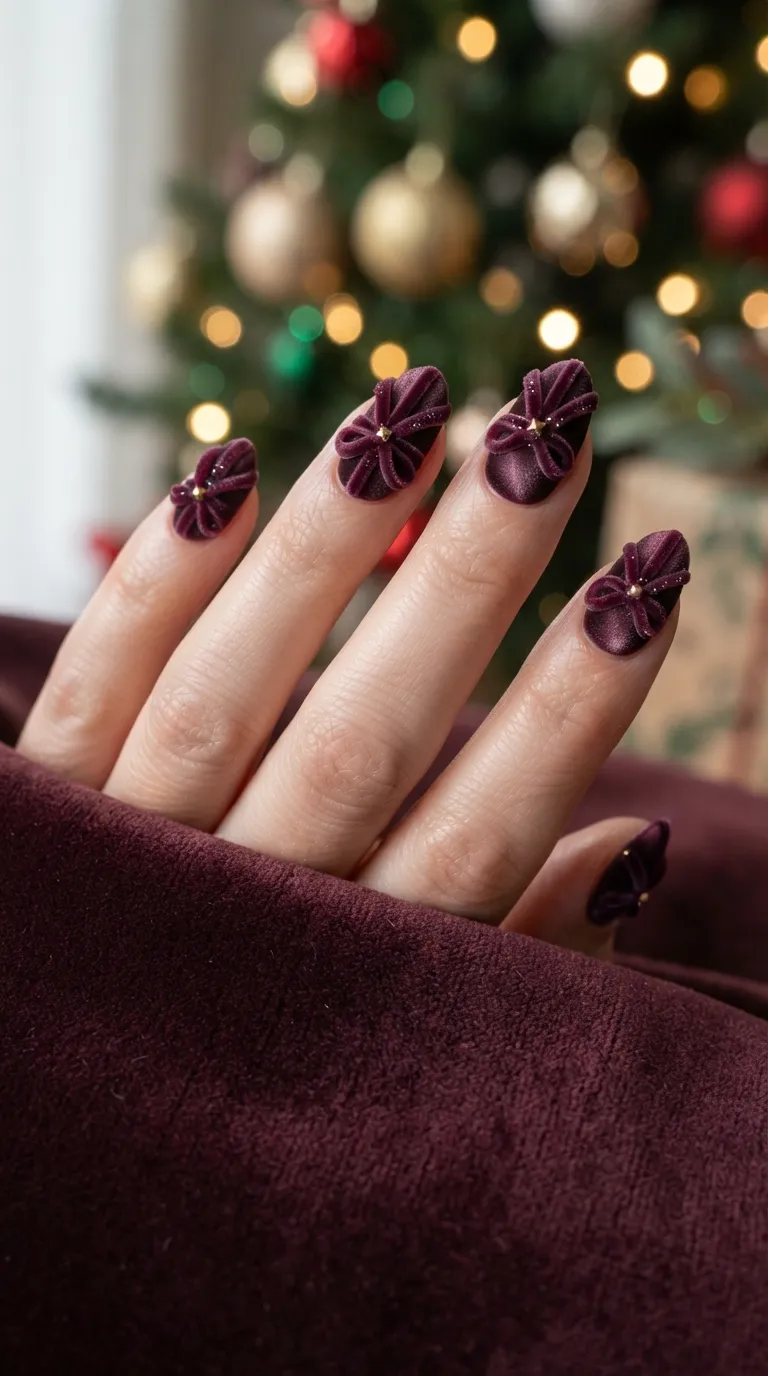
The rounded end of a bobby pin stamps perfect holly berries — three red dots clustered with two green leaf strokes. The tool gives you uniform circles every time. Place the berry clusters near the cuticle or tip on a cream base for a classic Christmas look.
11. Pencil Eraser Ornaments

Stamp large circles with a pencil eraser to create bauble ornaments, then add a small cap line and string with a toothpick. The eraser makes flawless round ornaments in any color. Hang them from the cuticle on a deep green base for a decorated-tree effect.
12. Freehand Mini Trees
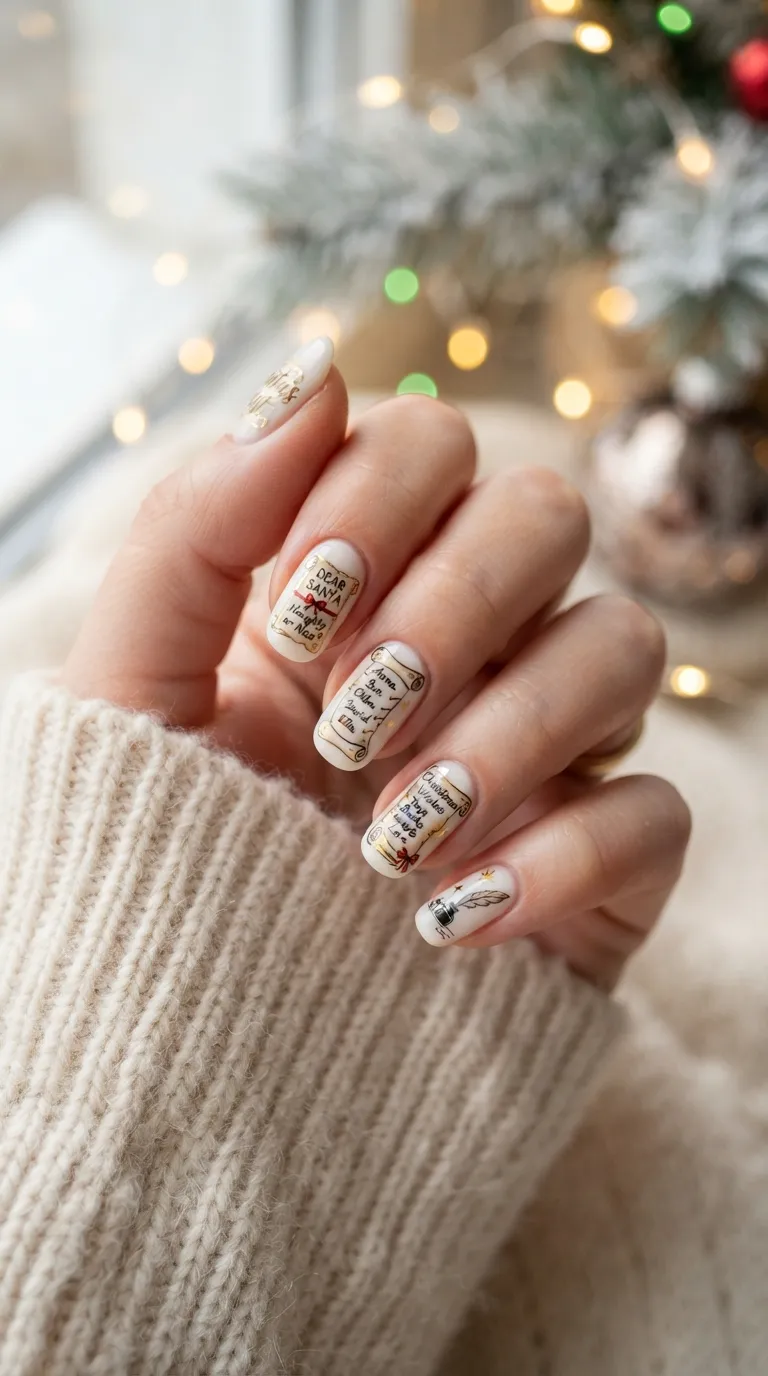
Paint simple stacked triangles in green with a thin brush, adding a brown trunk and dot ornaments. Imperfect triangles still read clearly as trees, so do not stress about symmetry. Scatter a few across accent nails and keep the rest solid for a charming folk-art vibe.
13. Dotting Tool Fairy Lights
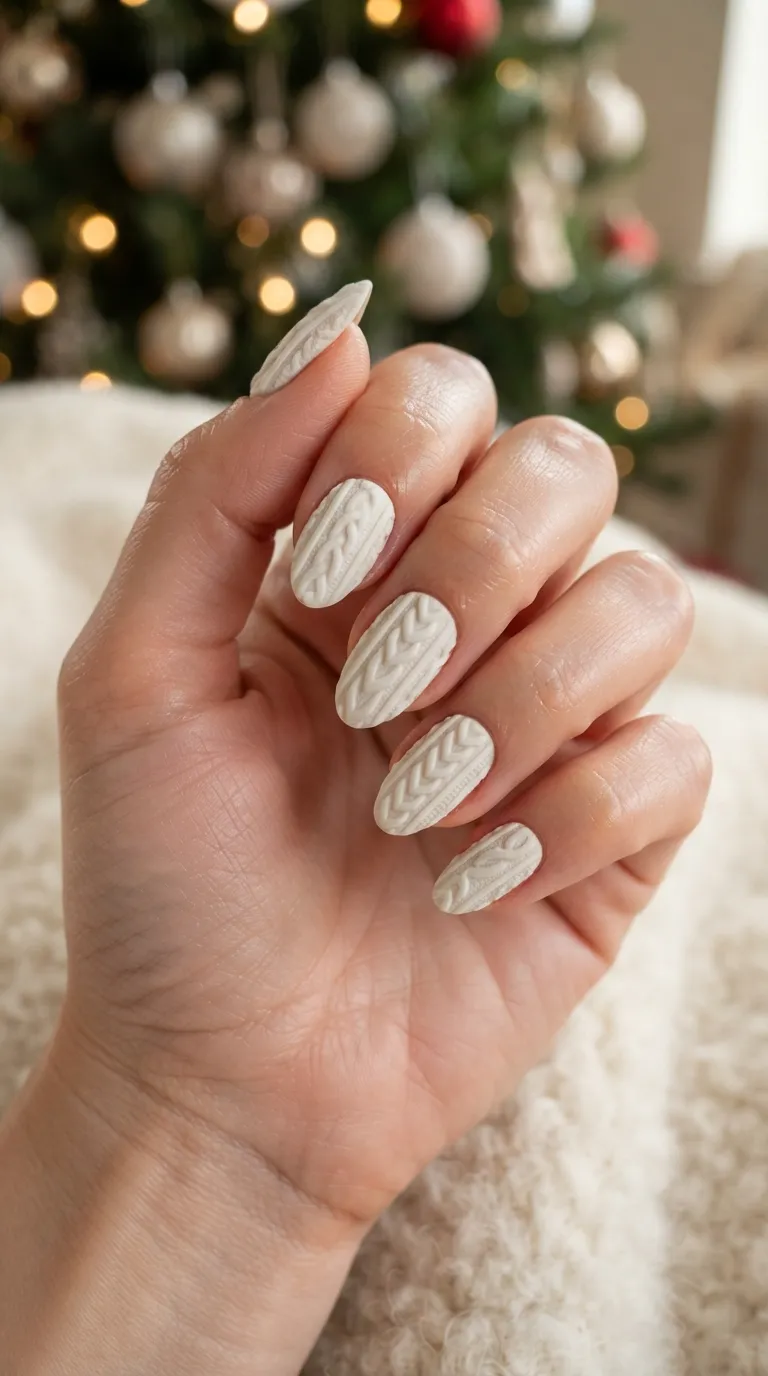
Draw a wavy black line across the nail, then dot colorful bulbs along it with a dotting tool. The string-light design is pure nostalgic Christmas and very forgiving to paint. Alternate red, green, gold, and blue bulbs for a classic multicolor glow.
14. Striping Tape Plaid
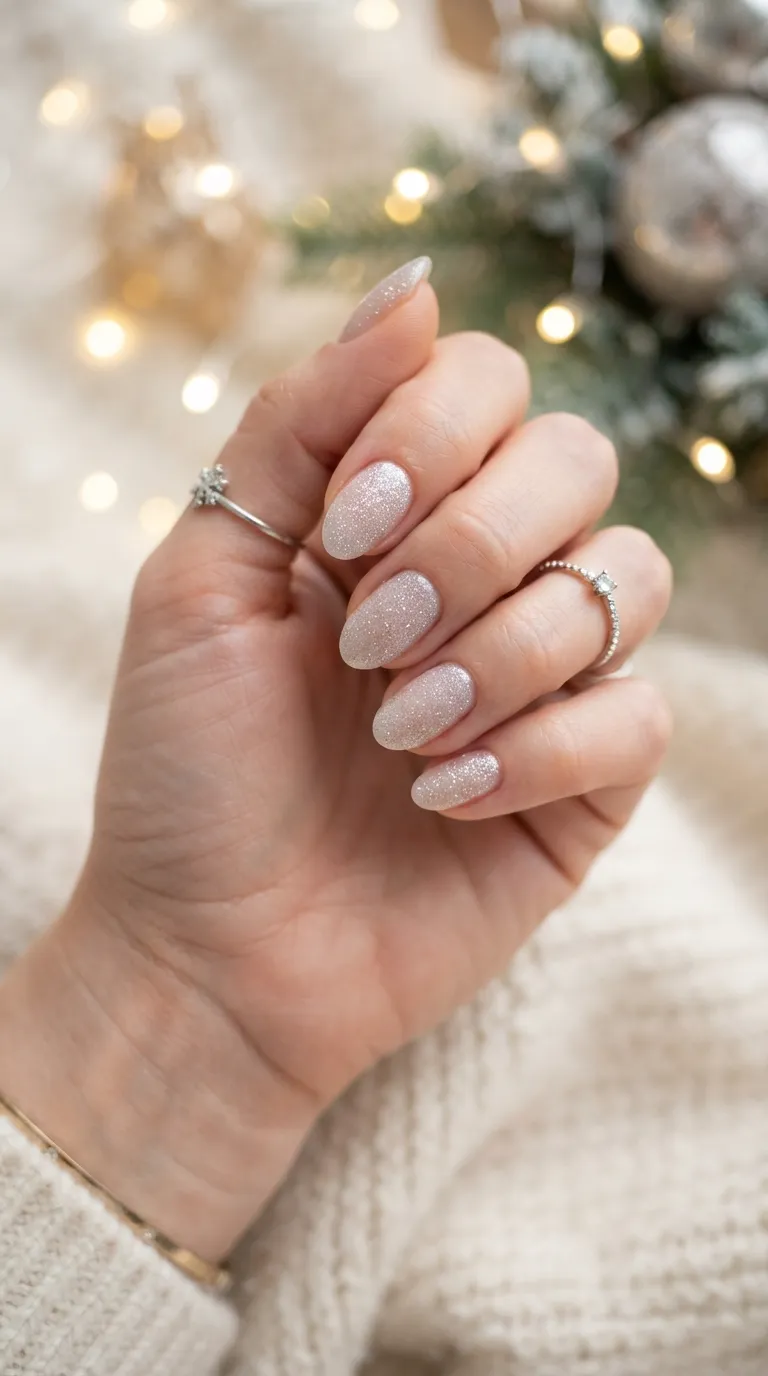
Use striping tape to mask off a grid, painting alternating red and green sections for easy plaid. The tape creates razor-sharp lines that look professionally done. Peel carefully while the polish is slightly tacky, then seal everything under a generous top coat.
15. Sponge Ombre Sunset Red
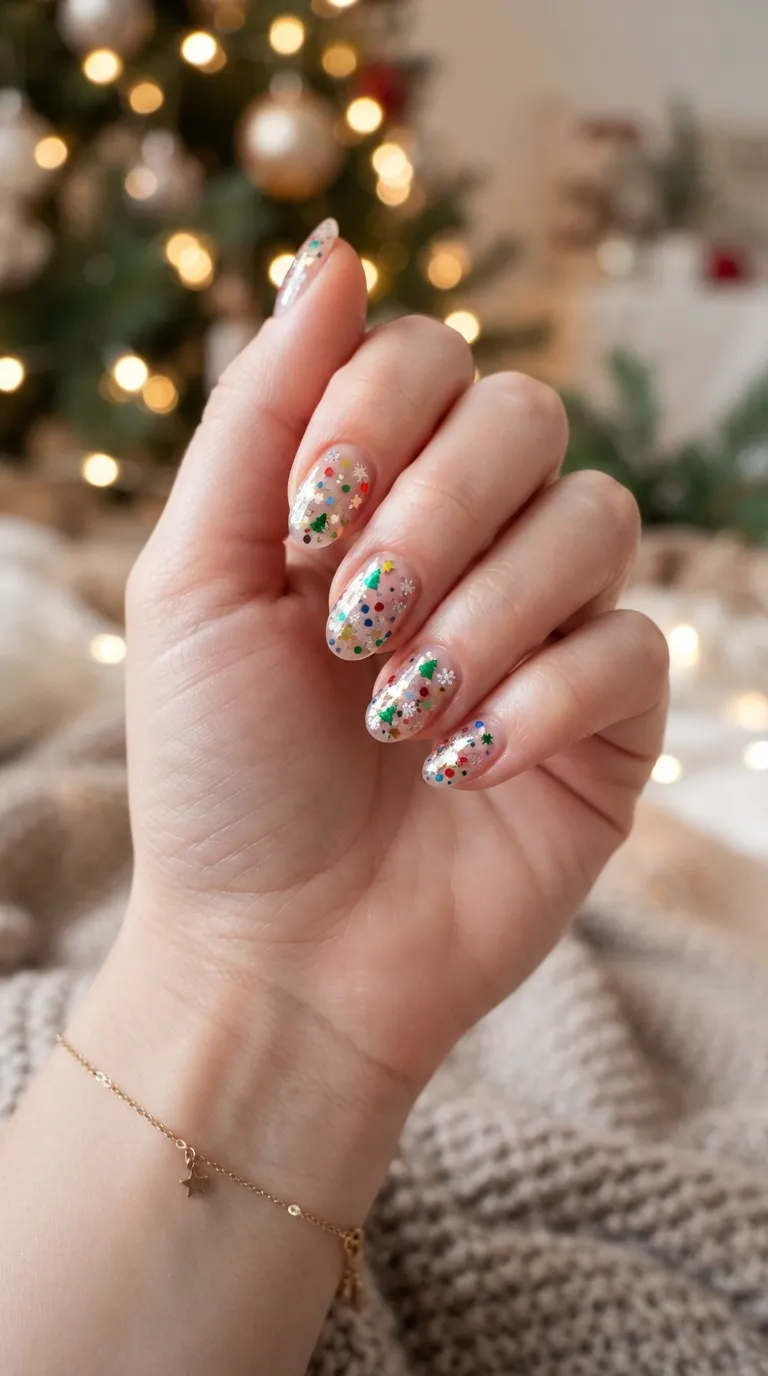
Sponge a gradient from deep red to bright cherry across the nail for a rich ombre effect. The sponging technique blends colors seamlessly with no brush skills required. Clean up the edges with a small brush dipped in remover for a crisp, salon-like result.
16. Toothpick Reindeer Antlers
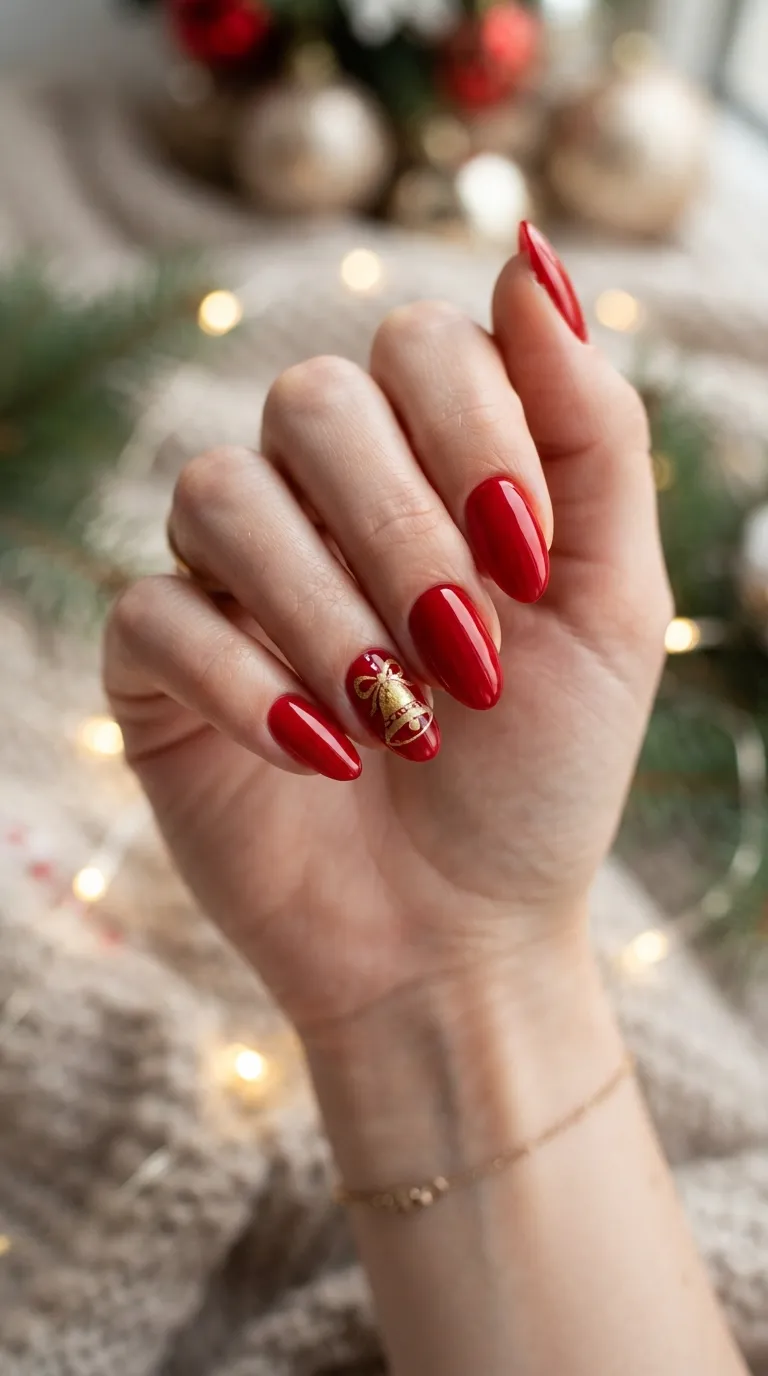
Draw simple antler branches with a toothpick on a nude base, adding dot eyes below. The minimalist line-art reindeer is trendy and surprisingly easy. Keep the lines thin and sketch-like — the loose style is part of the charm and hides any wobbles.
17. Glitter Placement Snowflakes
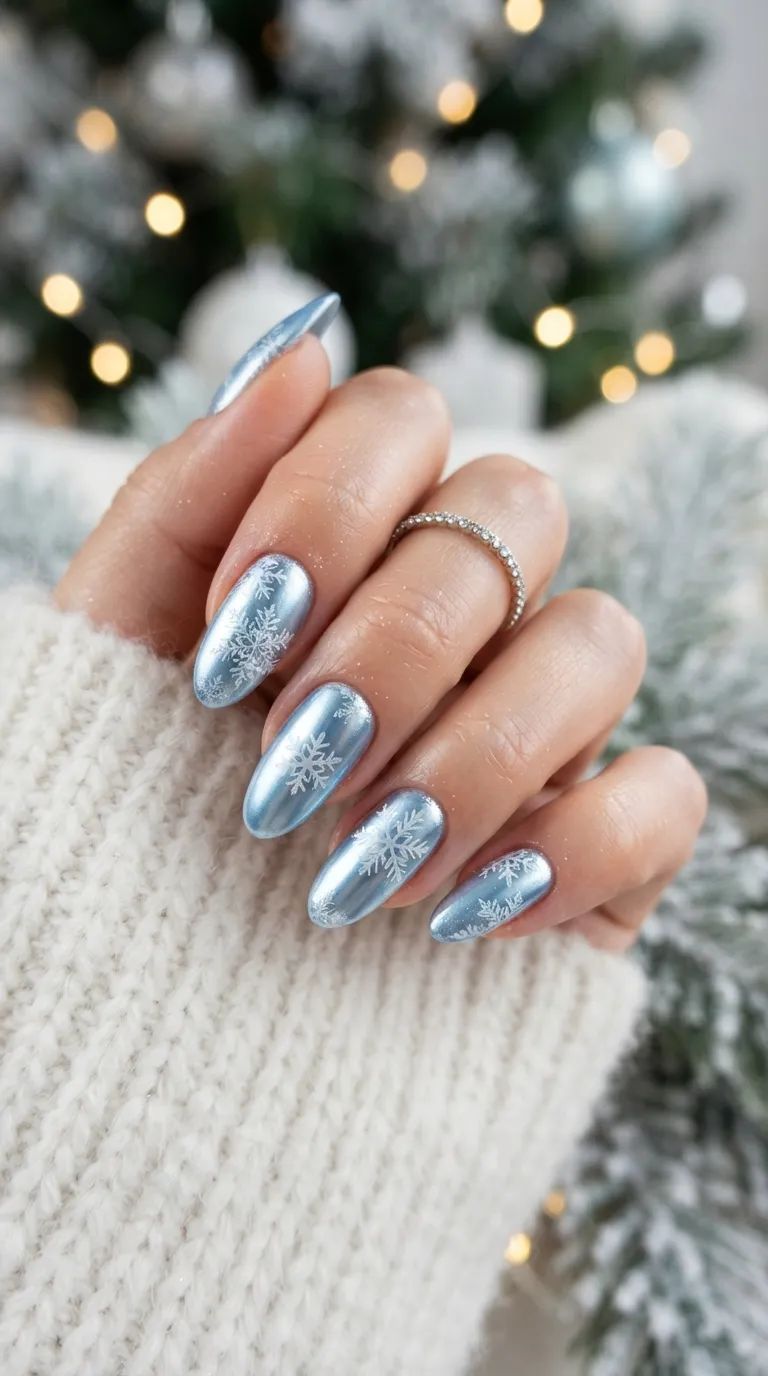
Place individual large glitter hexagons in a snowflake pattern using tweezers on a dark base. The placed glitter forms crisp, sparkly snowflakes with zero painting. Work on one nail at a time while the base is tacky, then lock everything under top coat.
Polished DIY Finishing Looks
18. Matte Top Coat Magic
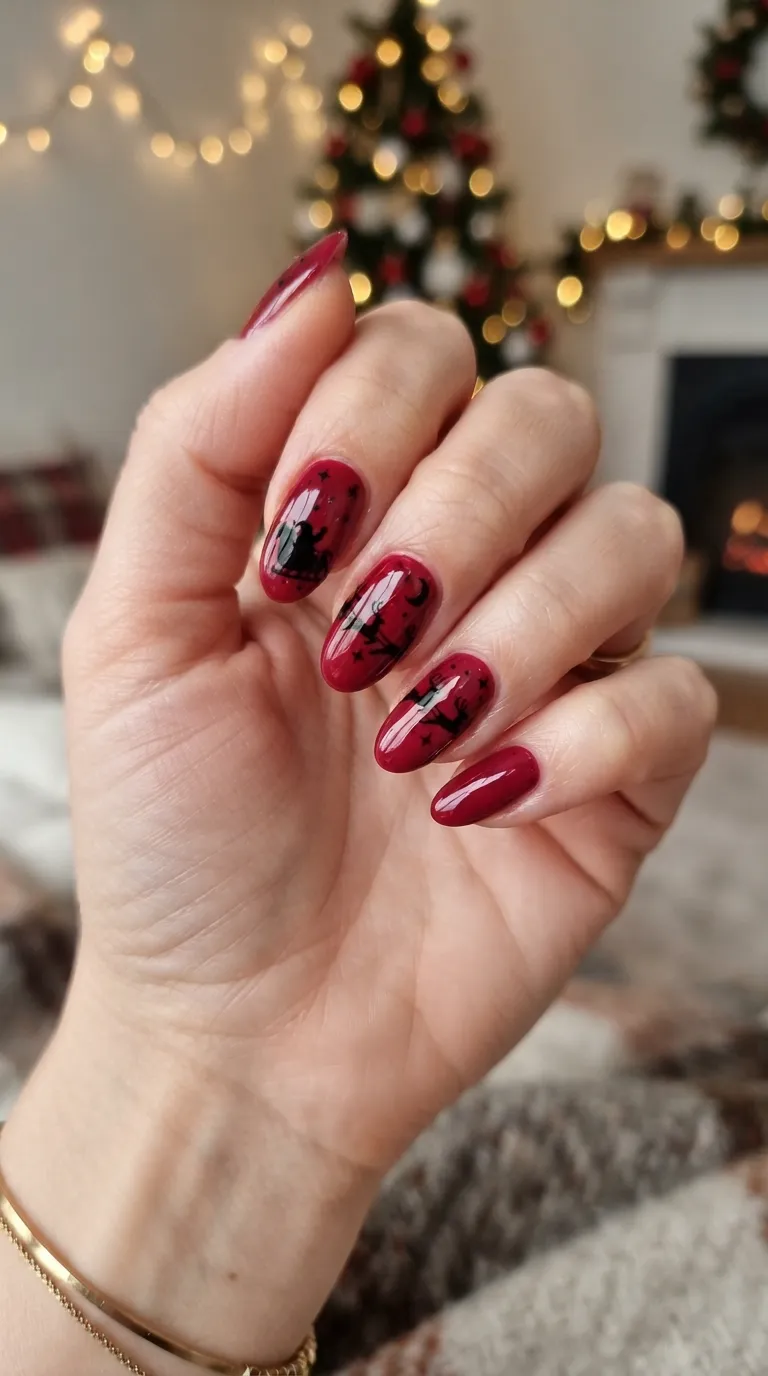
Transform any holiday manicure by finishing with a matte top coat instead of glossy. The velvety texture makes reds, greens, and even glitters look modern and expensive. It is the easiest upgrade in DIY nails — one bottle changes the entire feel of your polish stash.
19. Gold Cuticle Cuffs
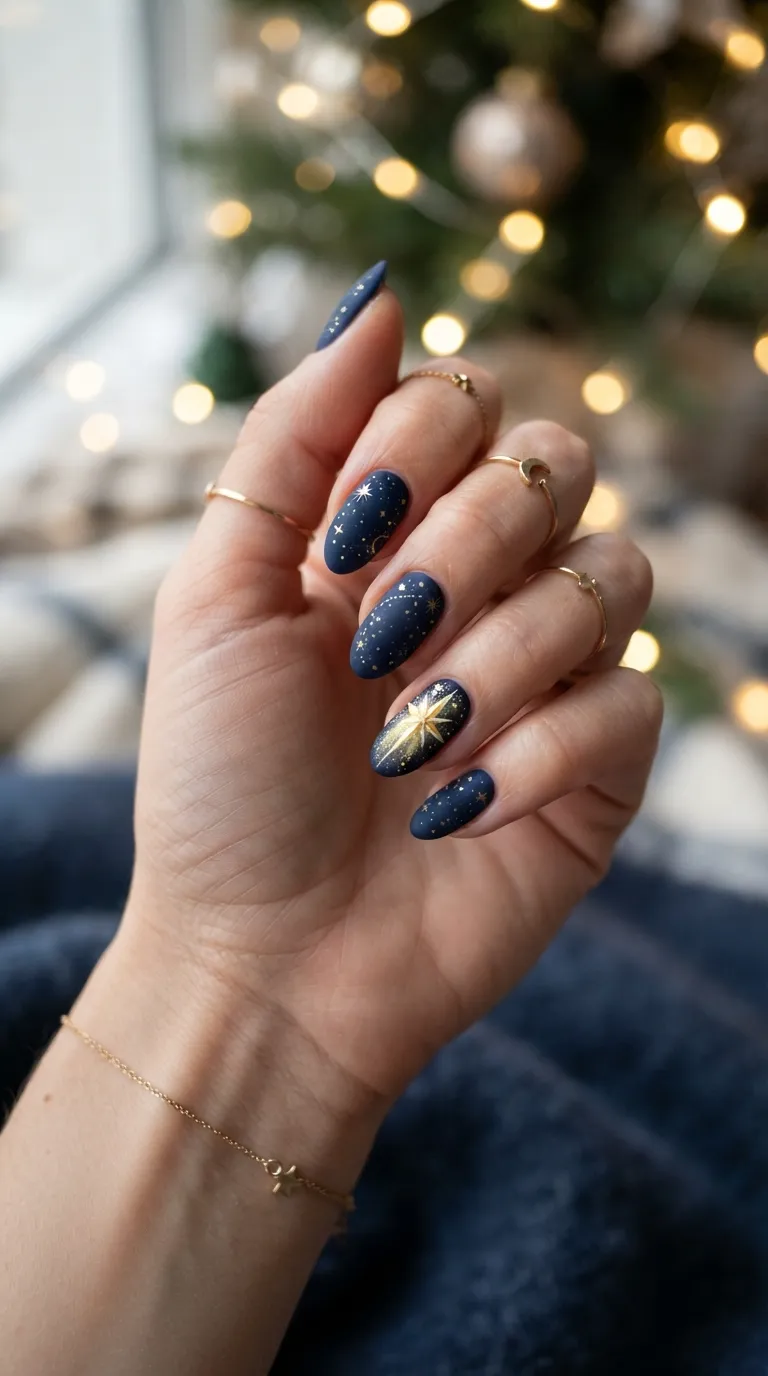
Paint a thin gold curve along each cuticle over a deep red or green base for a jewelry-like cuff effect. The metallic arc frames the nail elegantly. Use a small detail brush and rest your hand on the table for steadiness — the result looks far harder than it is.
20. Two-Tone Half Moons
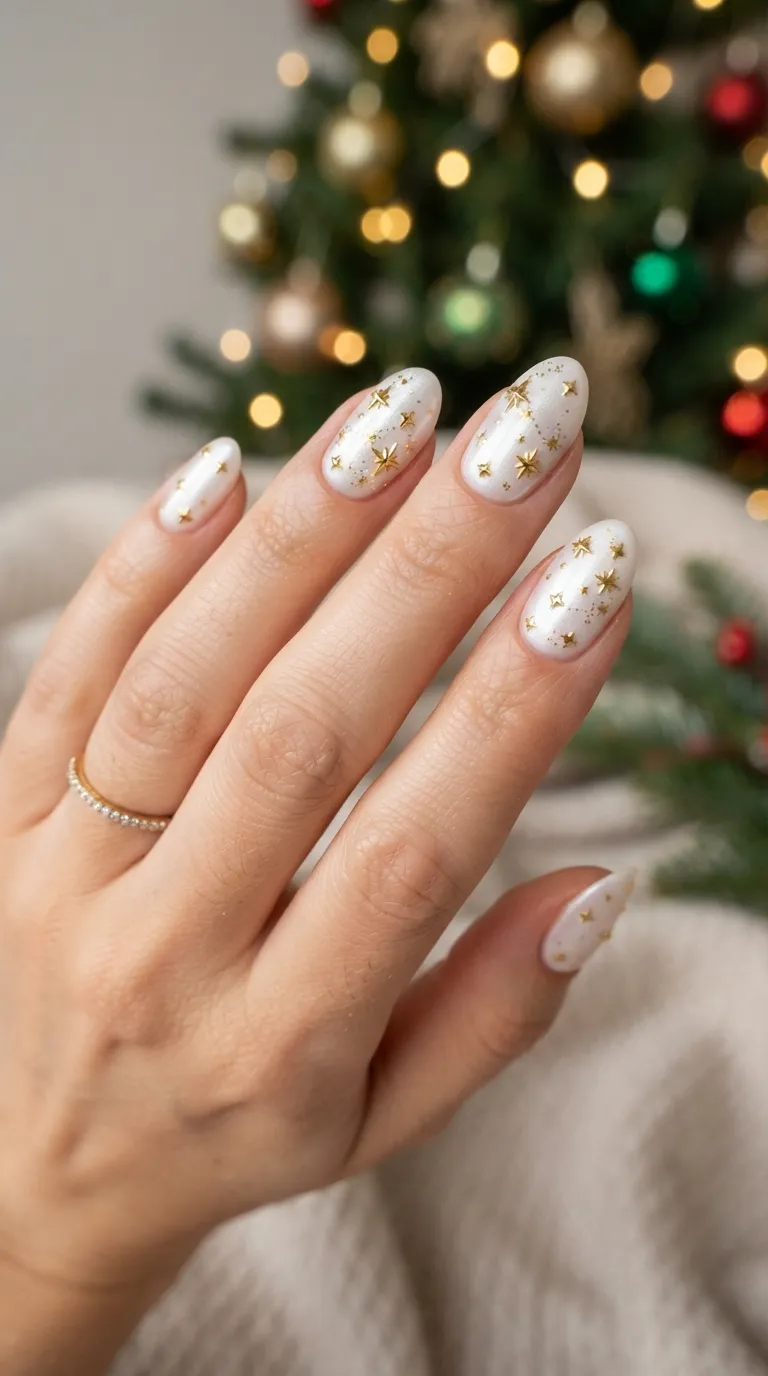
Use round reinforcement stickers as guides to paint perfect half moons at the cuticle in contrasting holiday shades. The stickers guarantee a clean curve every time. Try gold moons on burgundy nails for a vintage-glam Christmas look that photographs beautifully.
21. Velvet Magnetic Polish
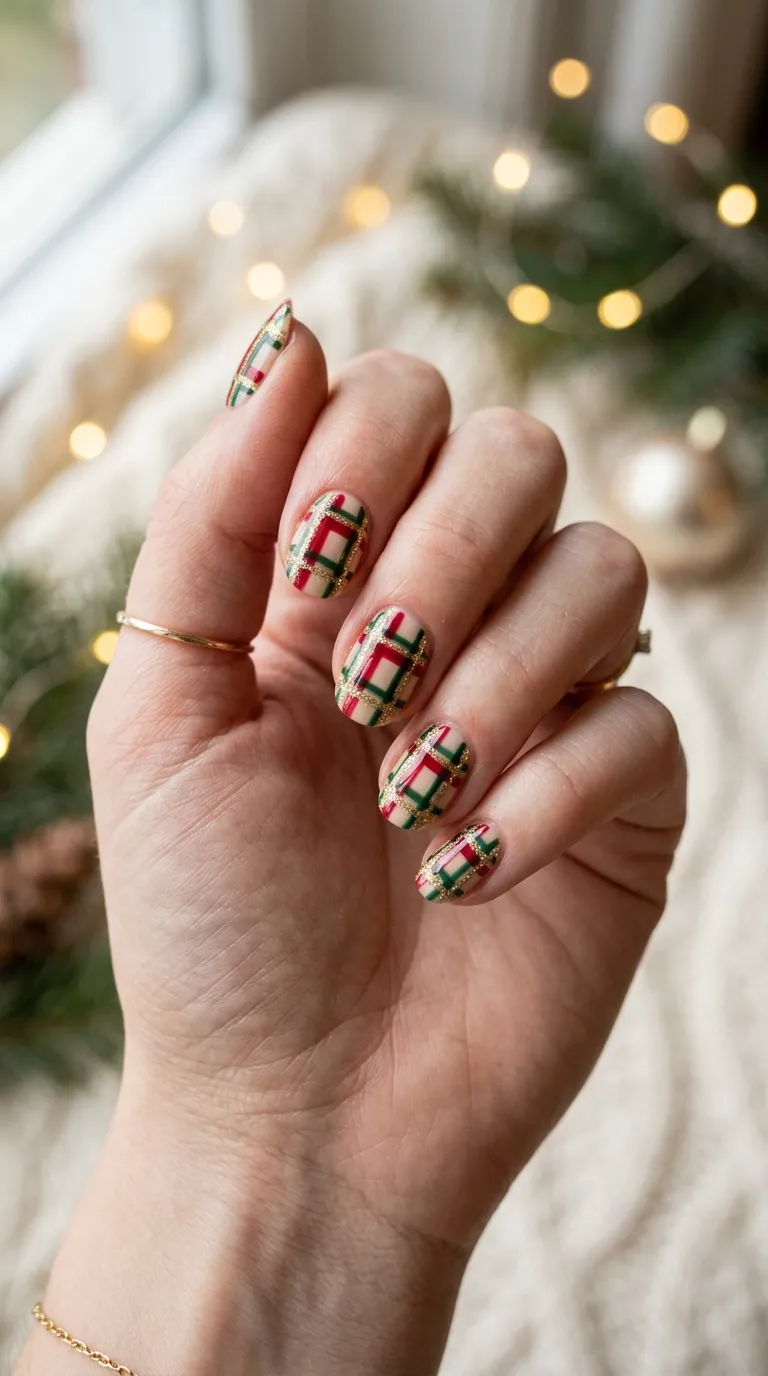
Magnetic cat-eye polish in deep red or green creates a velvety, dimensional shimmer with just a magnet wave. The special effect looks incredibly professional for almost no effort. Hold the magnet steady for ten seconds per nail to set the light-catching pattern.
22. Foil Transfer Accents
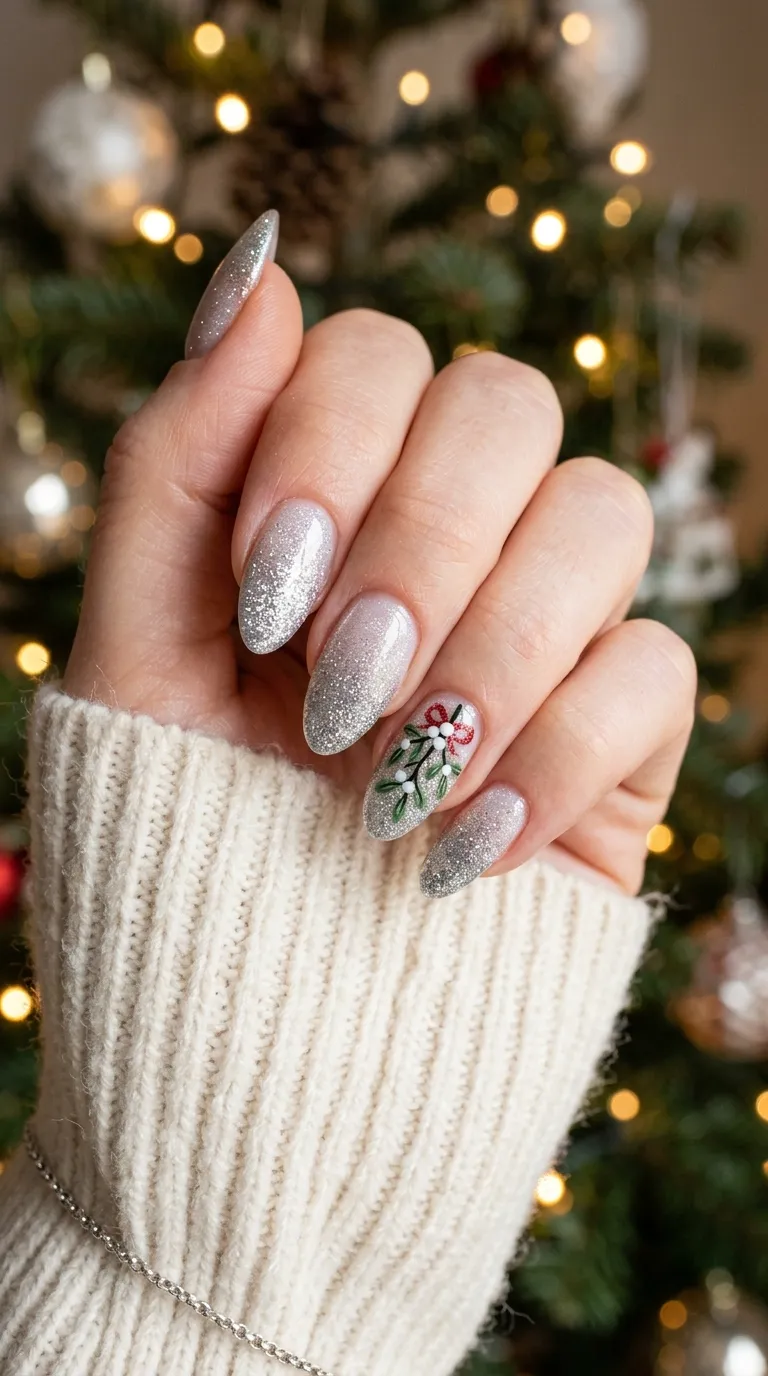
Press gold or holographic transfer foil onto tacky polish for an instant luxe, textured accent. The foil adheres randomly, creating unique metallic patches every time. Apply to one or two nails per hand and keep the rest solid for a balanced, high-end DIY result.
23. Sugar Texture Snow Nails
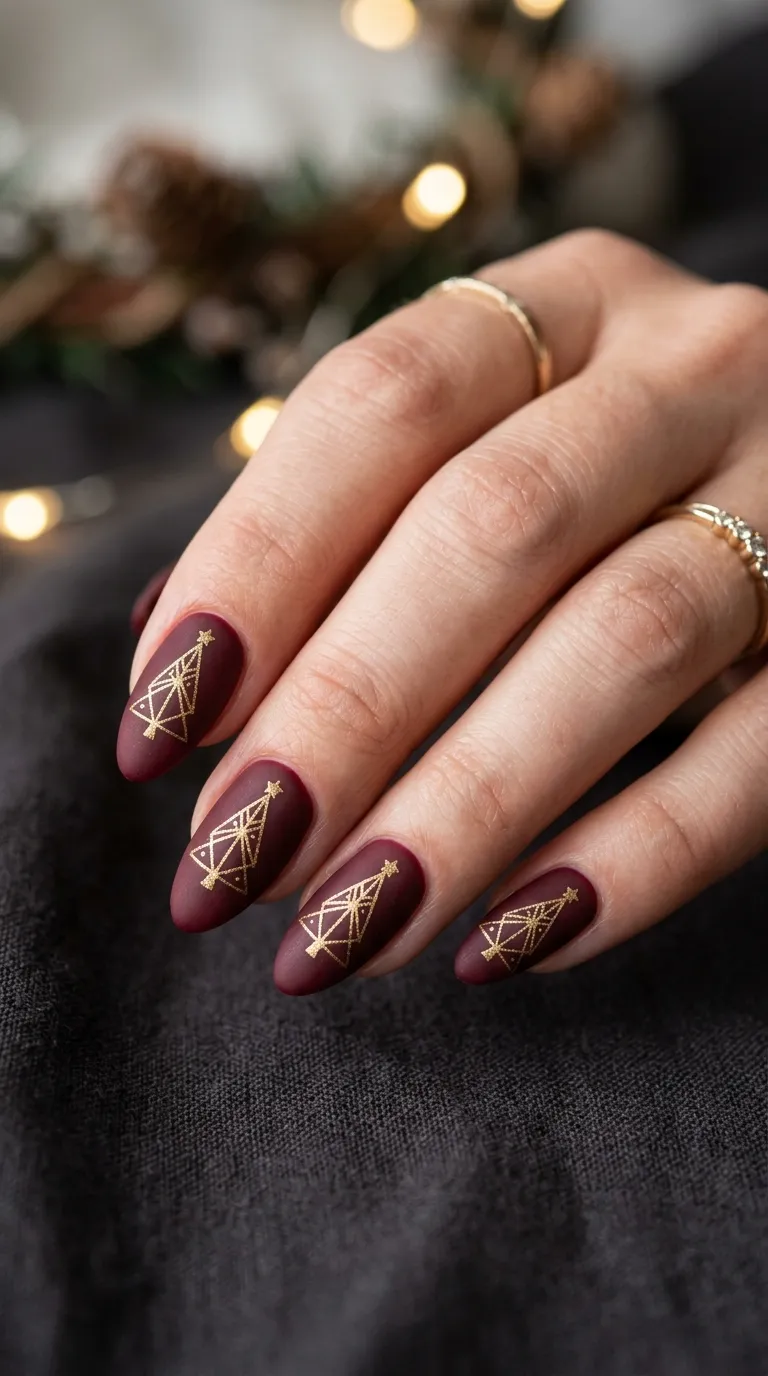
Sprinkle fine white glitter over wet white polish for a sugary, textured snow effect. The tactile finish looks like sparkling fresh snowfall and feels wonderfully wintery. Press the glitter gently, shake off the excess, and skip top coat to preserve the texture.
24. Chrome Powder Rub
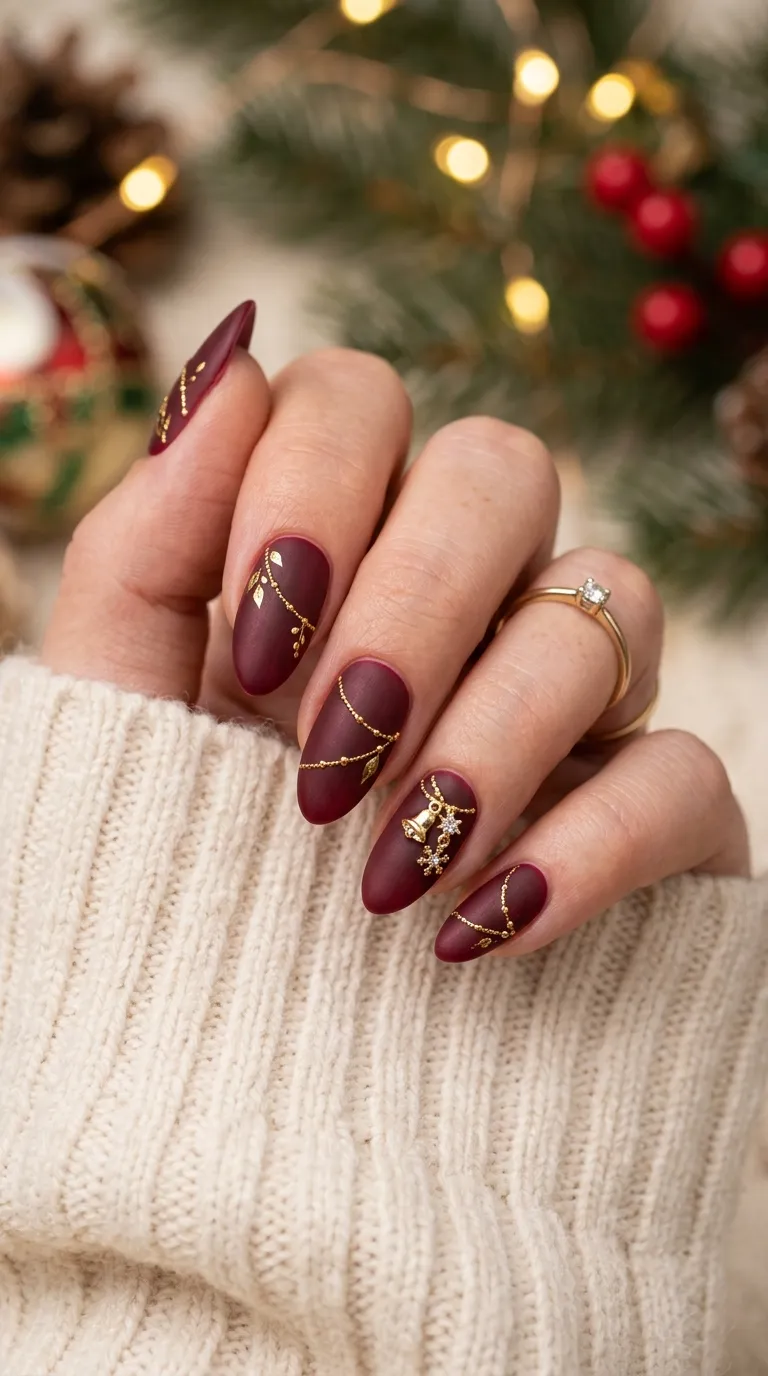
Buff inexpensive chrome powder over a dark base with a sponge applicator for a mirror-metallic finish. The transformation is dramatic for such a simple step. Seal with a no-wipe top coat, and your DIY nails will rival expensive salon chrome sets.
25. Simple Stamp Art Stars
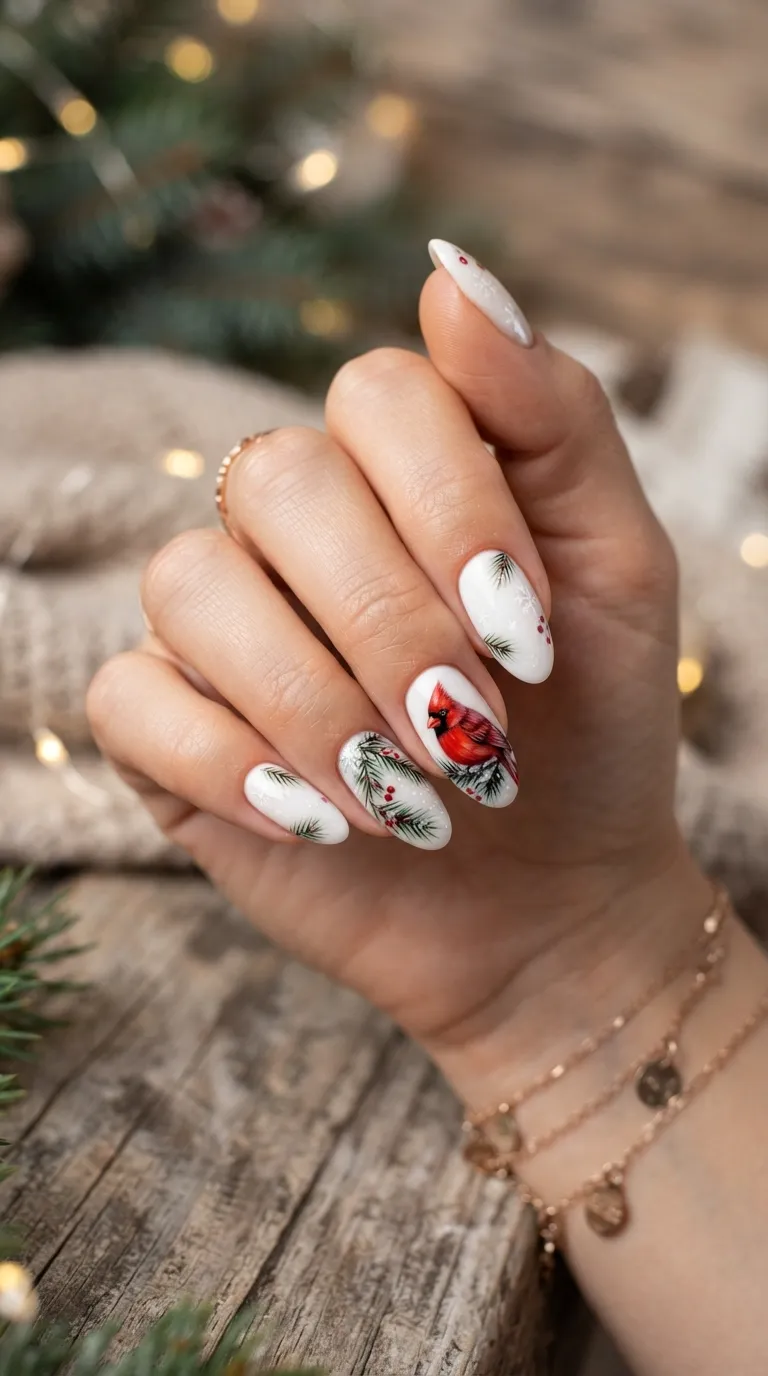
Basic nail stamping plates with star and snowflake patterns give you perfect art with a single press. The stamper transfers crisp designs in seconds once you get the technique down. Practice on paper first, then stamp over your favorite holiday base color.
Related Nail Ideas
- 21 Red Christmas Nail Ideas for a Festive 2027 Manicure
- 25 Christmas Acrylic Nail Ideas for Festive 2027 Holiday Designs
- 25 Christmas Nail Art Ideas for a Stunning 2027 Holiday Manicure
Final Term
With these 25 simple DIY Christmas nail ideas, a festive 2027 manicure is completely within your reach — no salon appointment required. From toothpick dots to tape stripes and magnetic polishes, every technique here proves that beautiful holiday nails are about creativity, not perfection. Gather your supplies, put on your favorite Christmas film, and enjoy making merry, one nail at a time.
