
23 Nail Hacks of 2026: Game-Changing Tips & Tricks
Are you tired of smudged polish, chipped nails, and manicures that don’t last? You’re about to discover the best kept secrets for perfect nails in 2026! Nail hacks are simple tricks that make your manicure routine easier, faster, and more professional looking. These clever tips save you time, money, and frustration when doing your nails at home. Whether you’re a complete beginner or someone who paints their nails weekly, these hacks will change your life. In this guide, we’ll share 23 incredible nail hacks that actually work and make a real difference. From preventing smudges to making polish last longer, these tricks solve the most common nail problems everyone faces. You’ll learn professional secrets that nail technicians use in salons every single day. These hacks use items you already have at home, so you don’t need expensive tools or products. Get ready to transform your at home manicures from frustrating disasters into salon quality masterpieces. Let’s dive into these genius nail hacks that will make you wonder how you ever lived without them!
Why Nail Hacks Make Your Life Easier
Nail hacks are total game changers for anyone who does their own manicures! These simple tricks solve annoying problems that make doing nails feel hard and frustrating. When you know the right hacks, painting your nails becomes quick and enjoyable instead of stressful. You’ll save so much money by getting salon quality results at home without expensive appointments. Most nail hacks use everyday items like ice water, tape, or household products you already own. This means you don’t need to buy special expensive tools or gadgets. Nail hacks also save precious time, which is important when you’re busy with work, school, or family. Instead of waiting forever for nails to dry or fixing mistakes repeatedly, you’ll finish faster. These tricks help your manicure last much longer without chipping or peeling too soon. When your nails look good for a whole week, you feel more confident and put together. Nail hacks also prevent common disasters like smudged polish, uneven coats, and messy cuticles. Learning these secrets makes you feel like a nail professional even at home. The best part is that once you learn a hack, you can use it forever. These tips and tricks work for regular polish, gel, acrylics, and all nail types. Whether you have long nails or short nails, these hacks make everything better and easier!
23 Nail Hacks You’ll Love
1. Ice Water Quick Dry Method
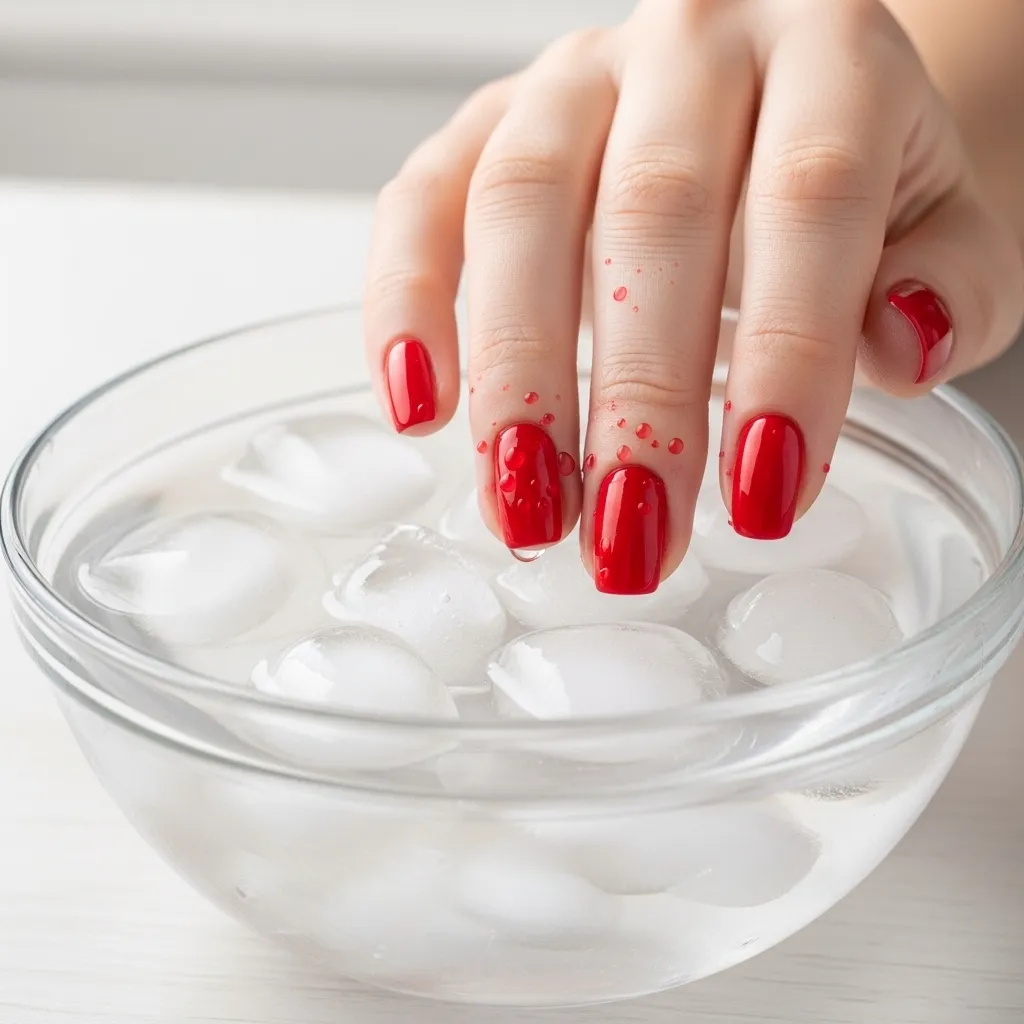
Freezing cold ice water is the secret to drying nails super fast! After painting your nails completely, wait about two minutes for the surface to set slightly. Then dip your freshly painted nails into a bowl of ice cold water for three to five minutes. The extreme cold hardens the polish quickly from the outside in. You’ll notice tiny water droplets forming on your nails, which means it’s working perfectly. This hack cuts drying time in half compared to just air drying your manicure. The ice water method works with regular nail polish but not with gel polish. Make sure the water is truly ice cold with actual ice cubes floating in it. After removing your hands from the ice bath, gently pat them dry with a soft towel. Your nails will be completely dry and ready for action without any smudging! This is the most popular nail hack for people who hate waiting around.
2. Vaseline Cleanup Barrier
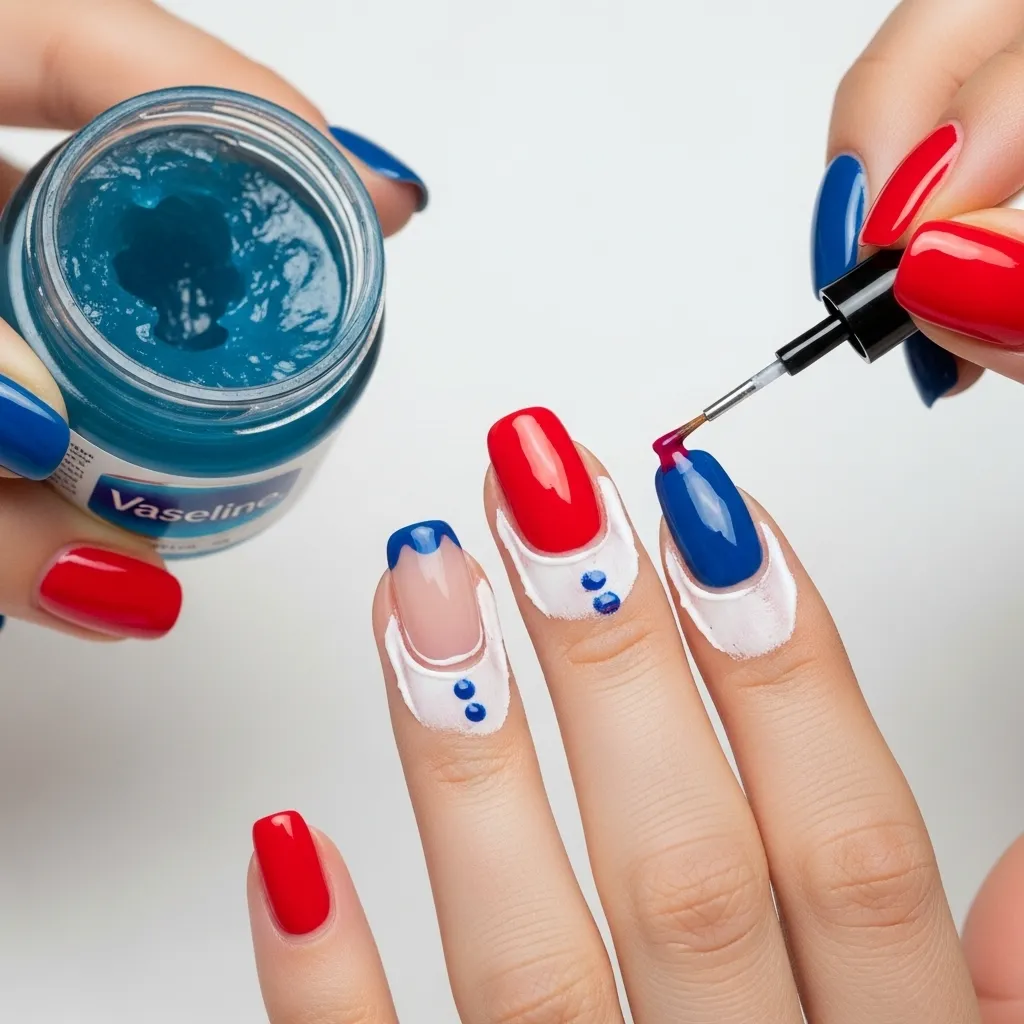
Petroleum jelly creates a magic barrier that makes cleanup incredibly easy! Before painting your nails, use a cotton swab to apply Vaseline or petroleum jelly around each nail. Cover the skin on your fingers right next to the nail edge completely. When you paint your nails, any polish that gets on the Vaseline area won’t stick to skin. After you finish painting and your nails dry, simply wipe away the Vaseline with a tissue. All the messy extra polish comes off with the jelly, leaving perfectly clean edges. This hack is amazing for people who struggle with steady hands or getting polish on skin. You can also use coconut oil or any thick moisturizer instead of Vaseline. The barrier method saves so much time compared to using nail polish remover and cotton swabs. Your manicure will look professional and salon quality every single time!
If You Liked This; How to Remove Gel Nail Polish
3. White Vinegar Base Prep
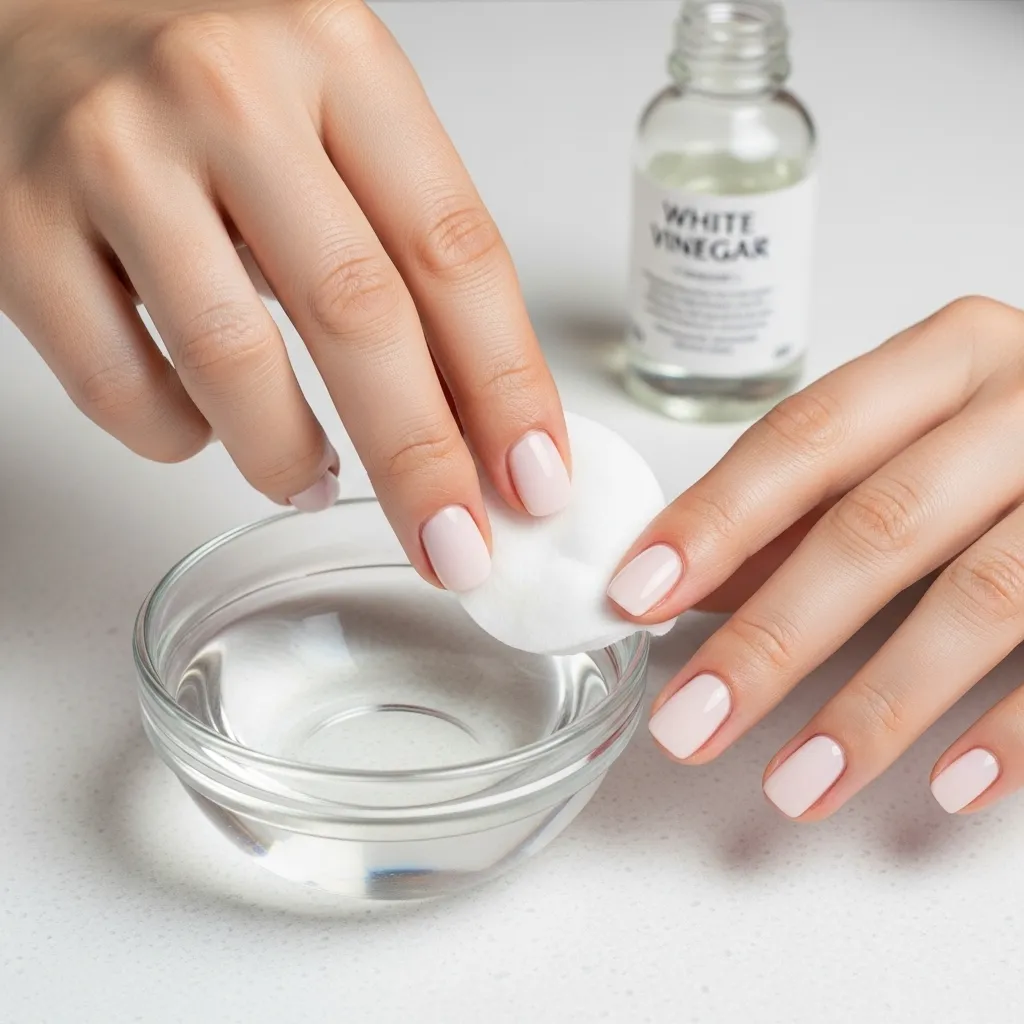
Wiping nails with white vinegar before polish makes it last way longer! Pour a small amount of white vinegar onto a cotton pad or ball. Rub each nail thoroughly with the vinegar soaked cotton before applying any polish. The vinegar removes oils, dirt, and residue that prevent polish from sticking properly. Let your nails air dry for about thirty seconds after the vinegar treatment. Then apply your base coat and polish as you normally would. This simple prep step makes your manicure last three to five extra days without chipping. The acid in vinegar creates a clean surface that polish can grip onto tightly. This hack is especially helpful for people whose manicures chip within one or two days. Regular white vinegar from your kitchen works perfectly, and it’s super cheap too!
4. Tape for Perfect French Tips
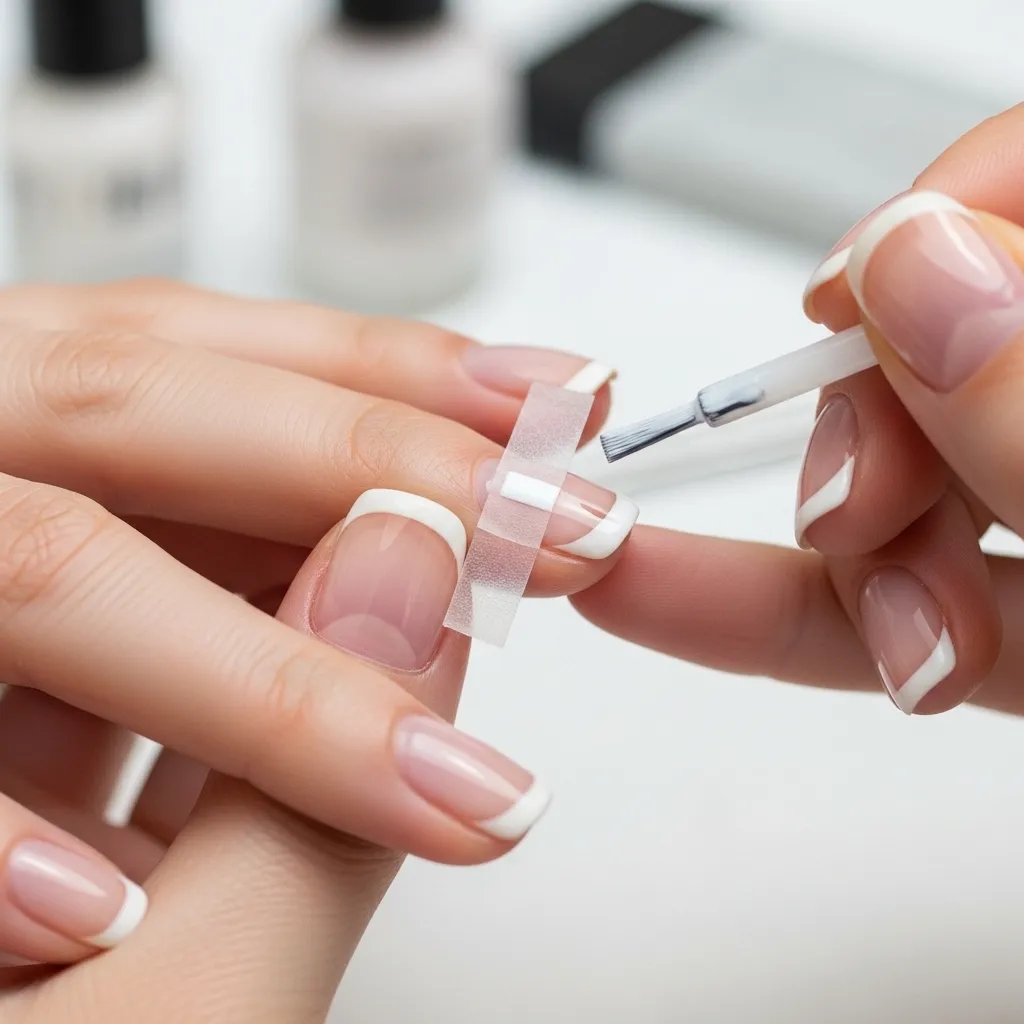
Regular scotch tape or painter’s tape creates flawless French manicure tips! Paint your nails with a nude or light pink base color first and let it dry completely. Cut small pieces of tape and stick them across your nails where you want the white tip to start. Press the tape down firmly so no polish can seep underneath the edges. Paint the exposed nail tip area with white polish in smooth even strokes. Carefully peel off the tape while the white polish is still slightly wet for best results. You’ll have perfectly straight, professional looking French tips without any wobbly lines. This hack works for classic French manicures or any two tone nail design. The tape method is easier than freehand painting, especially for beginners. You can also use special nail striping tape for even thinner, more precise lines!
5. Toothpaste Stain Remover
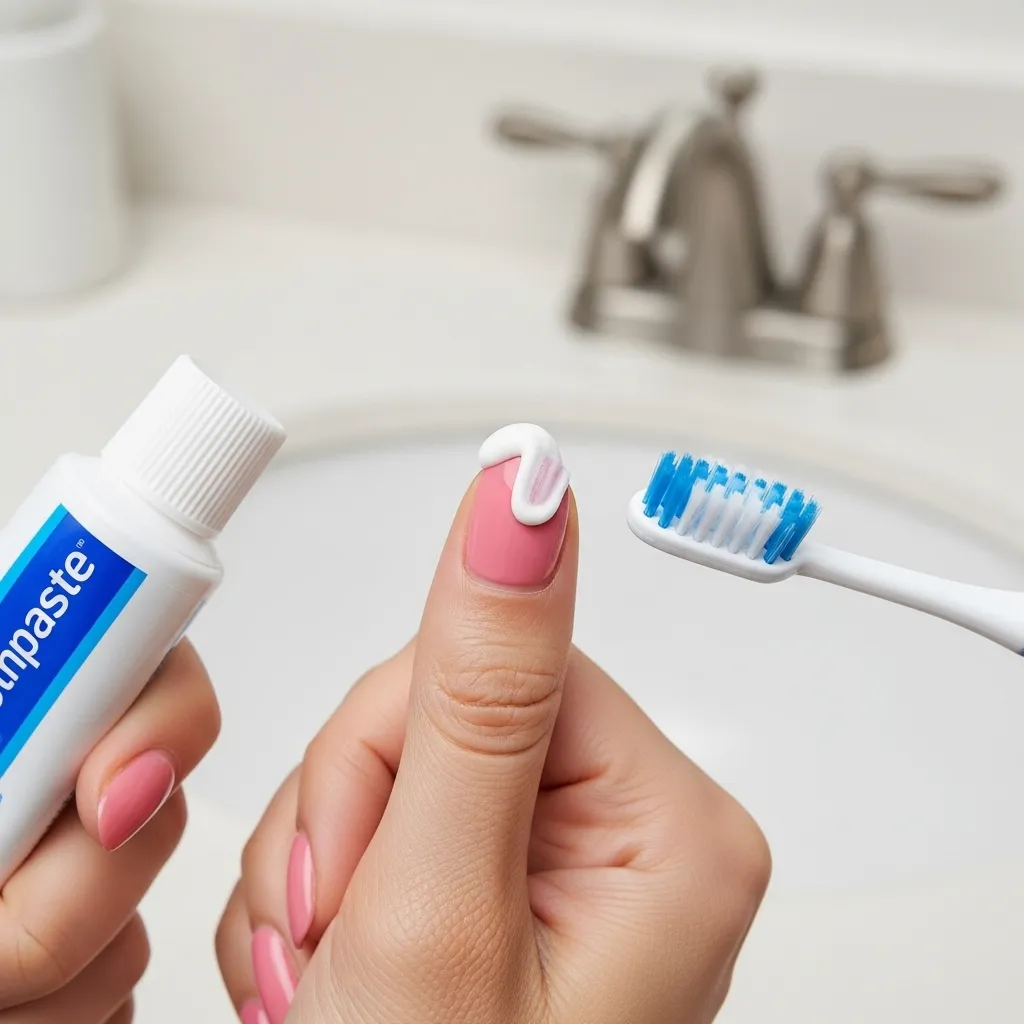
Regular white toothpaste removes yellow stains from nails like magic! Squeeze a small amount of plain white toothpaste onto an old toothbrush or nail brush. Gently scrub each stained nail with the toothpaste for about thirty seconds per nail. The mild abrasives in toothpaste lift stains without damaging your natural nail plate. Rinse your hands with warm water and pat dry to see the amazing difference. This hack works especially well for stains from dark nail polish colors like red or black. Use toothpaste with baking soda for extra whitening power on stubborn yellow stains. Do this treatment once or twice a week if you wear dark polish frequently. Your natural nails will look clean, healthy, and ready for your next manicure. This simple trick saves money compared to buying expensive nail whitening products!
If You Liked This; How to Remove Gel Nail Polish
6. Rubber Band Bottle Grip
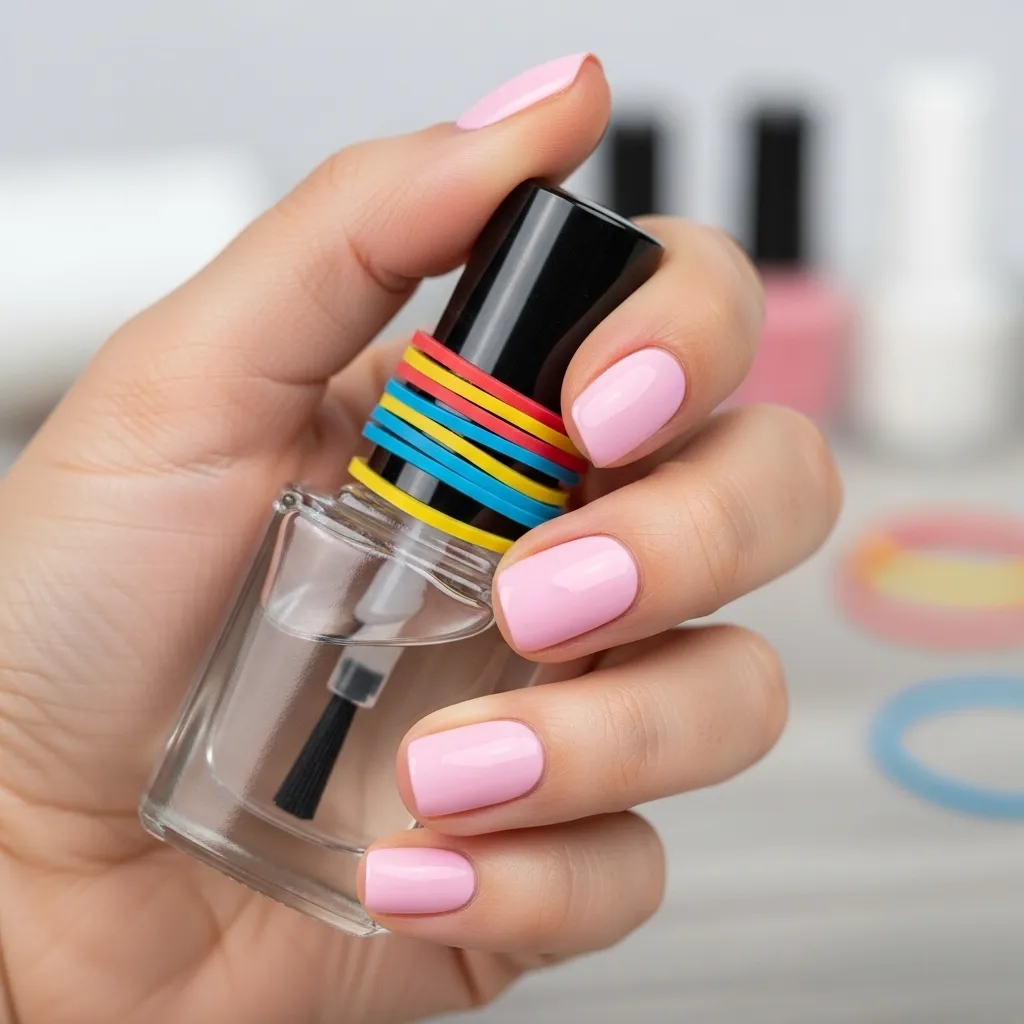
A simple rubber band wrapped around polish bottles prevents slippery disasters! Wrap one or two thick rubber bands around the middle of your nail polish bottle. The rubber creates grip and texture that makes the bottle much easier to hold. This is especially helpful when your hands are slightly oily or if bottles are small. The rubber band hack prevents you from dropping expensive polish bottles and making huge messes. You can paint your nails with better control and steadier hands when bottles don’t slip. This trick also works great for people with arthritis or hand pain who struggle gripping smooth surfaces. Use colorful rubber bands to color code your polish collection by shade or brand. This genius hack costs nothing and makes your manicure routine so much easier!
7. Cuticle Oil Every Night
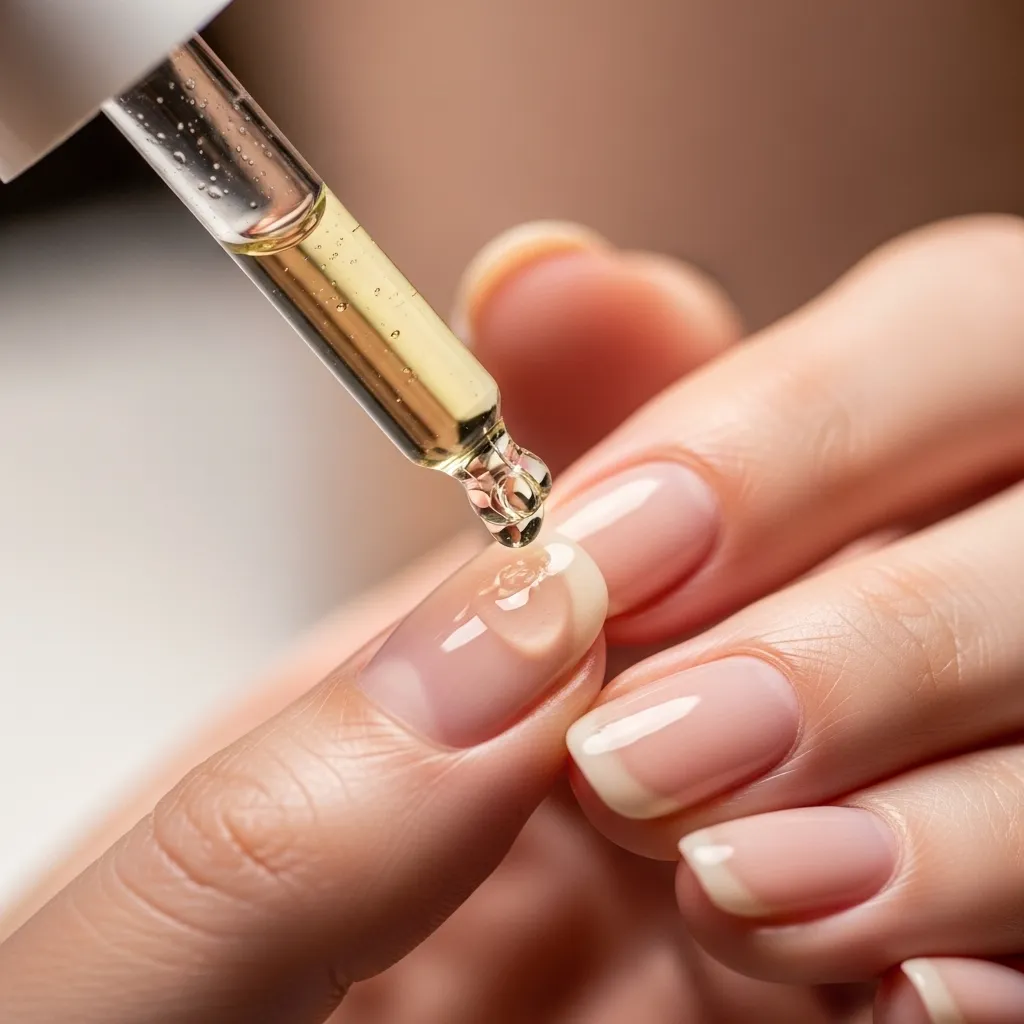
Applying cuticle oil before bed is the secret to healthy, strong nails! Keep cuticle oil or vitamin E oil on your nightstand as a reminder. Every night before sleep, massage a tiny drop of oil into each cuticle and nail. The oil penetrates deeply overnight while you’re not using your hands for anything. This consistent moisture prevents dry, cracked cuticles and strengthens nails from the root. Daily cuticle oil also makes your manicures last longer because healthy nails hold polish better. You’ll notice less peeling, fewer hangnails, and faster nail growth within just two weeks. This hack works with special cuticle oil, coconut oil, olive oil, or vitamin E capsules. Making this a nightly habit transforms your nail health completely. Healthy cuticles and nails make every manicure look more professional and beautiful!
8. Blow Dryer Speed Dry
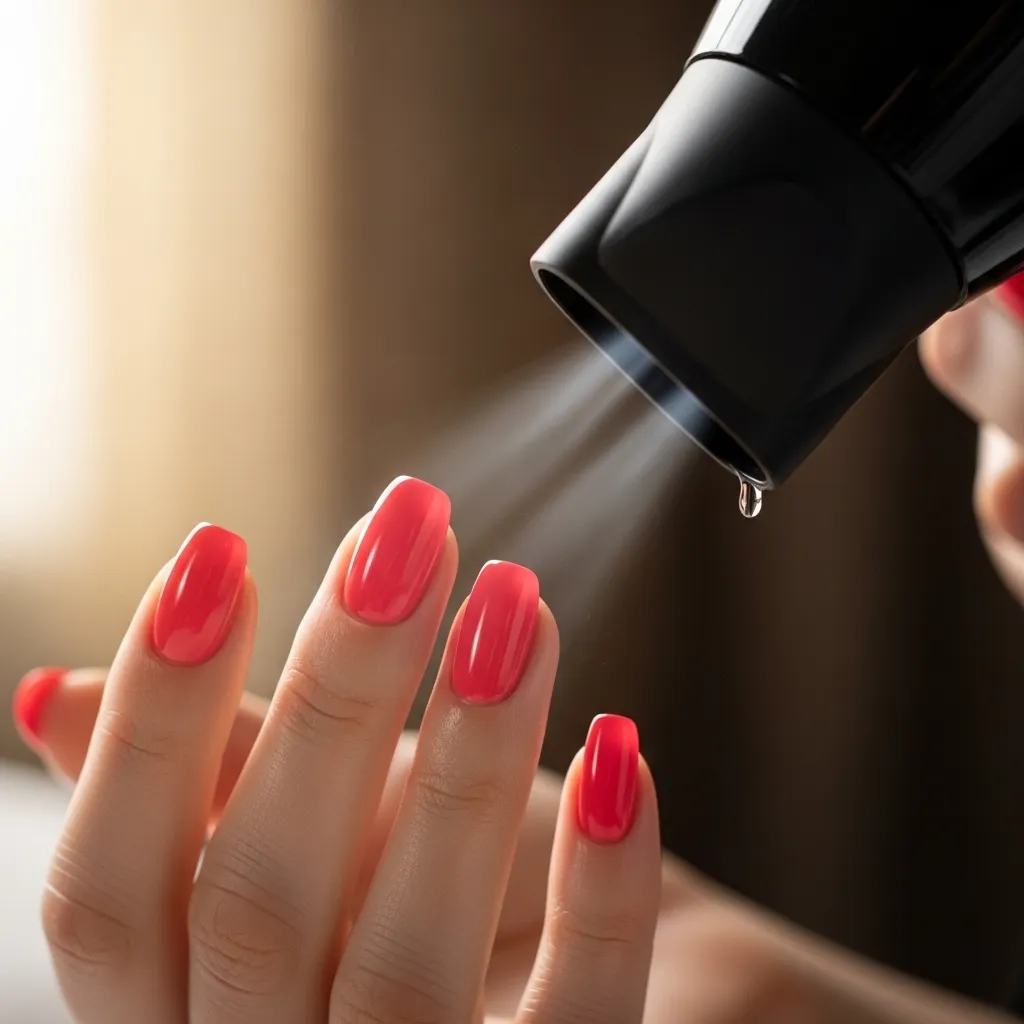
Your regular hair dryer on cool setting speeds up nail drying significantly! After painting your nails, set your blow dryer to the cool or cold air setting. Hold the dryer about six inches away from your nails and move it around constantly. Blow cool air over your freshly painted nails for two to three minutes per hand. The moving cool air helps the polish set and harden much faster than still air. Never use hot air because heat can actually make polish bubble and look terrible. The blow dryer method works great when you’re in a hurry and need dry nails fast. This hack is especially useful for people who don’t have time for ice water baths. Keep your dryer on the lowest speed setting to avoid blowing dust onto wet polish. Your nails will be touch dry in just a few minutes instead of twenty!
9. Cornstarch Anti Smudge Powder
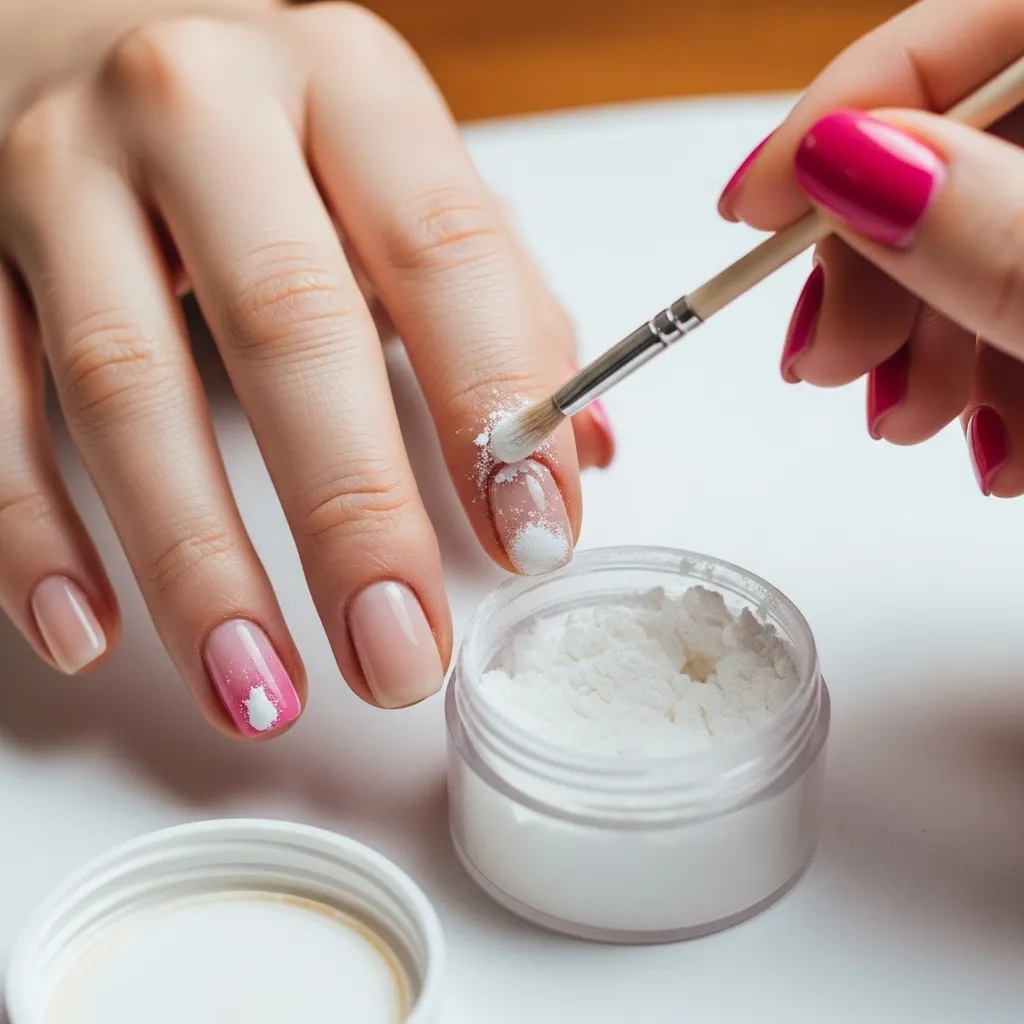
Sprinkling cornstarch on damp nails prevents smudges when you’re impatient! Paint your nails completely and wait about three minutes for slight surface drying. Lightly dust cornstarch baby powder or translucent face powder over your nails using a fluffy brush. The powder creates a protective layer that lets you touch things without ruining your manicure. After about five more minutes, gently brush off the excess powder with a clean makeup brush. Your nails will have a matte finish, so apply one more layer of top coat. The powder hack is perfect when you absolutely cannot wait for nails to dry completely. This trick works in emergencies when you need to grab your keys or phone quickly. The powder absorbs some moisture and creates a barrier against accidental bumps and touches!
10. Elmer’s Glue Peel Off Base
School glue creates a peel off base coat for temporary or glitter polish! Paint a thin layer of white Elmer’s glue or PVA glue directly onto clean bare nails. Let the glue dry completely until it’s clear and no longer white looking. Then apply your nail polish or glitter polish on top of the dried glue layer. When you want to remove the polish, simply peel it off like a sticker from the edge. The polish comes off in one piece without any nail polish remover or harsh chemicals. This hack is amazing for trying bold colors you might not want to keep long. It also works great for removing chunky glitter polish that’s normally impossible to take off. Kids love this hack because peeling off nail polish is super fun and satisfying. Just remember this is temporary and will peel off more easily than regular manicures!
11. Thin Coats Multiple Layers
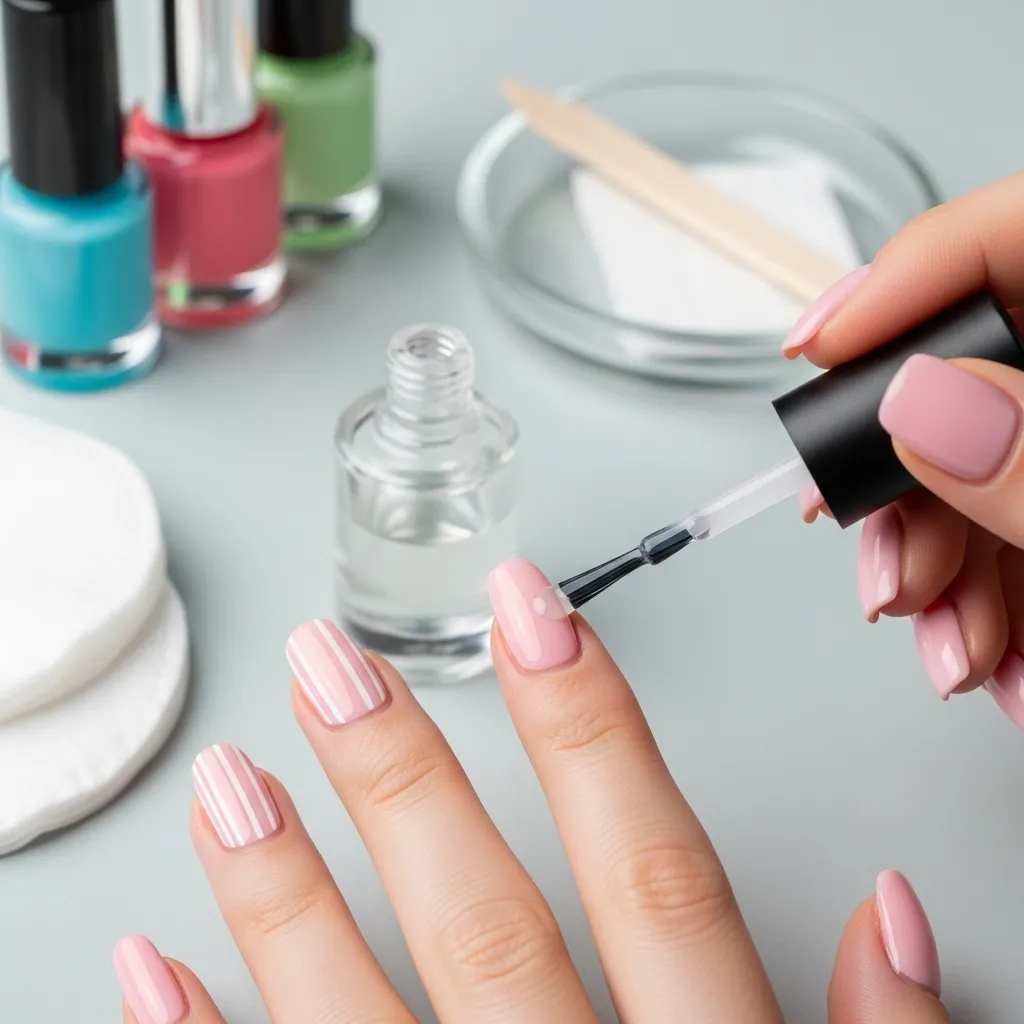
Applying several thin coats instead of thick coats makes polish last way longer! When you paint nails with thick heavy coats, the polish takes forever to dry. Thick coats also peel and chip much faster because they don’t adhere well. Instead, apply very thin, almost sheer coats of polish and let each one dry completely. Build up color with two or three thin layers rather than one or two thick ones. Thin coats dry faster, look smoother, and create a stronger bond with your nail. This technique prevents bubbles, streaks, and that gloopy thick polish look. Professional nail technicians always use thin coats for the most durable, beautiful results. Be patient and wait for each thin layer to dry before adding the next. Your manicure will look more professional and last much longer without chipping!
12. Hole Punch Nail Art Guides
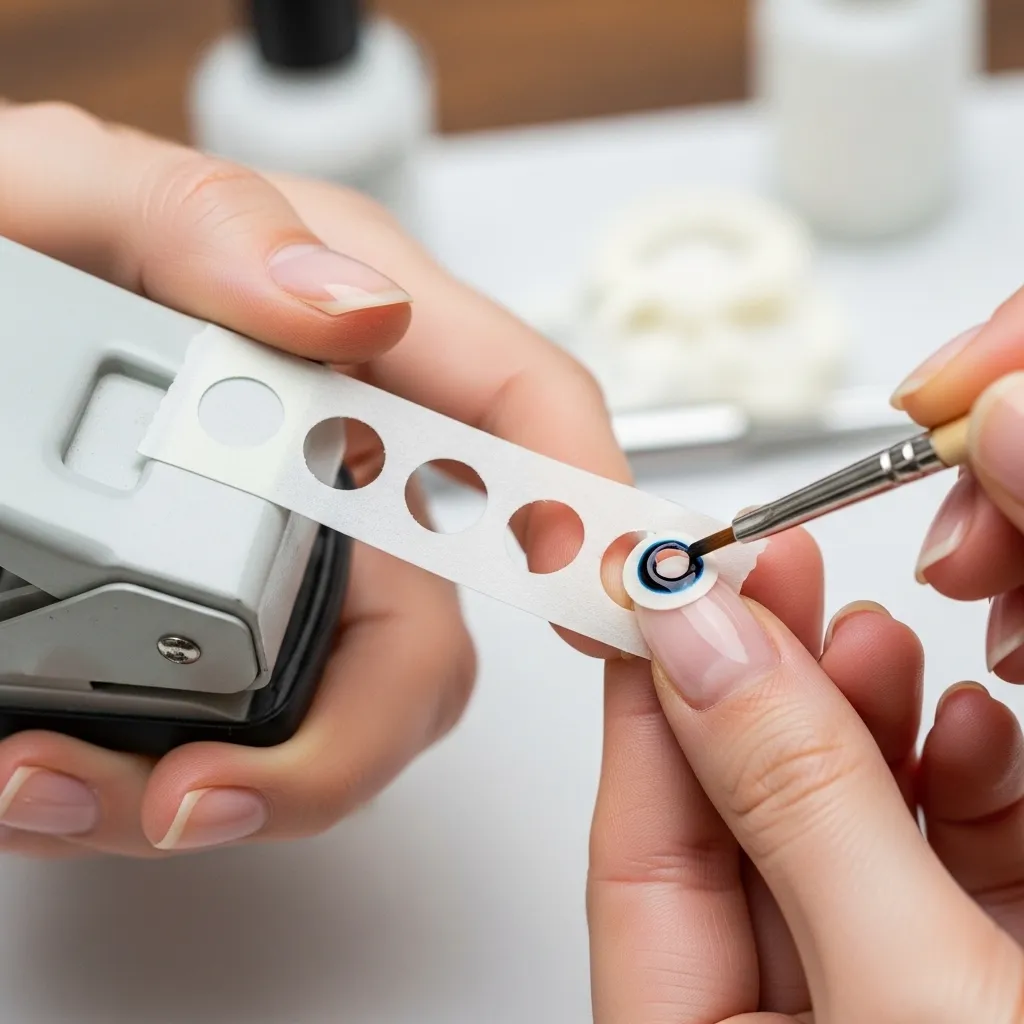
A regular hole puncher creates perfect circle guides for polka dot nails! Punch holes in washi tape, masking tape, or even paper for circular stencils. Stick the tape with holes onto your painted and dried base color nails. Paint or dab polish through the circular holes to create perfect round dots. Carefully peel away the tape while polish is slightly wet for clean circles. This hack makes precise polka dots without needing steady hands or dotting tools. You can create patterns with different sized hole punches for variety. The hole punch method also works for creating perfect circular accent details. This clever trick uses office supplies you probably already have at home!
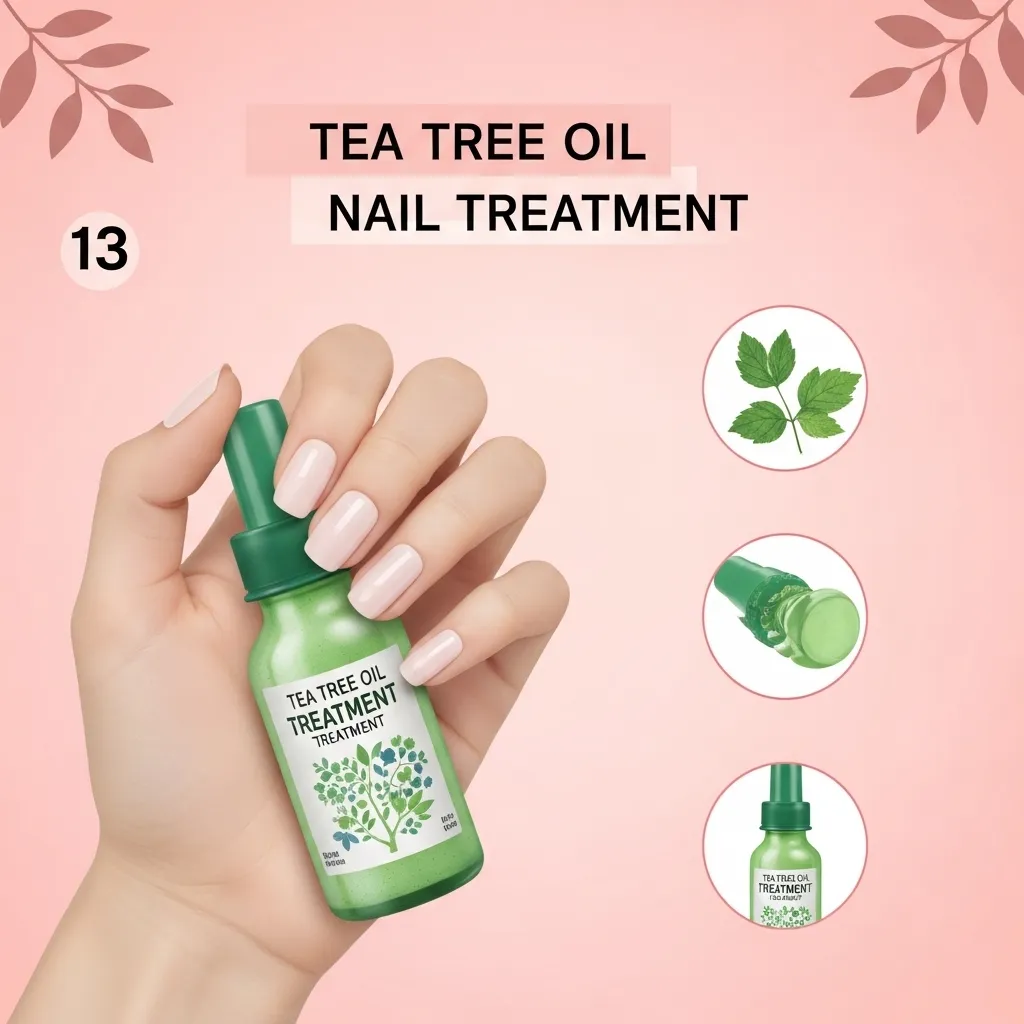
13. Tea Tree Oil Nail Treatment
Tea tree oil is a miracle treatment for weak, damaged, or infected nails! Add a few drops of pure tea tree oil to your cuticle oil or coconut oil. Massage this mixture into nails and cuticles every night before bed for healing benefits. Tea tree oil has natural antibacterial and antifungal properties that prevent infections. It also strengthens weak nails and helps them grow longer without breaking. This treatment is especially helpful if you frequently get acrylics or gel manicures. The oil repairs damage and restores moisture to dried out, brittle nails. You’ll notice stronger, healthier nails within two to three weeks of consistent use. Pure tea tree oil can be strong, so always dilute it with carrier oil. This natural hack beats expensive nail strengthening treatments from beauty stores!
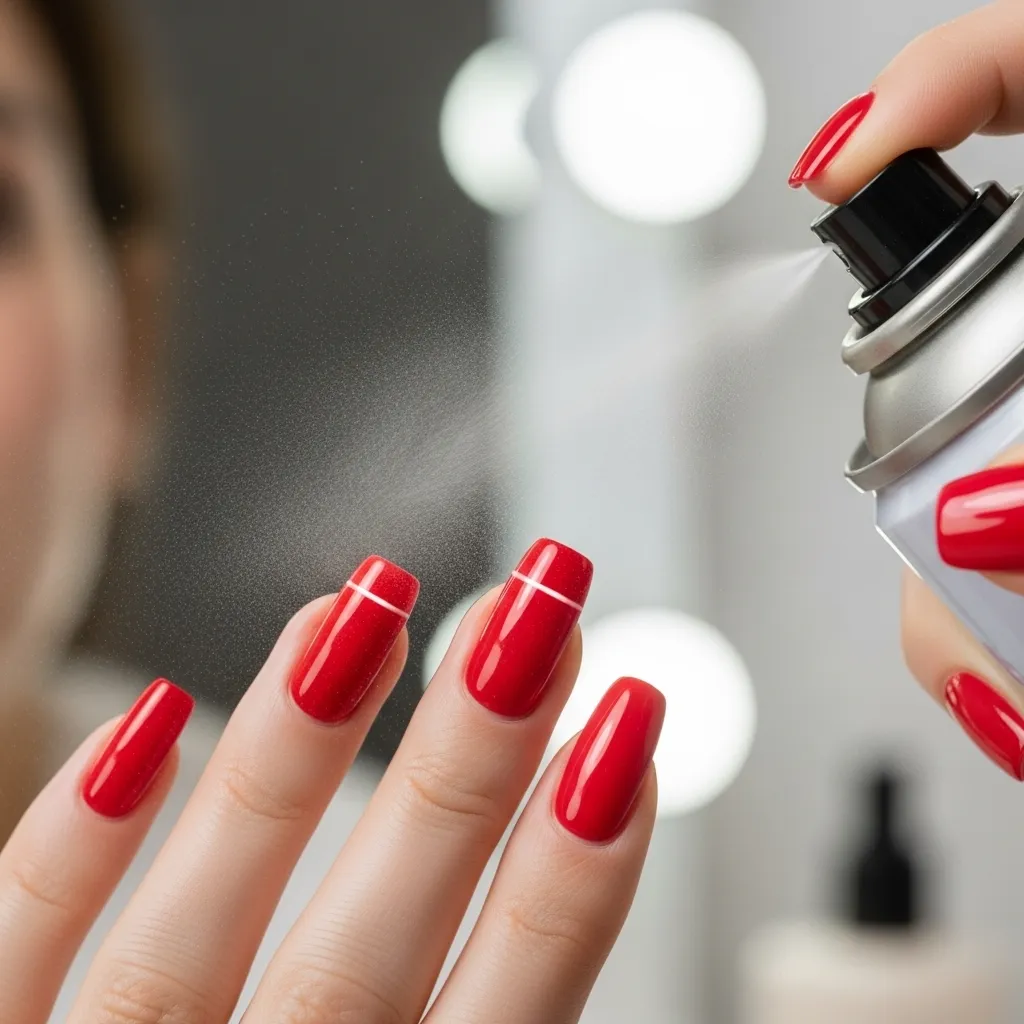
14. Hairspray Top Coat Extender
Spraying hairspray over dry nails adds extra protection and shine! After your manicure is completely dry, hold hairspray about eight inches away from hands. Lightly spray a fine mist of hairspray over your finished nails quickly. The hairspray creates an additional protective layer that helps prevent chips and scratches. This hack also adds extra glossy shine that makes your manicure look freshly done. Use regular aerosol hairspray, not the pump spray kind, for best results. Don’t spray too heavily or hold too close, which can make nails sticky. The hairspray method is great for making special event manicures last through long parties. This trick won’t replace top coat but adds extra insurance against damage. Your nails will stay shiny and chip free for one or two extra days!
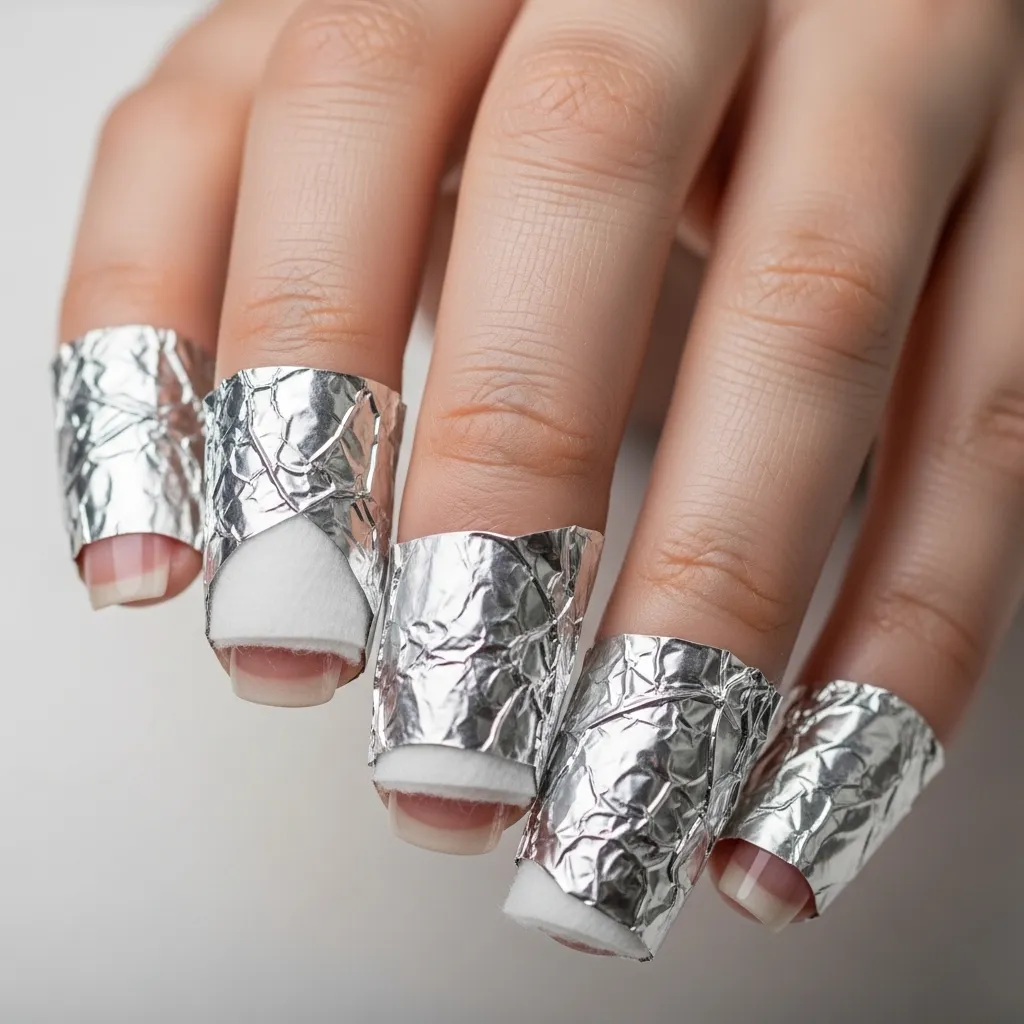
15. Aluminum Foil Gel Removal
Aluminum foil wraps make removing gel polish at home much easier and neater! Soak cotton pads in pure acetone nail polish remover until completely saturated. Place one soaked cotton pad on top of each gel polished nail carefully. Wrap each finger individually with small squares of aluminum foil to hold cotton in place. Leave the foil wraps on for ten to fifteen minutes to let acetone break down gel. The foil keeps acetone from evaporating and intensifies the removal process. After waiting, gently twist and pull off each foil wrap one at a time. The gel polish should slide right off with the cotton pad easily. Use an orange stick to gently push off any remaining gel pieces without damaging nails. This hack is gentler than peeling gel off and less messy than soaking bowls!
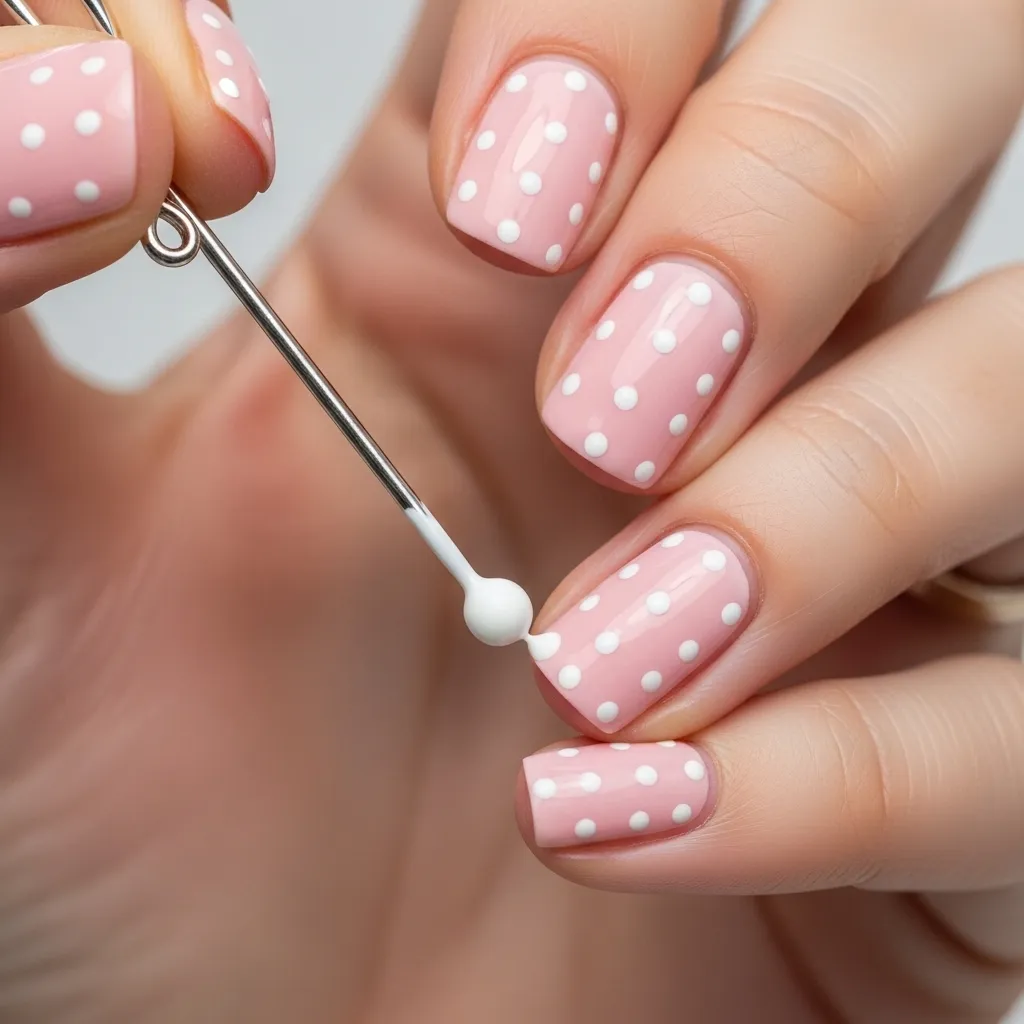
16. Bobby Pin Dotting Tool
Regular bobby pins make perfect free dotting tools for nail art designs! Open a bobby pin and use the round ball end for making dots. Dip the bobby pin tip into nail polish and gently press onto your nail. The round end creates perfect circular dots in whatever size you need. Use different sized bobby pins for varying dot sizes in your designs. This hack saves money since you don’t need to buy special dotting tools. Bobby pins work just as well as professional tools for polka dots and flower designs. Keep some clean bobby pins specifically for nail art in your manicure supplies. You can also use toothpicks for smaller dots and details!
17. Basecoat Always First
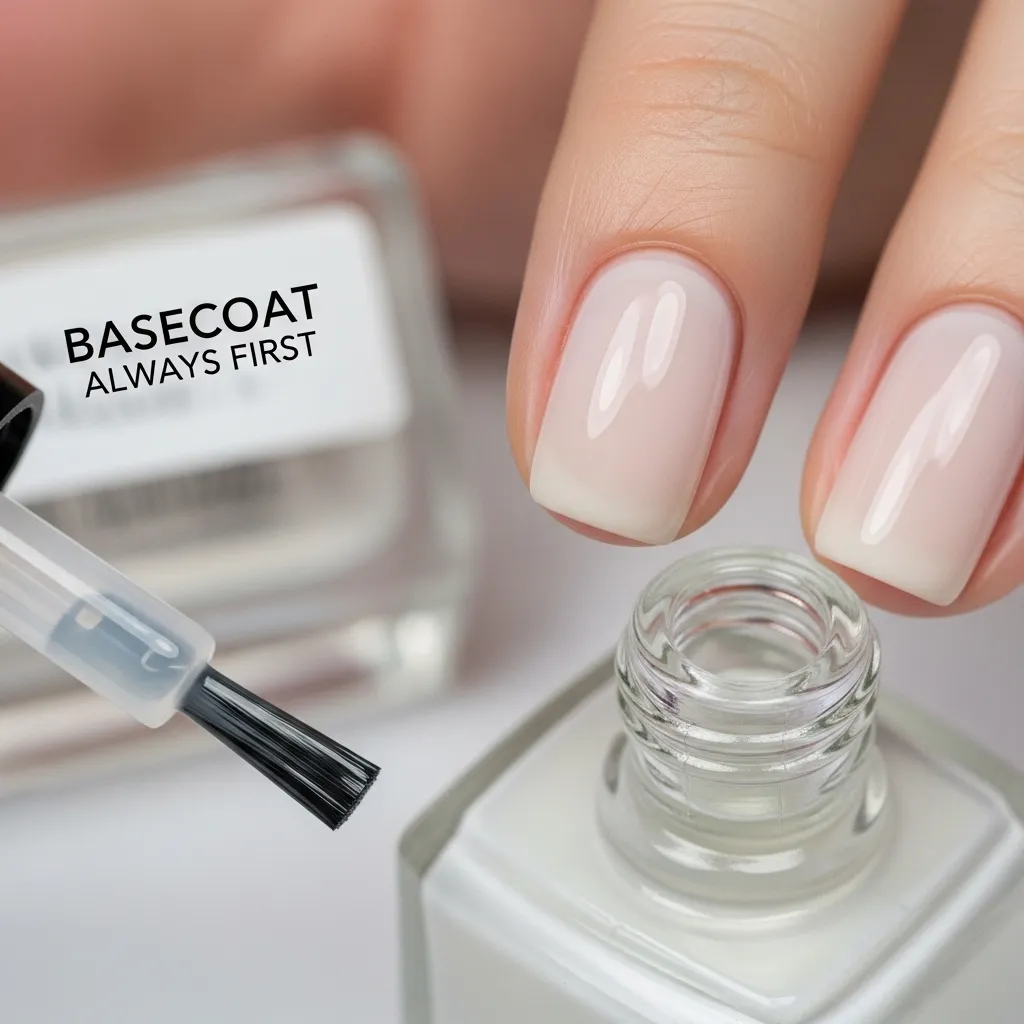
Never skip base coat because it’s the foundation for long lasting manicures! Base coat creates a smooth surface and fills in nail ridges for even polish application. It also protects your natural nails from staining, especially with dark or bright colors. Base coat helps polish adhere better so your manicure doesn’t chip quickly. Always apply one thin layer of base coat before any colored polish. Let the base coat dry completely for about one minute before adding color. Special base coats with ridge fillers or strengtheners provide extra benefits. Using base coat every single time makes a huge difference in how long manicures last. This step only takes one extra minute but extends your manicure by several days. Professional manicures always include base coat, so you should too!
18. Nail File One Direction
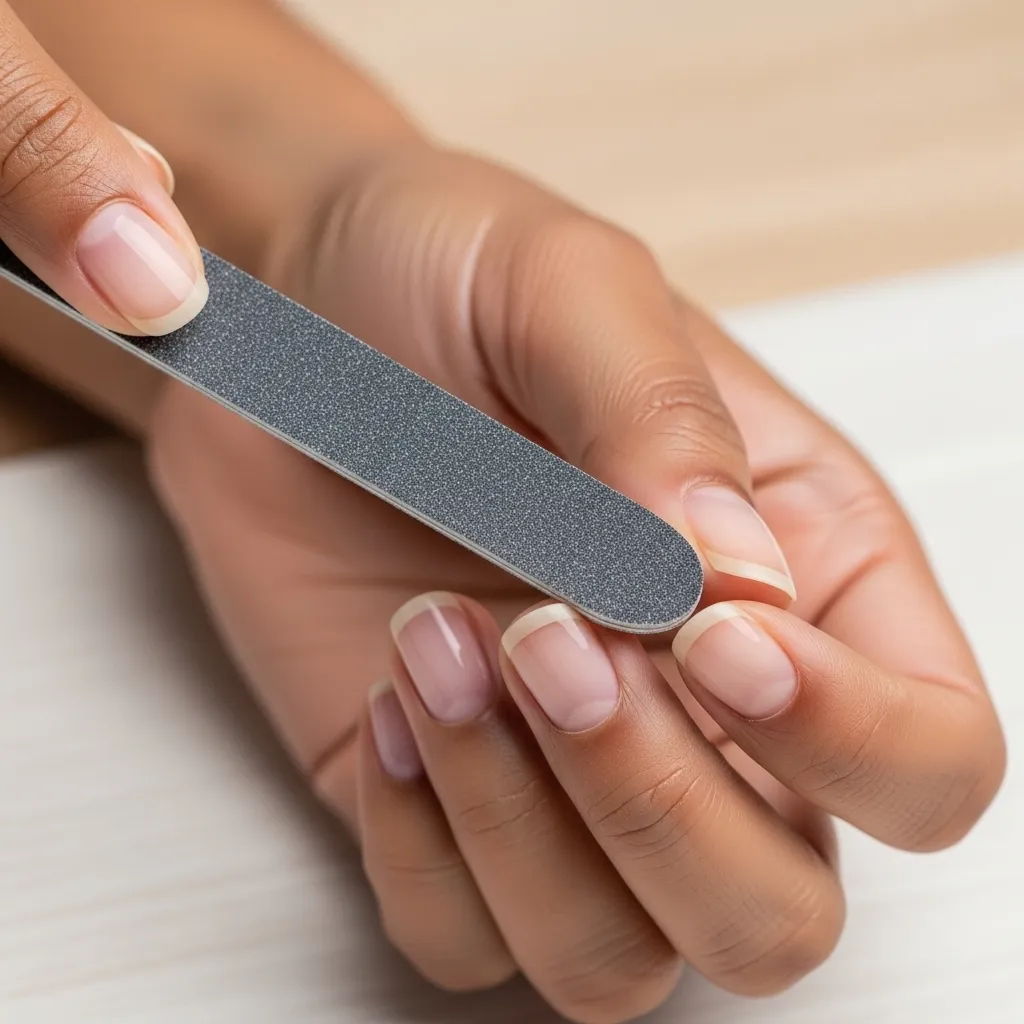
Always file nails in one direction instead of sawing back and forth! Filing in a sawing motion creates tiny tears and weakens your nail edges. Instead, file from the outside corner toward the center in smooth strokes. Lift the file away and return to the outside edge for the next stroke. File in one direction on each side until you achieve your desired shape. This gentle technique prevents splitting, peeling, and breakage at nail tips. Use a fine grit nail file, not a coarse one, for the smoothest edges. Glass or crystal nail files are best because they seal the nail edge perfectly. Filing correctly makes your nails stronger and helps them grow longer without breaking. This simple technique makes a massive difference in overall nail health!
19. Garlic Oil Growth Booster
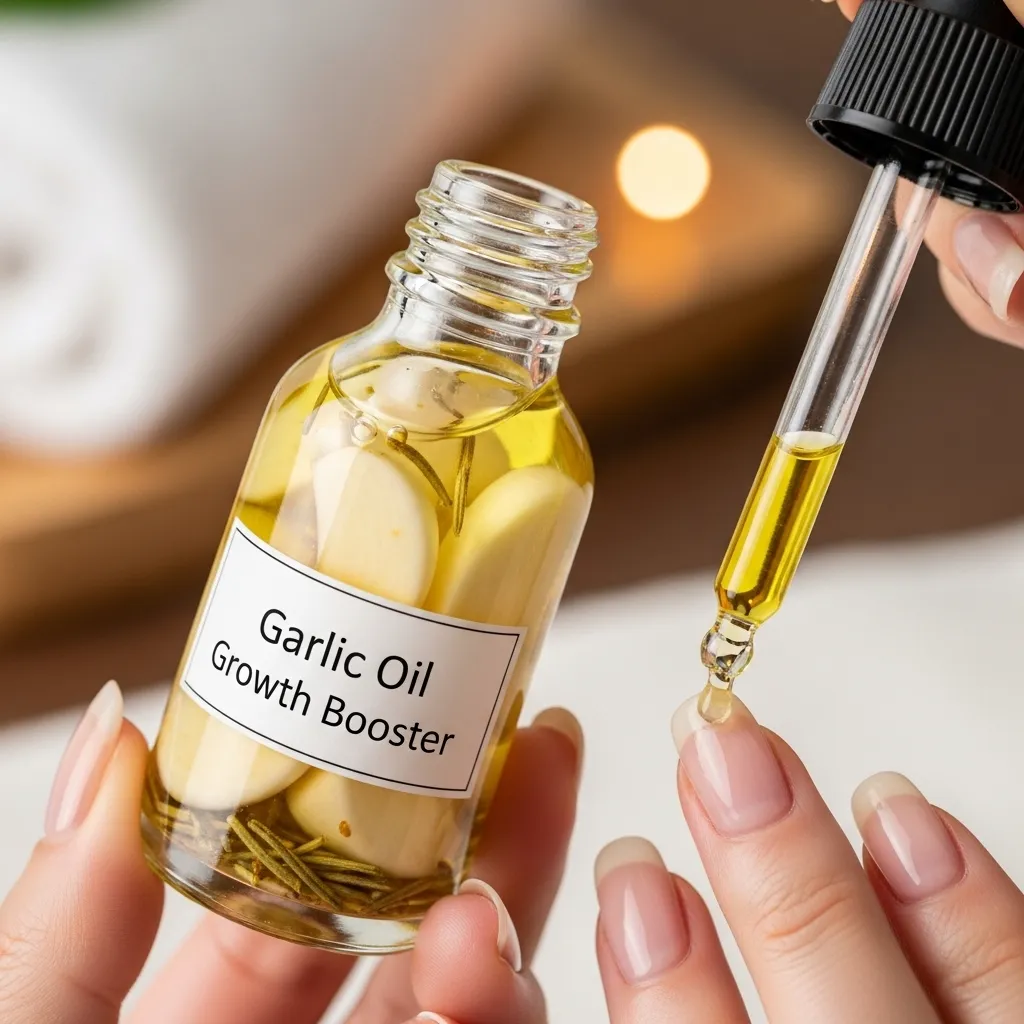
Rubbing garlic oil on nails promotes faster growth and incredible strength! Crush one or two fresh garlic cloves and mix with olive or coconut oil. Let the mixture sit for a few hours, then strain out the garlic pieces. Massage the garlic infused oil into your nails and cuticles every night before bed. The sulfur compounds in garlic strengthen nails and stimulate growth from the nail matrix. You’ll notice nails growing faster and breaking less within two to three weeks. The smell is strong but worth it for the amazing growth results. You can also buy pre made garlic oil from health food stores. Wash hands in the morning to remove the garlic smell before starting your day. This natural hack beats expensive nail growth serums from beauty stores!
20. Sticky Note Nail Shields
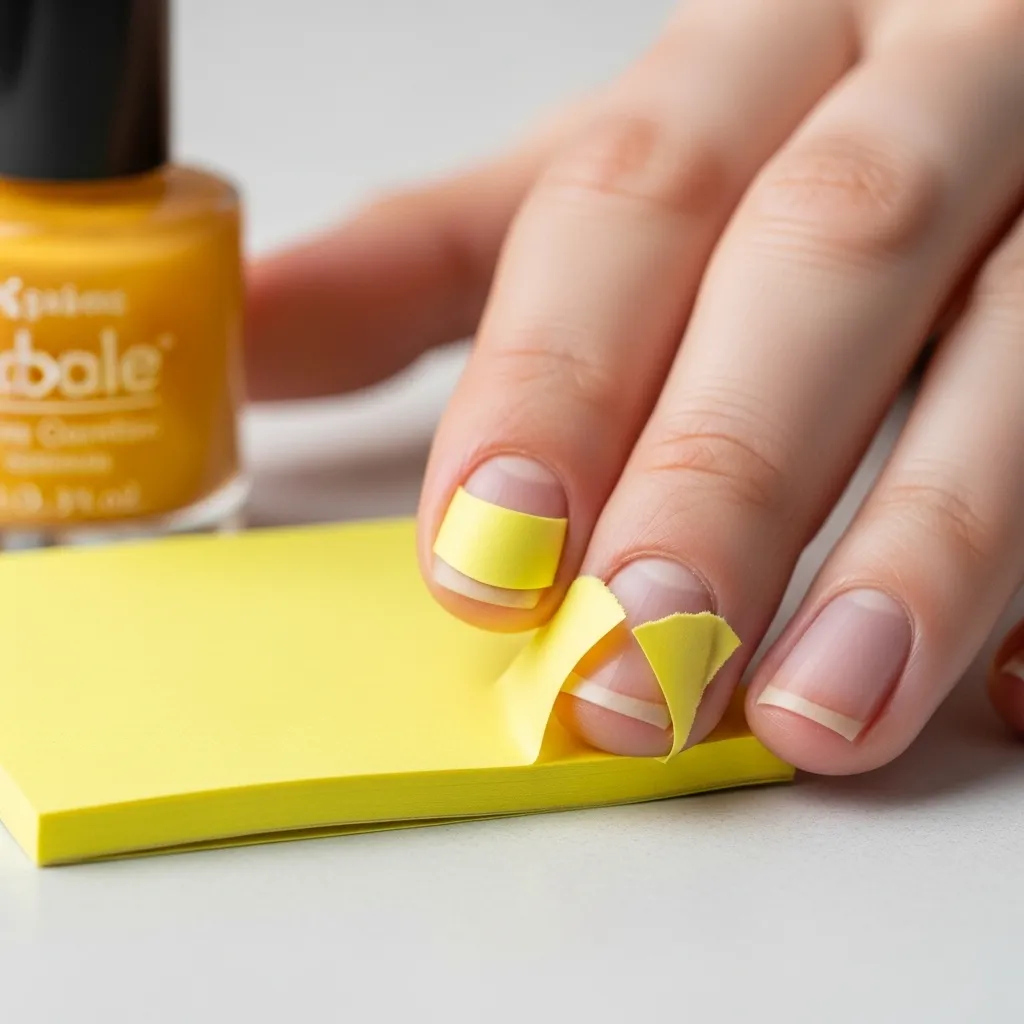
Small sticky notes or Post Its make great shields protecting skin from polish! Cut sticky notes into curved shapes that fit around your nail edges. Press the sticky side against your skin right next to the nail before painting. The sticky note catches any excess polish instead of your skin getting messy. When you finish painting each nail, simply peel away the sticky note shield. This hack is easier than liquid barriers and doesn’t require cleanup afterward. Sticky notes work great for creating geometric designs or negative space nail art. They’re also perfect for protecting skin during gradient or ombre techniques. Keep a stack of small sticky notes in your nail supplies for easy access. This cheap hack makes cleanup so much faster and easier!
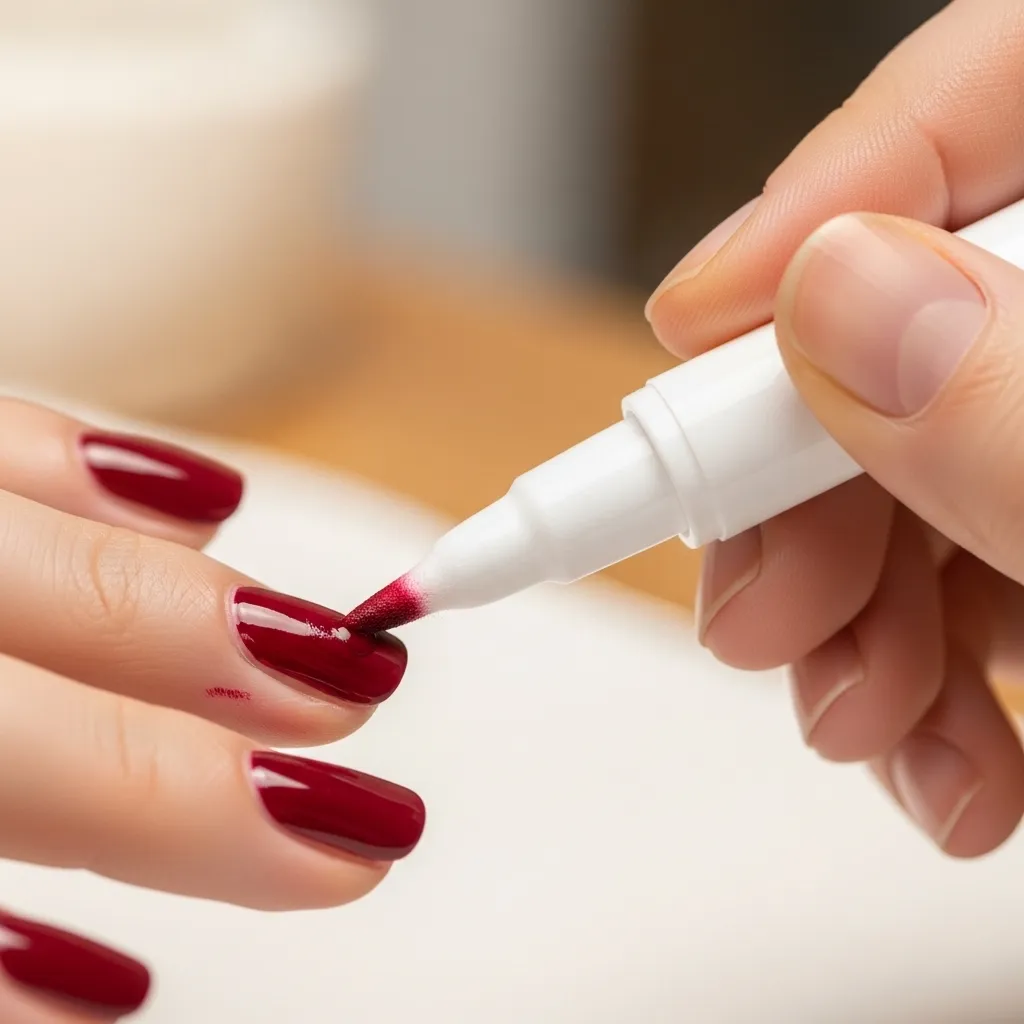
21. Qtip Acetone Cleanup Pen
Making your own cleanup pen saves money and works just as well! Get a small empty container or tube with a tight fitting lid. Fill it about halfway with pure acetone nail polish remover carefully. Put several cotton swabs or Qtips into the container with acetone. The cotton tips soak up acetone and stay moist inside the sealed container. When you need to clean up polish mistakes, pull out one soaked Qtip. Use the acetone soaked tip to precisely erase polish from skin and cuticles. Replace the Qtip back in the container when done and seal tightly. This homemade cleanup pen works for weeks and costs pennies to make. You can take it anywhere and always have cleanup tools ready!
22. Refrigerator Polish Storage
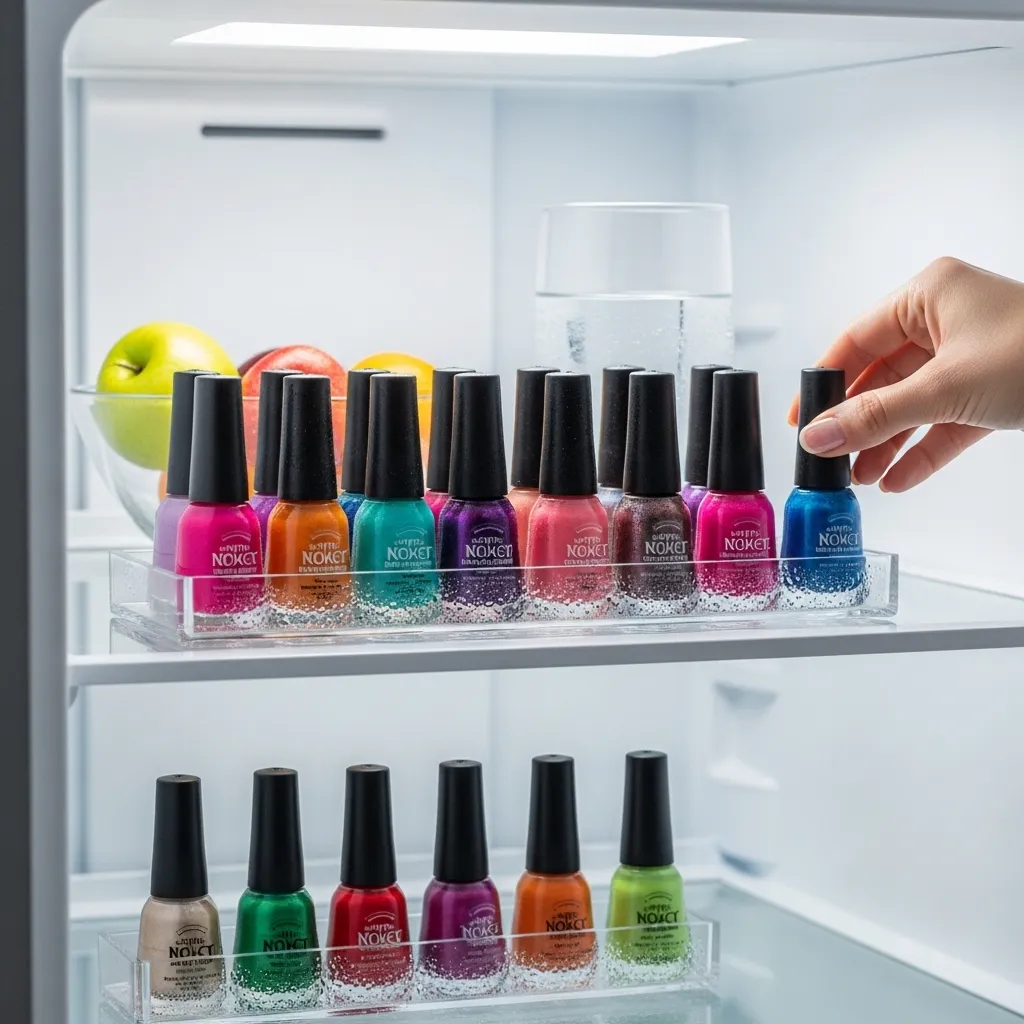
Storing nail polish in the refrigerator makes it last longer and apply smoother! Keep your polish collection in a cool, dark place away from temperature changes. The refrigerator maintains consistent cool temperature that prevents polish from getting thick and goopy. Cold polish also applies more smoothly and evenly onto nails without streaking. Just remember to let bottles sit at room temperature for a few minutes before using. Never freeze polish or put it in extremely cold areas of the fridge. Store polish in a small bin or basket so it doesn’t roll around loose. This hack extends the life of your polish by preventing separation and thickening. Your bottles will last years longer with proper cool storage. Professional nail salons use climate controlled storage for the same reasons!
23. Sandwich Bag Hand Protector
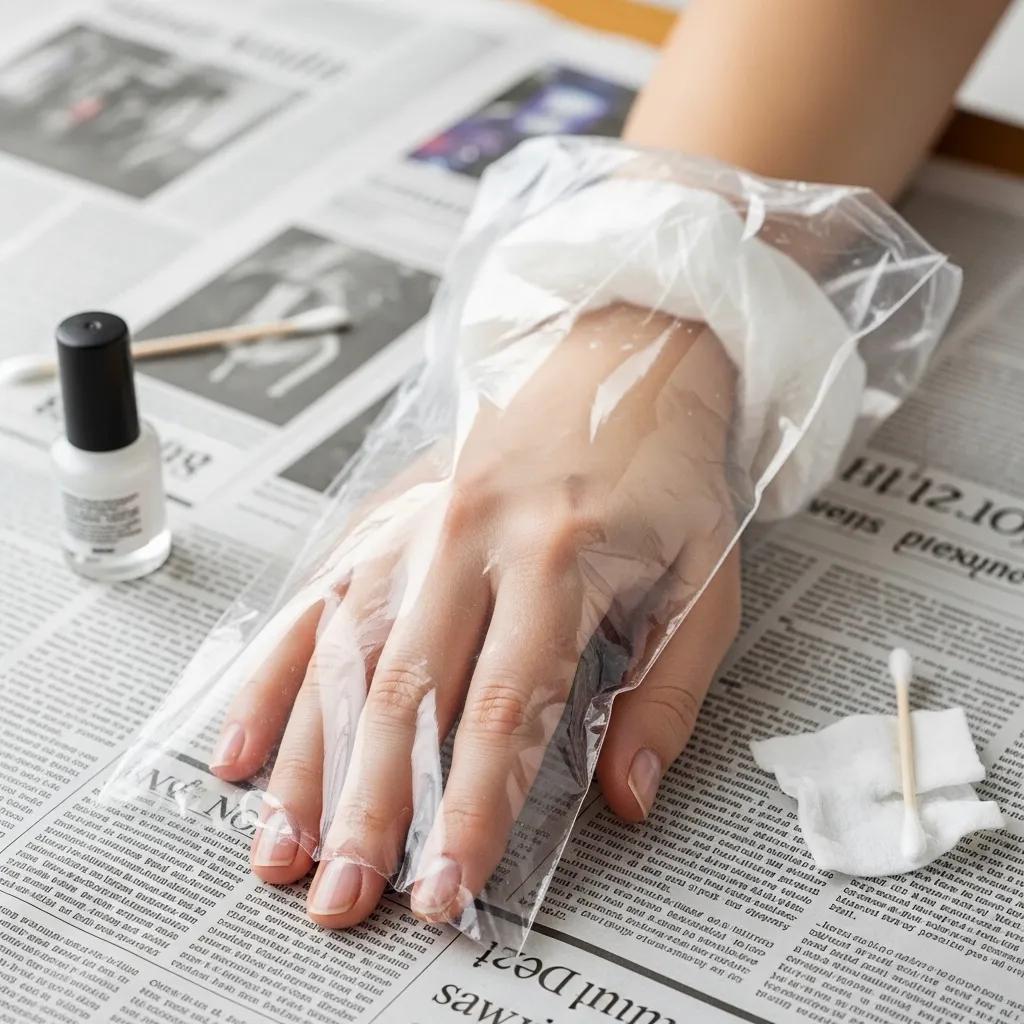
Wearing a sandwich bag on one hand protects your finished nails while painting the other! After completing your dominant hand’s manicure, carefully slip it into a plastic sandwich bag. The bag protects your wet nails while you use that hand to steady yourself. You can now paint your other hand without worrying about smudging the first hand. The plastic barrier prevents accidental touches and bumps that ruin fresh manicures. This hack is especially helpful for people who struggle painting their non dominant hand. Remove the bag gently once both hands are completely painted and drying. You can also use a plastic glove if you have those available. This simple trick prevents the frustrating problem of smudging nails while finishing your manicure!
Tips for Using Nail Hacks Successfully
Getting the most from these nail hacks requires just a little practice and patience! Start by trying one or two new hacks at a time instead of all twenty three at once. Master each technique before adding more hacks to your regular manicure routine. Keep all your nail supplies organized in one place so everything is ready when needed. Clean brushes, tools, and bottles regularly to maintain quality and prevent bacteria growth. Read through hack instructions completely before starting so you understand each step clearly. Don’t get discouraged if a hack doesn’t work perfectly the first time you try it. Practice makes perfect, and you’ll improve with each manicure you do at home. Take before and after photos to track your progress and see improvement over time. Share your favorite hacks with friends and family who also love doing nails. Remember that what works amazingly for one person might not work for everyone equally. Experiment with different techniques and find the hacks that work best for your specific needs!
Conclusion
These 23 nail hacks of 2026 will completely transform your at home manicure game! From the ice water quick dry method to the garlic oil growth booster, you now have professional secrets at your fingertips. These clever tricks save time, money, and frustration while giving you salon quality results every single time. Remember that the best nail hacks are the ones you actually use consistently in your routine. Start with the hacks that solve your biggest nail frustrations first, then explore others gradually. Your nails will look better, last longer, and stay healthier when you use these proven techniques. So gather your supplies, try some new hacks, and get ready for your best manicures ever. Here’s to beautiful, long lasting nails that make you feel confident and fabulous every day!
