DIY Almond Milk Nails Without a Salon: Easy Tutorial
You do not need a salon appointment to get the soft, milky manicure that fills your feed. With a few inexpensive supplies and about 40 minutes, you can create a clean, creamy finish at your kitchen table. This tutorial is written for complete beginners and focuses on easy wins, budget choices, and quick fixes.
Why DIY Almond Milk Nails Make Sense
The sheer finish is forgiving. Unlike dark or glittery polish, a milky shade does not highlight every tiny flaw, and it hides small streaks as it dries. That makes it one of the best trends to try at home. It is also affordable, since a single bottle can last for many manicures.
Budget-Friendly Supplies to Buy
You can build a complete kit for a low price. Look for a fine nail file, a four-sided buffer, an orange stick or soft cuticle pusher, a base coat, a milky polish, a quick-dry top coat, and a bottle of cuticle oil. If you want longer wear, add a beginner gel kit with a small lamp. Skip anything you do not need, and replace tools when they become worn.
9 Easy Tips for a Clean DIY Finish
1. Wash and Dry Hands First
Clean hands remove oil that can stop polish from sticking. Dry your nails fully before starting.
2. File in One Direction
Sawing back and forth weakens the nail edge. Pick a shape that suits your nail, such as a short oval or soft square.
3. Keep Cuticle Work Gentle
Push back softly after a warm soak and trim only loose, dead skin. This leaves a clean line for polish.
4. Use a Thin Base Coat
A base coat protects the nail from staining and helps the color stay put. Let it dry before moving on.
5. Start With a Small Amount of Polish
Wipe one side of the brush on the bottle neck and keep the load light. Thin layers dry faster and look smoother.
6. Paint in Three Strokes
Place one stroke down the center, then one on each side. Avoid going back over areas that are starting to dry.
7. Let Each Layer Dry
Wait two to three minutes between coats. Rushing causes smudges and dents.
8. Clean the Edges
Dip a small brush in remover and trace around the nail to erase mistakes. This one step makes your manicure look salon-quality.
9. Finish With Top Coat and Oil
A glossy top coat adds shine and protects the color. Cuticle oil keeps your skin soft.
Quick Fixes for Common Problems
If you smudge a nail, wait until it feels dry, then lightly smooth it with a drop of remover on a brush. If the color looks too white, brush a thin sheer pink over it. If the polish looks streaky, add a thin layer rather than a thick one. If a bubble appears, let it dry and cover with top coat.
Time-Saving Tricks
Paint your non-dominant hand first, since it will take longer to dry. Set a timer between coats so you do not rush. Use quick-dry drops if you are in a hurry, but apply them after top coat only.
How to Keep It Looking Fresh
Wear gloves for dishes, avoid using nails as tools, and add top coat every two days. Moisturize your hands before bed. With basic care, your DIY set can last a full week or longer.
Planning Your Manicure Night
A little planning makes the process feel relaxing instead of stressful. Choose a time when you will not need your hands for at least an hour, since rushing is the main cause of smudges. Set up near good light, lay out a towel, and put on a podcast or a show you enjoy. Keep your phone out of reach until the final top coat has dried. Treat the session as self-care, and the results usually look better.
Natural Nail Care Before You Polish
Healthy nails give the best base for any color. If your nails are dry or peeling, apply cuticle oil and hand cream for a few days before your manicure. If they are weak, consider a strengthening base coat. Avoid overfiling or aggressive buffing, because thin nails absorb polish unevenly and chip faster. Taking a few extra minutes to prepare your nails will pay off in wear time.
Choosing Between Polish and Gel at Home
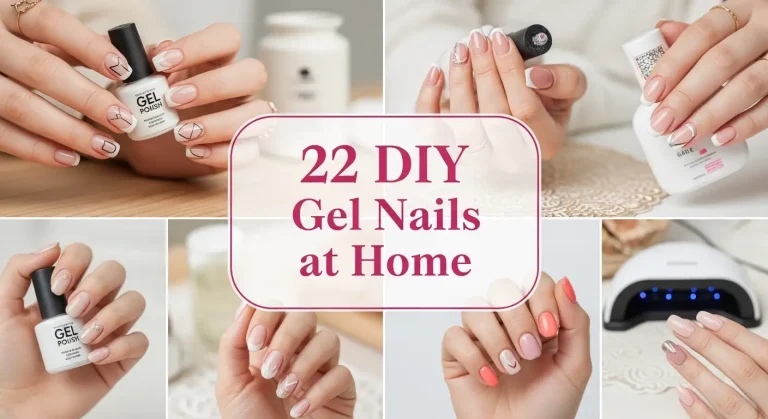
Traditional polish is the safest starting point for a first attempt, since mistakes are easy to remove and there is no equipment to buy. Gel gives you a longer-lasting shine but has a learning curve. If you try gel, buy from a reputable brand, follow cure times exactly, and avoid getting product on your skin. Many people begin with regular polish, then add a gel system once they feel confident.
Removing the Manicure Safely
When it is time to remove the polish, resist the urge to peel it. Peeling takes layers of your natural nail with it. Instead, use a gentle remover, hold a soaked cotton pad on the nail for a minute, then wipe. For gel, buff the shiny top, soak cotton in acetone, wrap each finger in foil, and wait about ten minutes before gently pushing the softened gel away. Finish with oil and cream.
Final Thoughts
Almond milk nails are one of the friendliest manicures for beginners. A few thoughtful steps, thin layers, and simple tools give you a soft, creamy look at home, no salon required.