
22 DIY Gel Nails at Home: Easy Step-by-Step Guide for 2026
Want gorgeous, long-lasting nails without the salon price tag? You’re in the right place! DIY gel nails at home are easier than you think, and we’re going to show you exactly how to do it. Whether you’re a total beginner or already have some experience, these 22 DIY gel nail ideas will help you create stunning manicures that last for weeks.
Get ready to save money, have fun, and rock beautiful nails from the comfort of your own home!
Why DIY Gel Nails Are Taking Over in 2026
Gel nails have been popular for years, but now more people than ever are doing them at home. Here’s why:
They Last Forever (Well, Almost)
Regular nail polish chips in a few days. Gel nails? They can last 2-3 weeks without chipping or fading. That’s weeks of perfect nails with zero touch-ups!
You Save So Much Money
A gel manicure at the salon costs $35-$60 every time. A home gel kit costs $50-$100 but gives you months and months of manicures. Do the math—you’ll save hundreds of dollars!
It’s Actually Fun
There’s something really satisfying about doing your own nails. Put on your favorite show, grab your gel kit, and enjoy some relaxing me-time.
You Control Everything
Want neon pink at 11 PM on a Tuesday? Go for it! No appointments, no waiting, no settling for colors the salon has in stock.
What You Need to Get Started with DIY Gel Nails
Before we dive into the 22 ideas, let’s talk about what you actually need. Don’t worry—you don’t need a million products!
The Essential Kit:
- UV or LED nail lamp (LED is faster!)
- Gel base coat
- Gel top coat
- Gel nail polish colors
- Nail file and buffer
- Cuticle pusher
- Nail cleanser or rubbing alcohol
- Lint-free wipes or cotton pads
- Nail prep/dehydrator (optional but helpful)
Nice-to-Have Extras:
- Gel polish remover or acetone
- Nail art brushes
- Dotting tools
- Striping tape
- Nail stickers or decals
- Glitter and chrome powders
You can find complete starter kits online for around $50-$80 that include everything you need. Once you have the basics, you’re set for months!
22 DIY Gel Nail Ideas You Can Do at Home
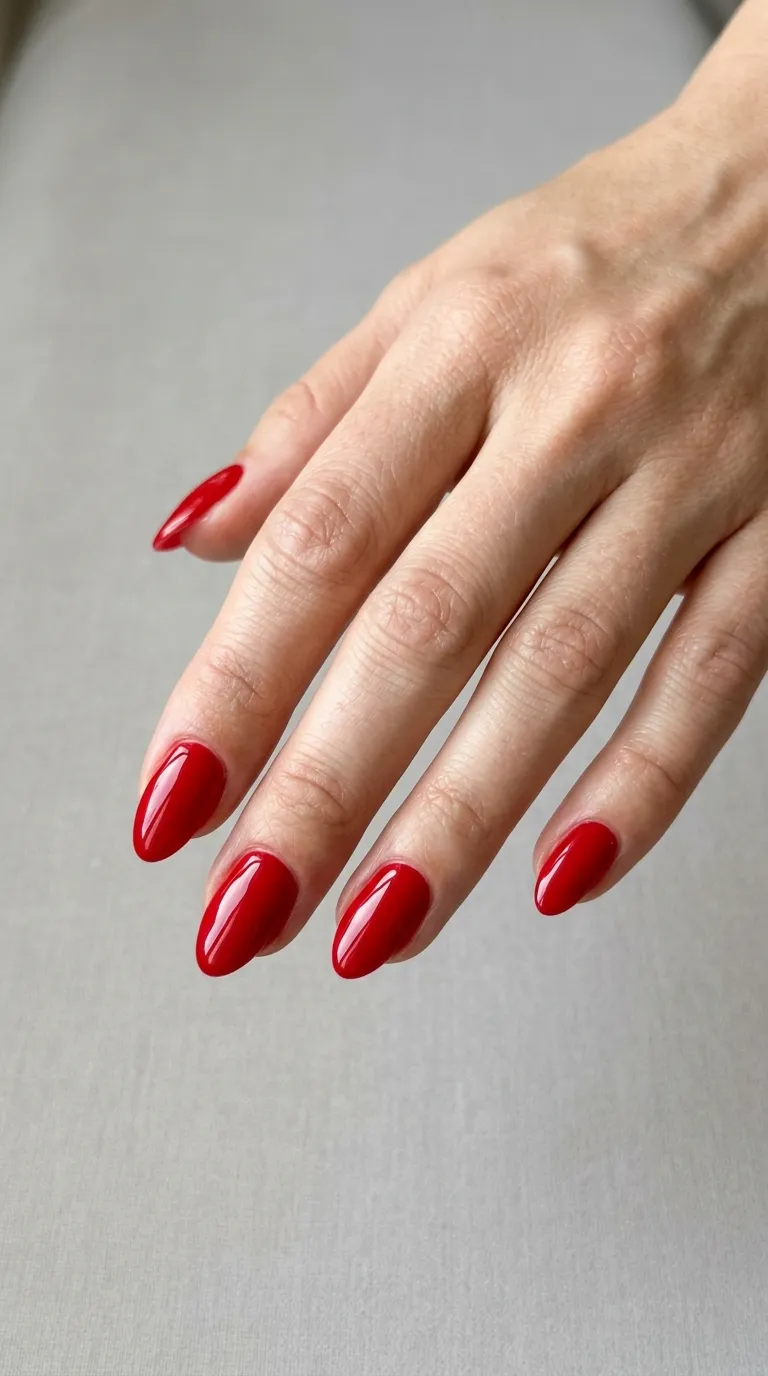
1. Classic Solid Color Gel Nails
Let’s start with the basics! A simple solid color is perfect for beginners. Pick any gel polish color you love, apply thin coats, and cure under your lamp. It’s easy, foolproof, and looks professional.
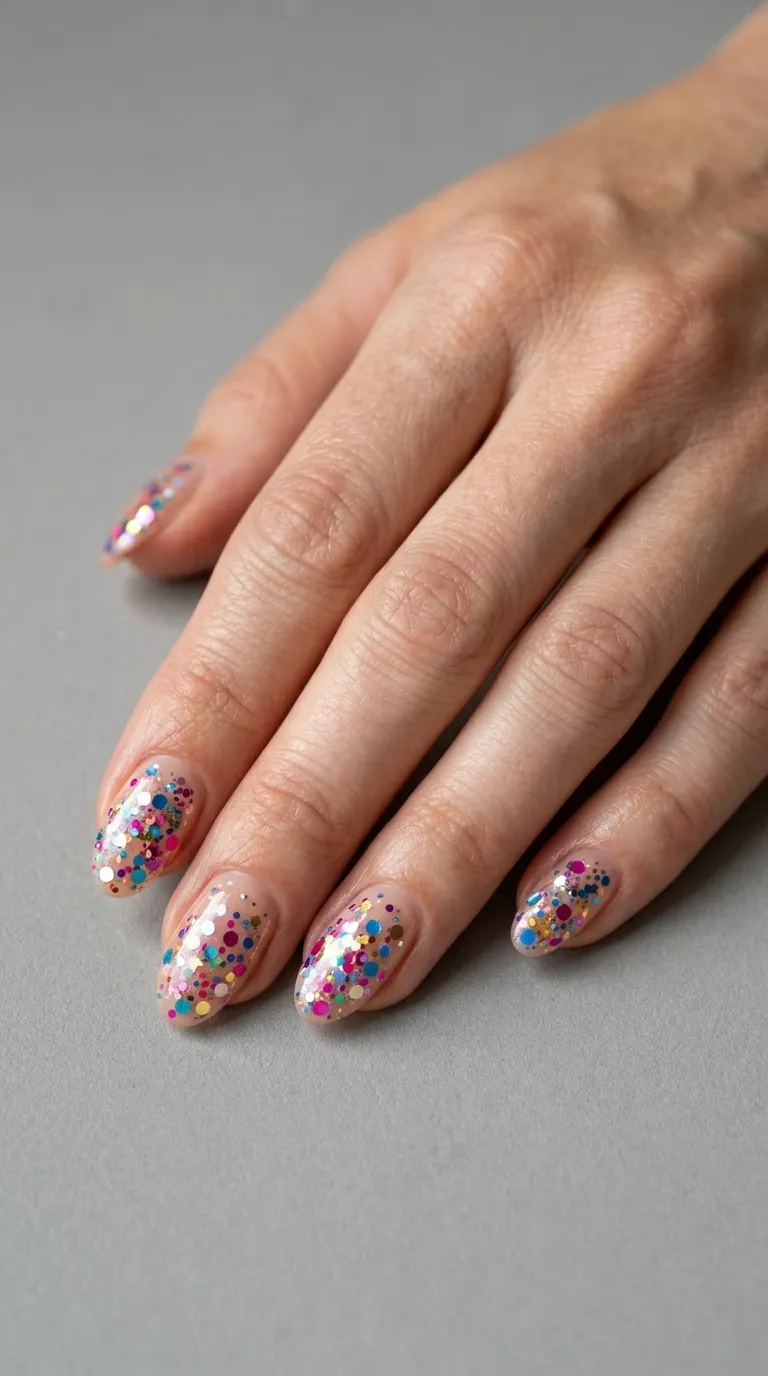
Pro tip: Two thin coats always look better than one thick coat. Thick gel takes forever to cure and might stay sticky.
2. Simple French Manicure
The French manicure never goes out of style! Use a sheer pink or nude gel base, then add white tips. You can freehand it, use French tip guides, or even try nail stickers for perfect lines.
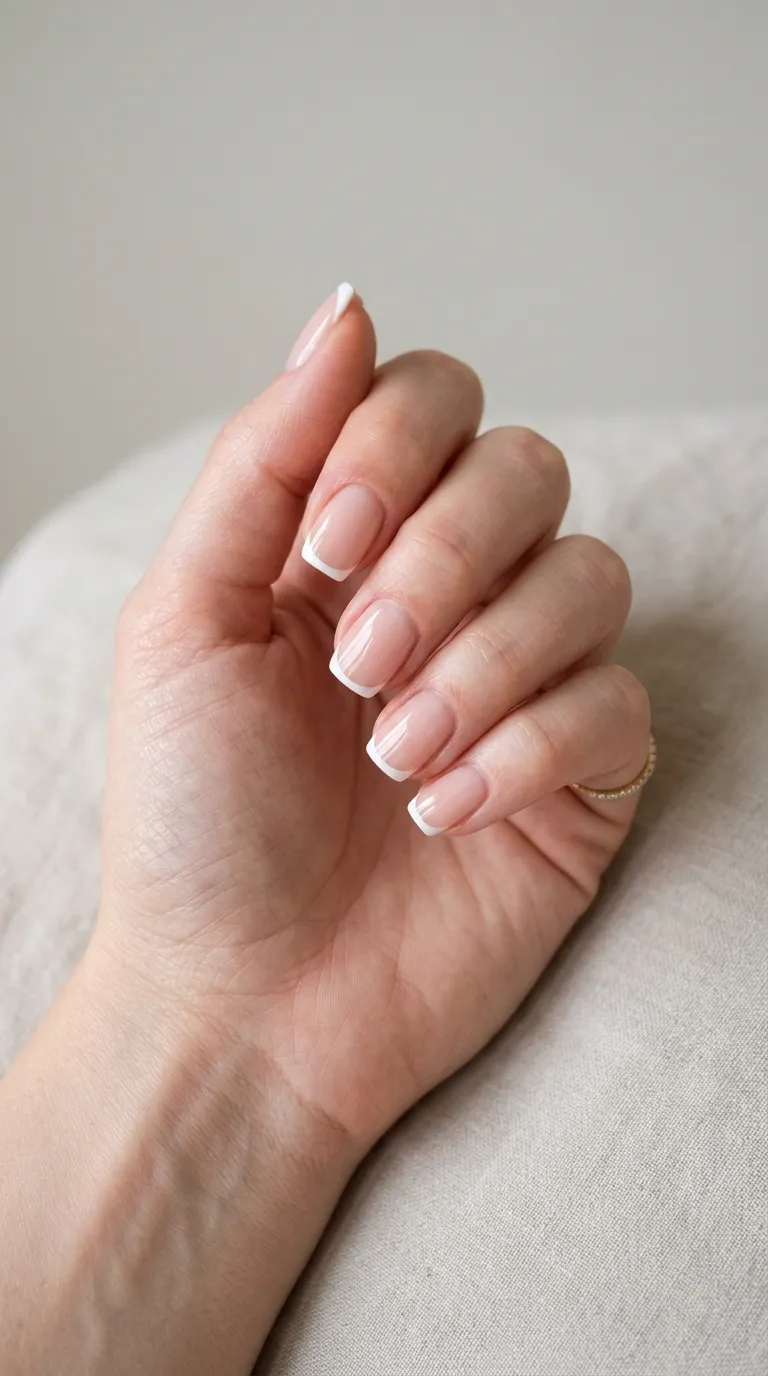
For a modern twist, try super thin white tips instead of the traditional thick ones. It looks more delicate and current.
3. Glitter Accent Nails
Add some sparkle without going overboard! Paint most nails a solid gel color, then cover one or two accent nails (usually ring fingers) with glitter gel polish.
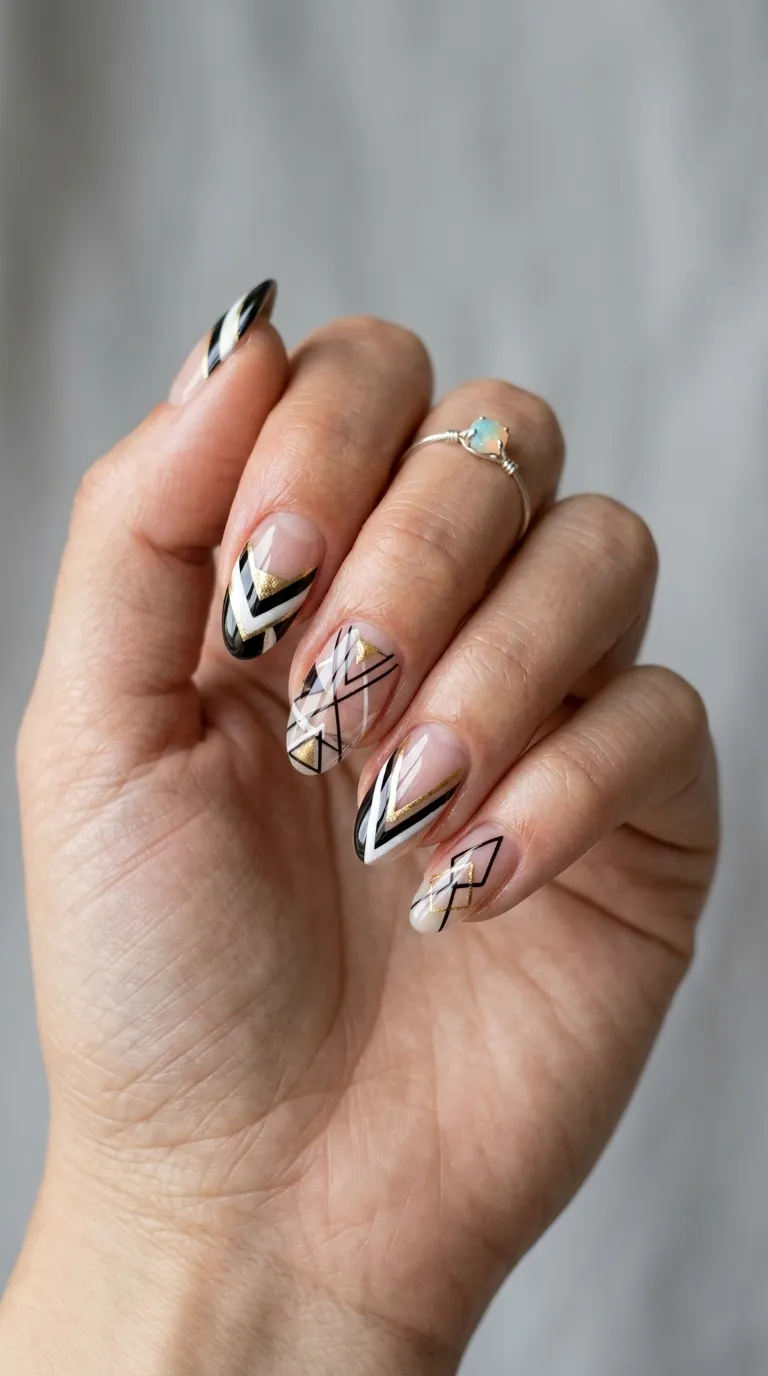
You can also press loose glitter into wet gel for extra sparkle. Just remember to cure it properly and seal with top coat!
4. Ombre Gradient Nails
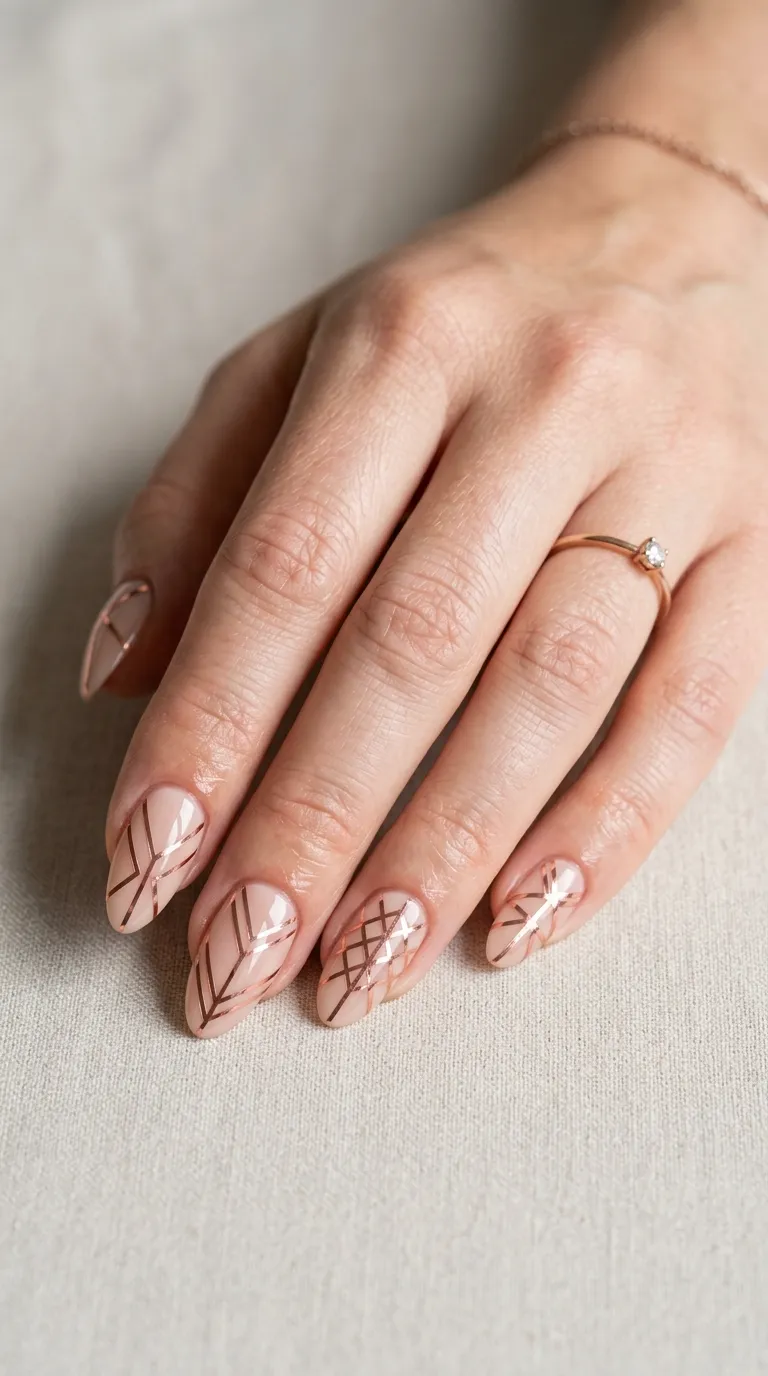
Ombre looks fancy but it’s actually pretty simple! Apply your lighter gel color as a base and cure it. Then use a makeup sponge to dab on darker colors, blending from light to dark. Cure between each layer.
More Nails; 25 Best DIY Nails at Home Ideas
The sponge is the secret weapon here—it creates smooth color transitions that look professional.
5. Polka Dot Party
Polka dots are super cute and incredibly easy! Paint your base color and cure it. Then use a dotting tool (or a toothpick, or even a bobby pin!) dipped in contrasting gel to create dots all over or just on accent nails.
Cure everything, seal with top coat, and you’ve got adorable dotty nails!
6. Simple Striping Tape Design
Striping tape makes you look like a nail art pro with zero effort. Paint your base color and cure. Apply thin metallic striping tape in straight lines, curves, or geometric patterns. Seal everything with gel top coat and cure.
Gold tape on nude nails looks especially classy and expensive!
7. Matte Gel Finish
Change up the usual glossy gel with a matte top coat! Any gel color looks totally different with a matte finish—it’s like two manicures in one.
You can even do a mix: glossy base with matte accent nails, or matte nails with glossy designs on top. Get creative!
8. Nude and Neutral Perfection
Sometimes simple is best. Nude and neutral gels work with every outfit and occasion. Find a shade that matches your skin tone and rock those “your nails but better” vibes.
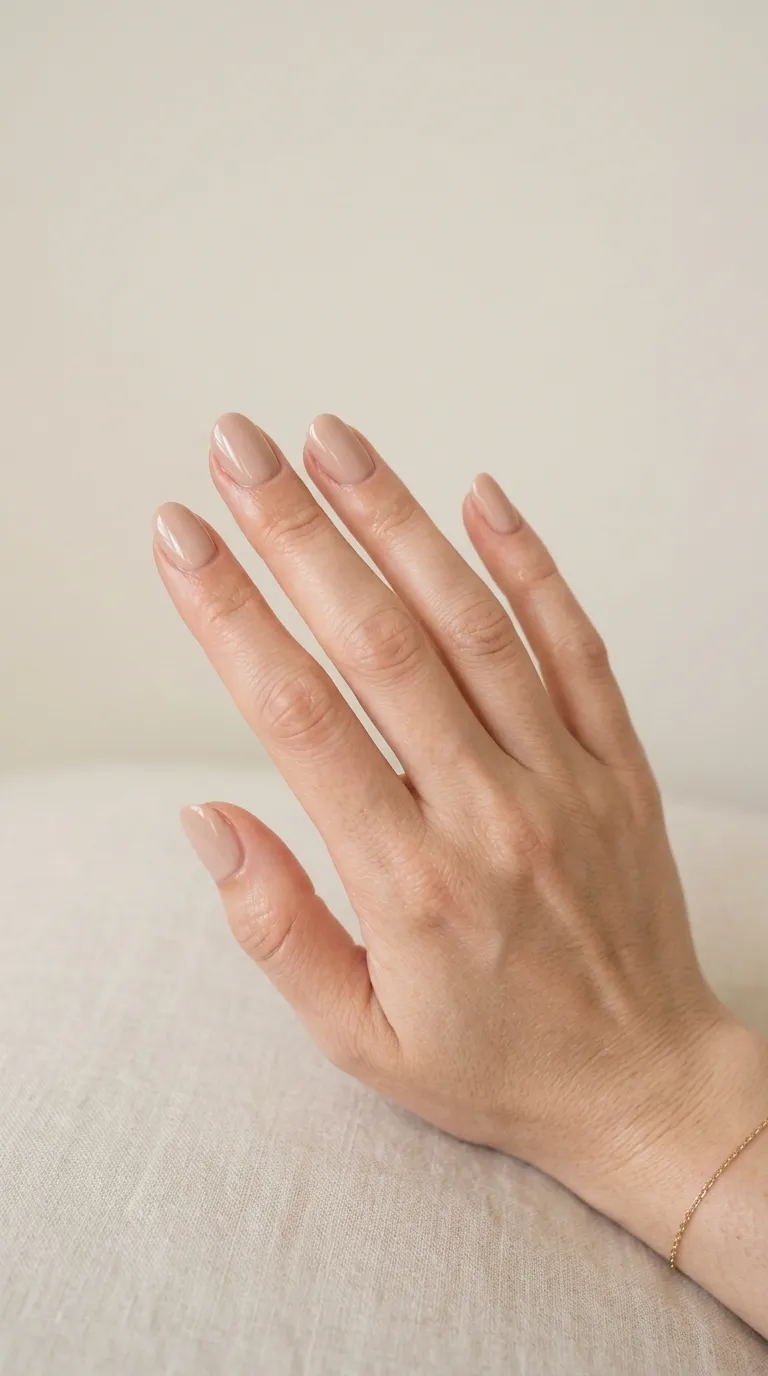
Beige, taupe, soft pink, and peachy nudes are all trending in 2026.
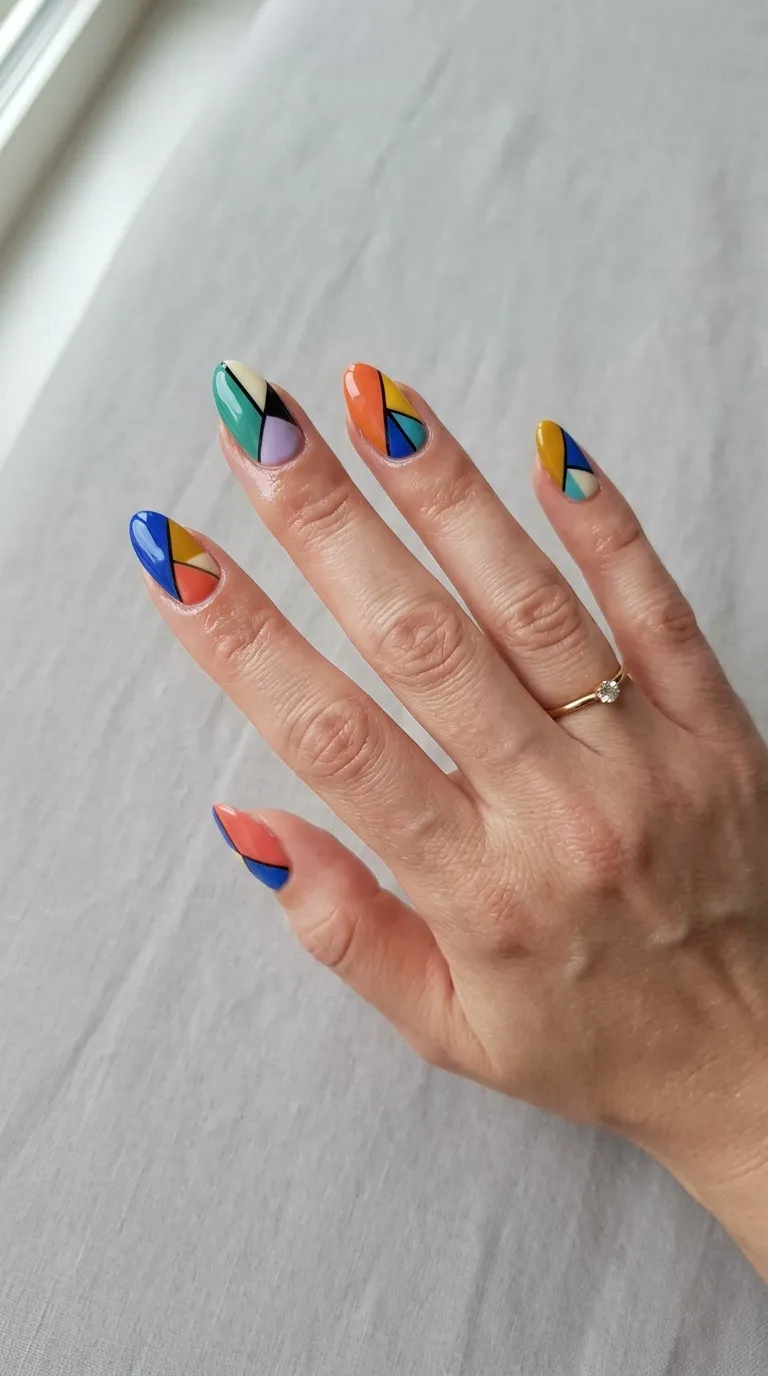
9. Color Block Nails
Color blocking is easier than it looks! Use striping tape to section off parts of your nail, paint each section a different gel color, and cure between colors. Peel off the tape at the end for crisp lines.
More Nails; 31 Easy DIY Nails Ideas
Try diagonal splits, half-and-half nails, or geometric sections.
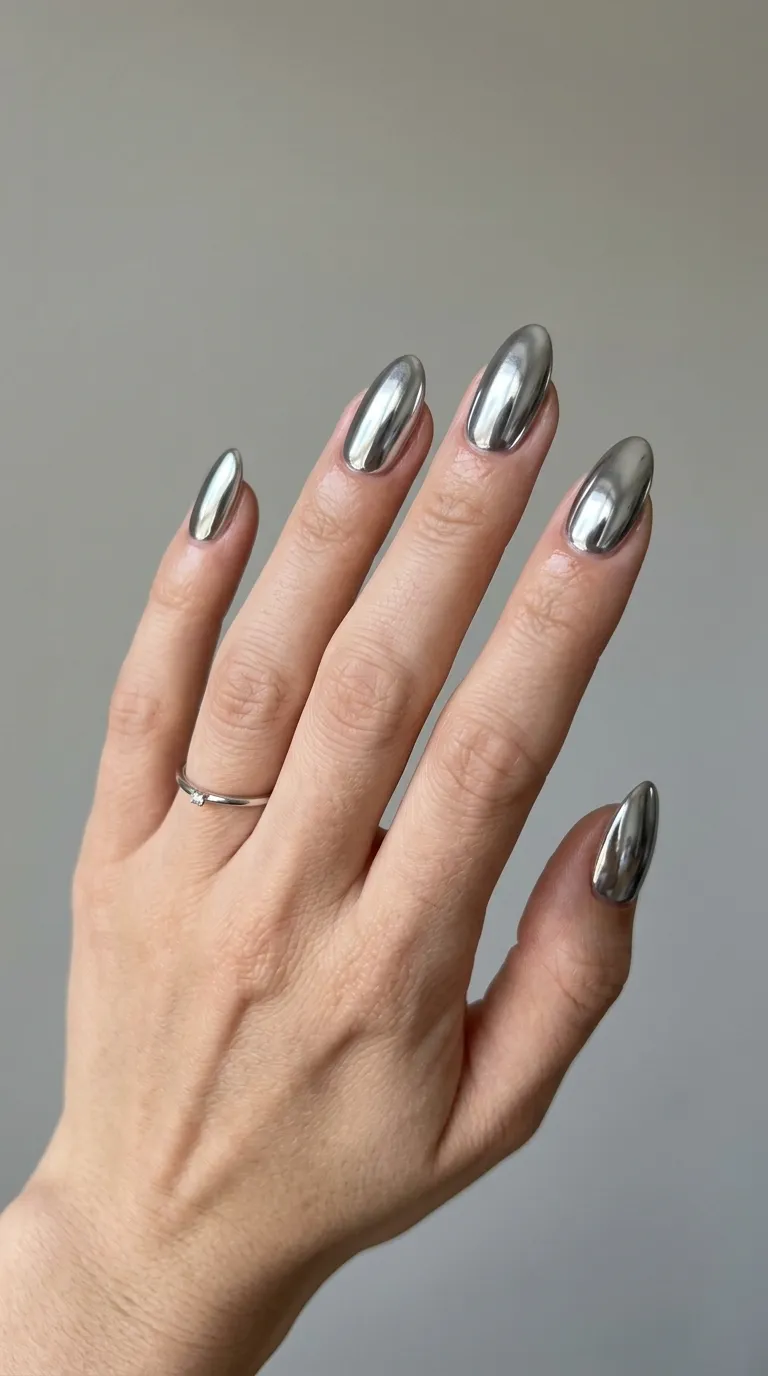
10. Chrome Gel Nails
Chrome nails look super high-tech and expensive! Apply gel base and color, cure, then apply no-wipe top coat and cure. While it’s still tacky, rub chrome powder on with a silicone tool or your finger until you get that mirror shine. Seal with another layer of top coat.
Chrome powder is available in tons of colors—silver, gold, rose gold, holographic, and more!
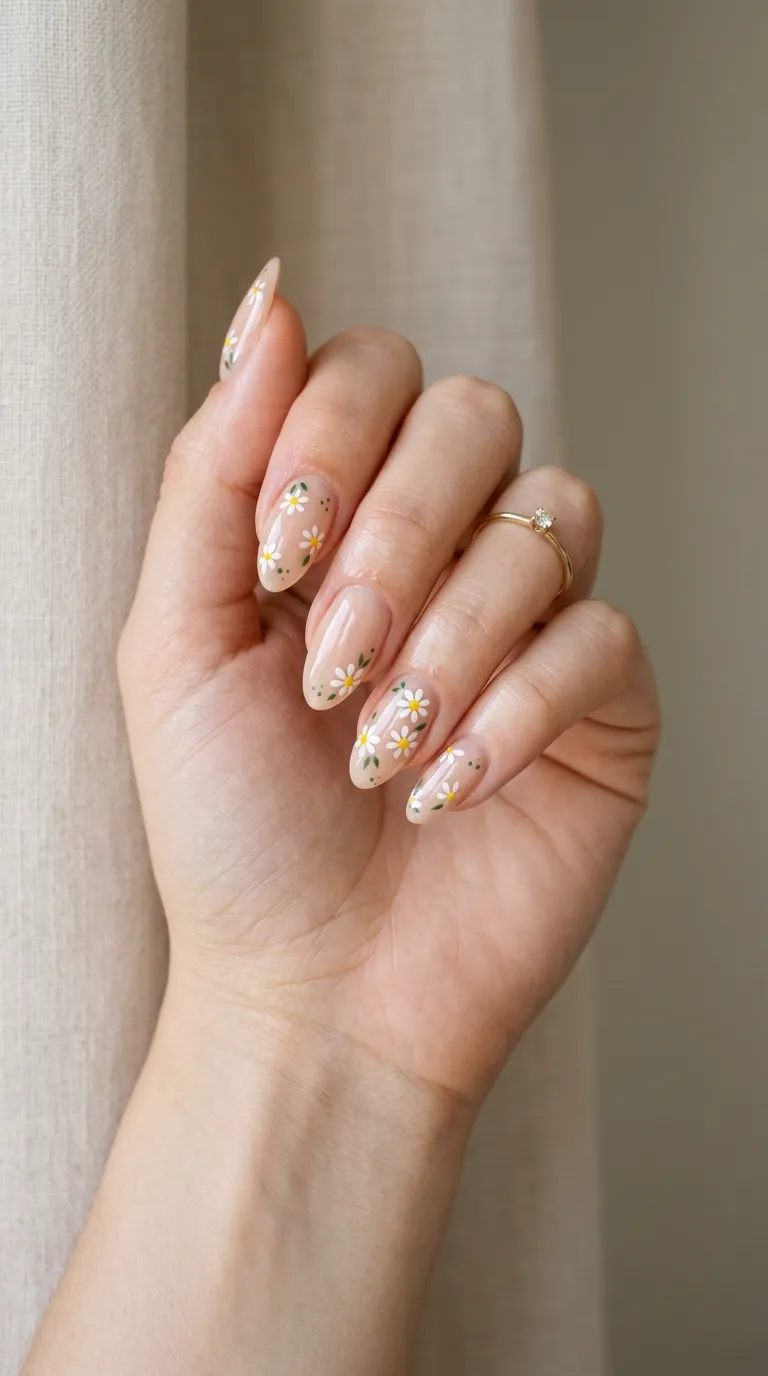
11. Simple Floral Designs
Tiny flowers are easier than you think! Use a dotting tool to make five dots in a circle for petals, then add a dot in the center. Cure and seal.
You can also use thin nail art brushes to paint simple daisy or cherry blossom designs. Start small on one accent nail before doing your whole hand!
12. Negative Space Nails
Let your natural nail be part of the design! Use striping tape to block off sections, paint around it with gel, cure, then remove the tape. Your natural nail shows through in cool geometric patterns.
This design is trendy and lets your nails breathe a bit too.
13. Marble Effect Gel
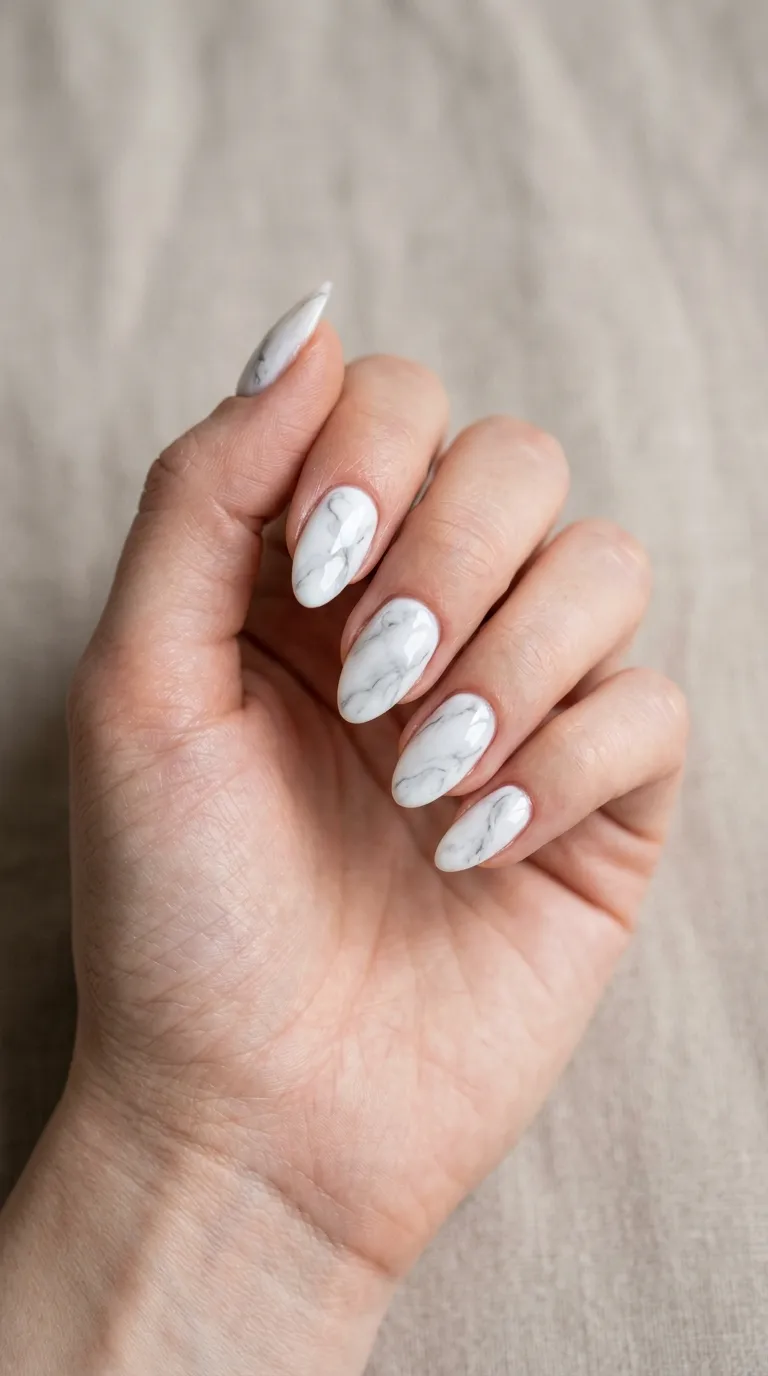
Marble nails look super artistic! Apply white or light-colored gel base and cure. Use a thin brush or toothpick to swirl black or gray gel on top before curing—it creates random marble veins.
More Nails; 21 Doing My Own Nails Ideas
Don’t overthink it! Random swirls look the most natural.
14. Glitter Gradient Tips
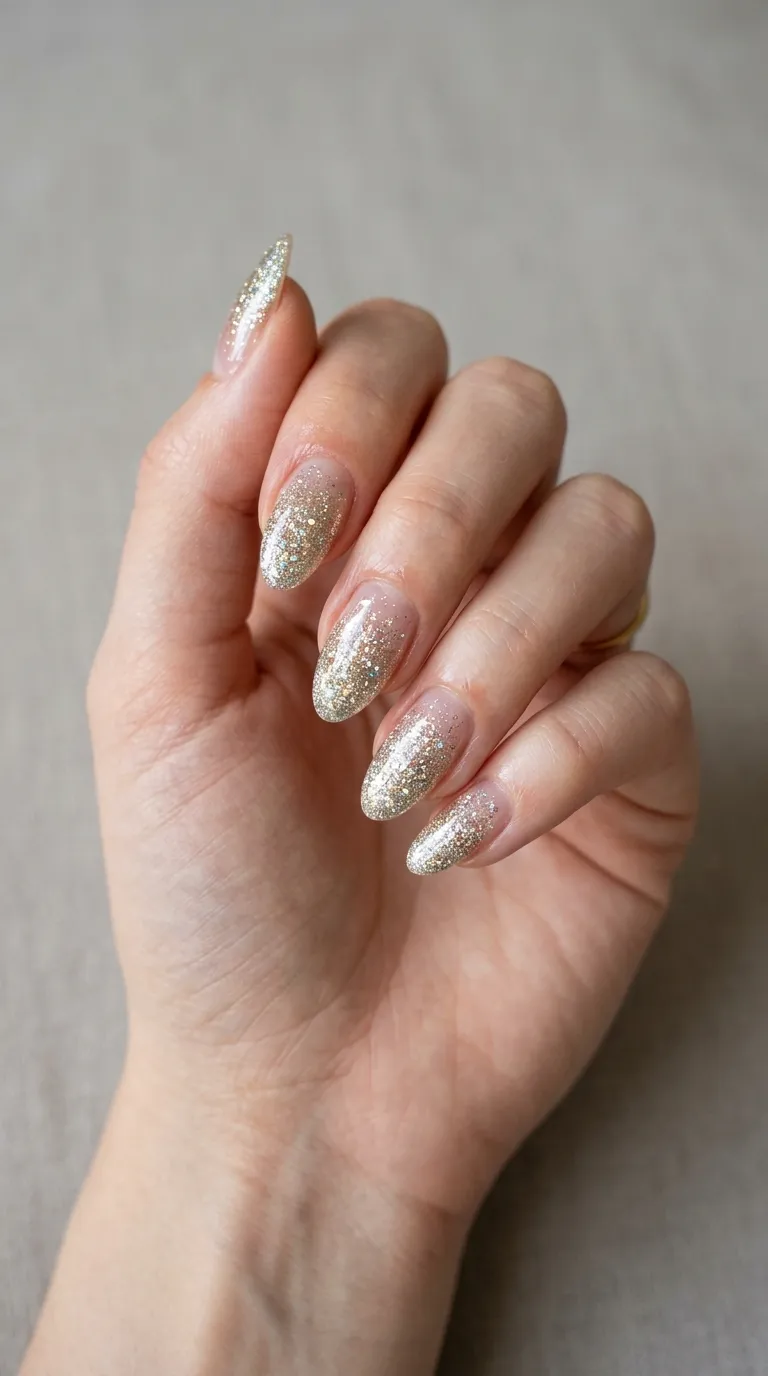
Instead of full glitter nails (which are hard to remove), try glitter just on the tips! Apply your base color and cure. Then use a makeup sponge to apply glitter gel in a gradient from tips downward.
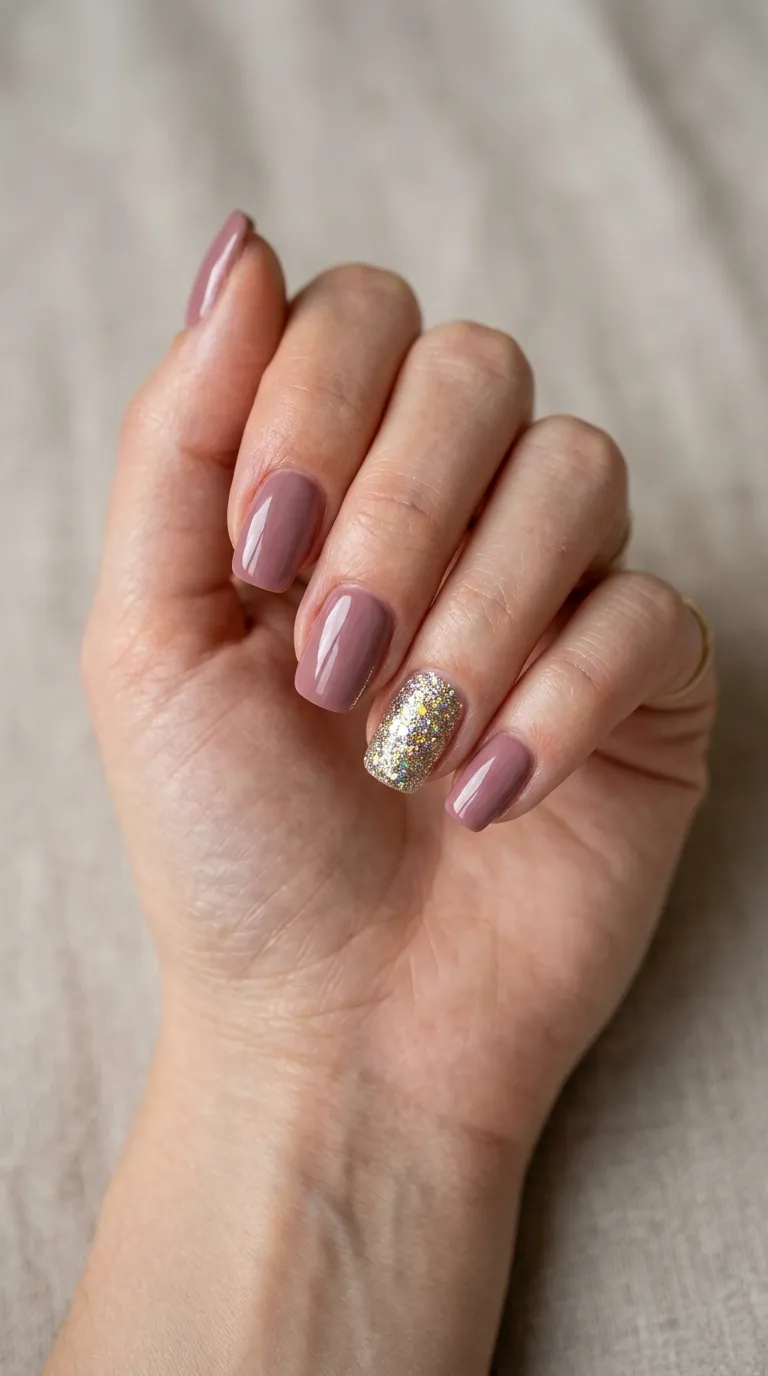
It sparkles without being too much, and it’s easier to remove than full glitter nails.
15. Minimalist Line Art
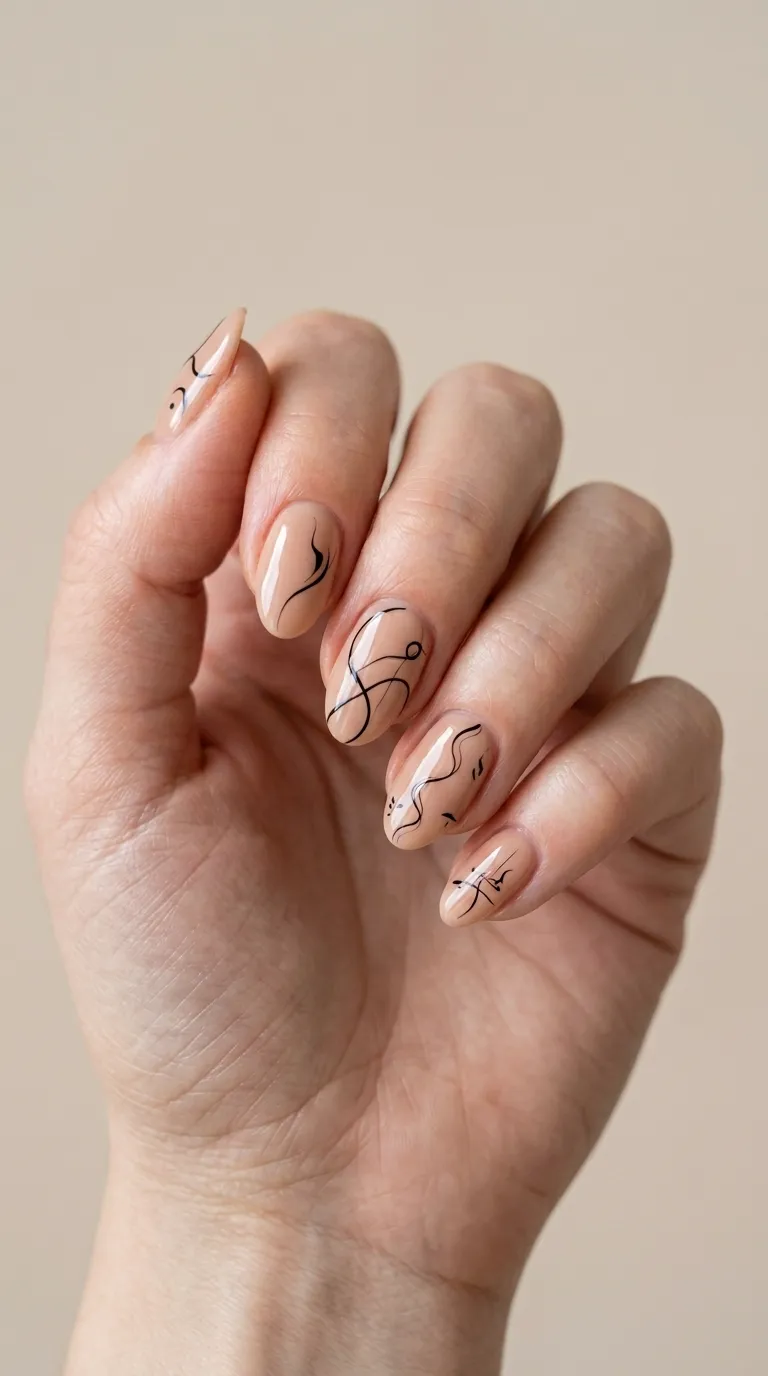
Thin black or white lines create modern, artsy designs. Paint and cure your base color (nude works great). Then use a thin striping brush with black or white gel to draw abstract lines, squiggles, or simple shapes.
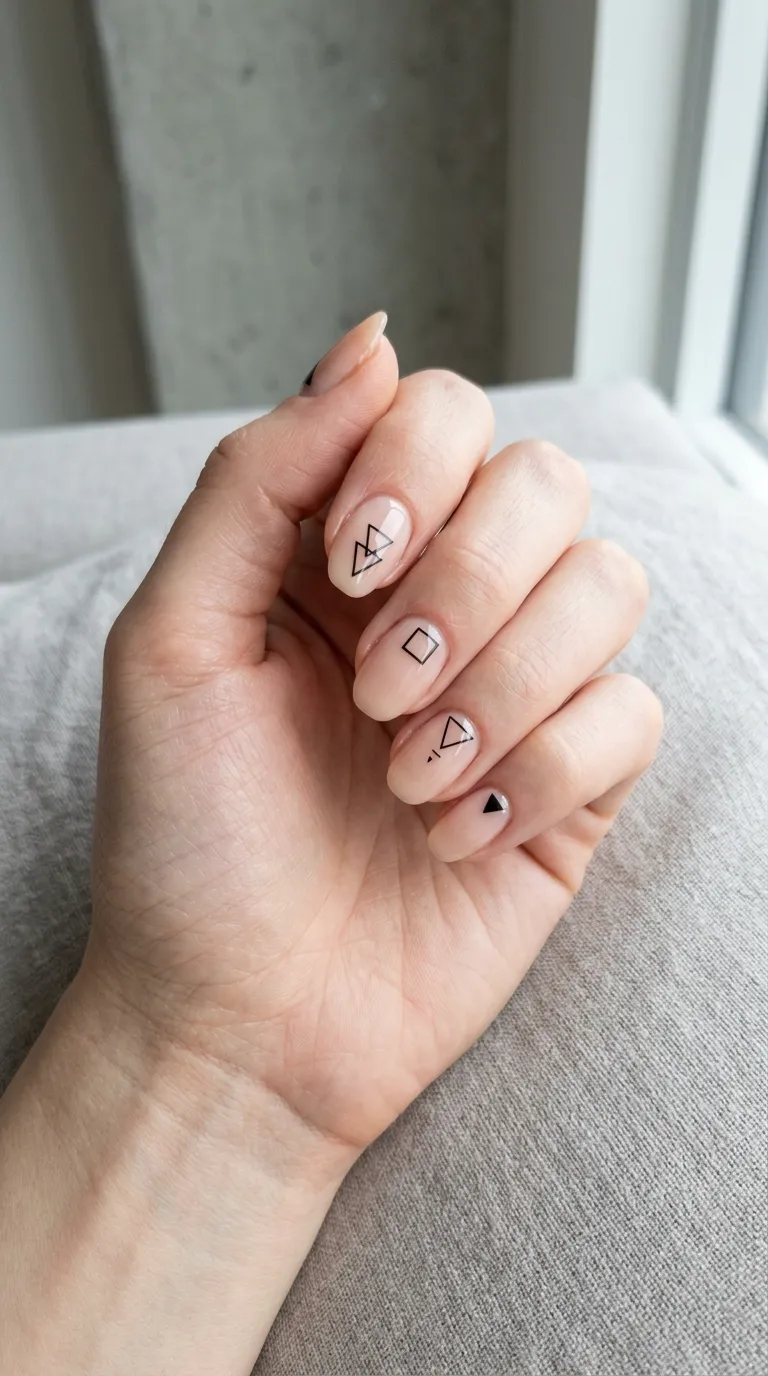
The beauty of abstract art? It doesn’t have to be perfect to look intentional!
16. Mix and Match Colors
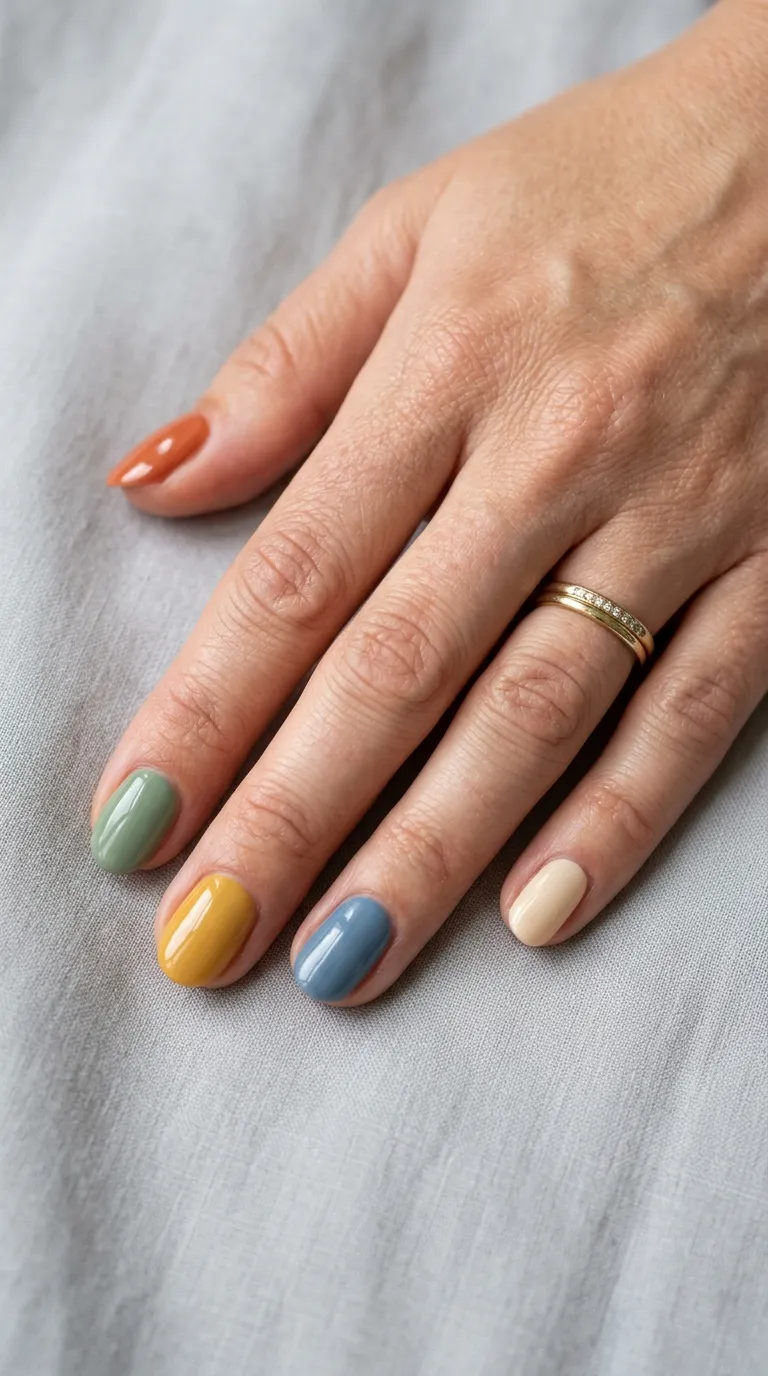
Who says all your nails need to match? Paint each nail a different gel color from the same color family, or go wild with totally random colors!
Rainbow nails where each finger is a different color are super fun and playful.
17. Stamping Designs
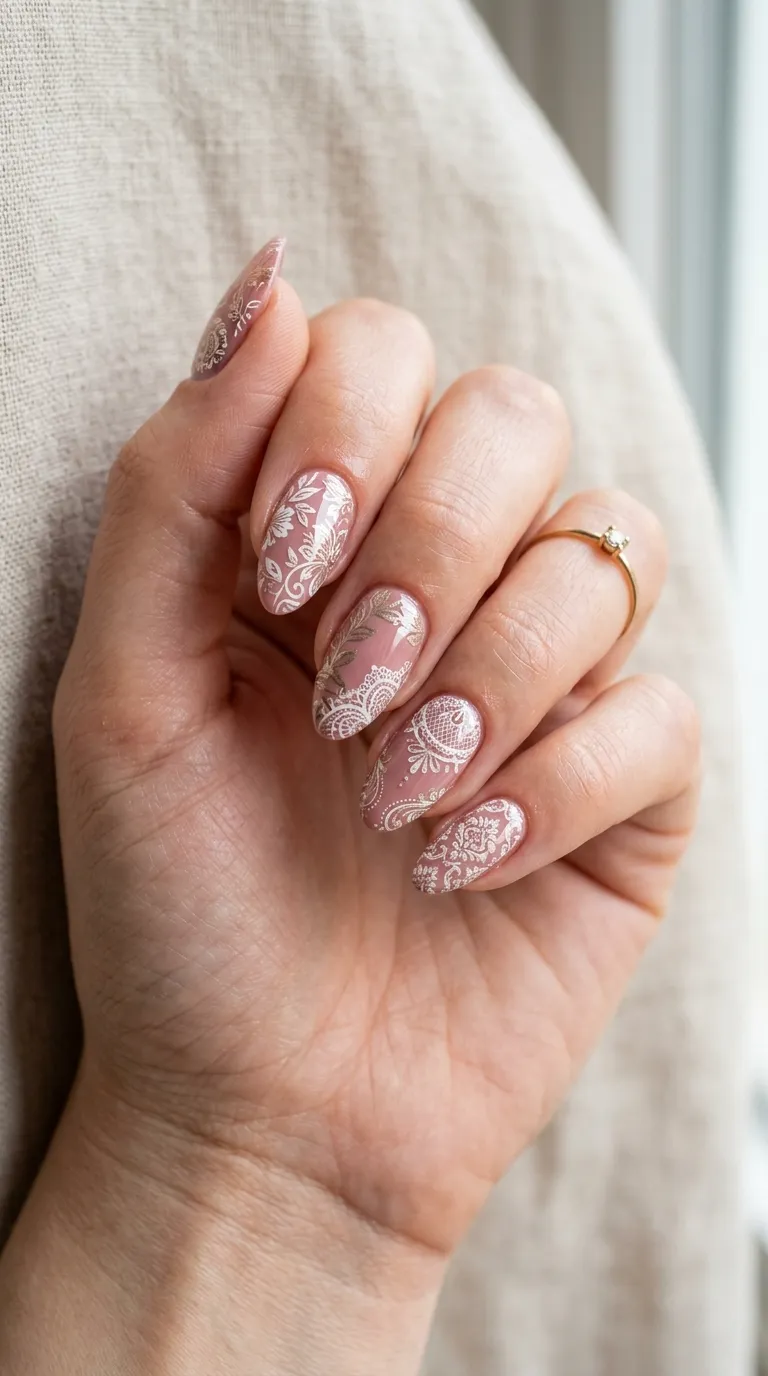
Nail stamping kits make intricate designs easy! Apply gel base color and cure. Use regular stamping polish (not gel) to stamp your design. Let it dry, then seal everything with gel top coat and cure.
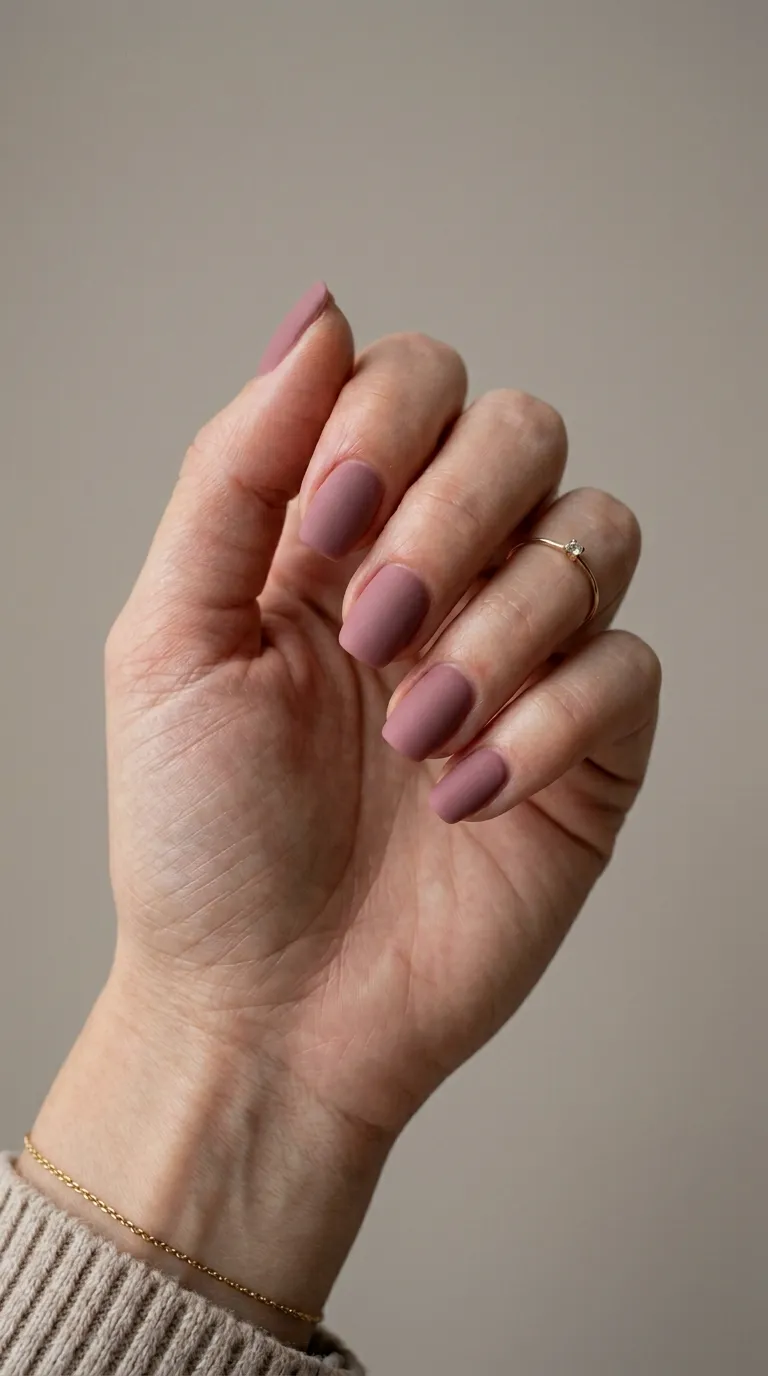
Stamping plates come in hundreds of patterns—florals, geometric, lace, animals, you name it!
18. Confetti Glitter Nails
This is like a party on your nails! Apply your base gel color and cure. While the final coat is still wet, sprinkle chunky confetti glitter on top, then cure. Seal with a thick layer of top coat to smooth everything out.
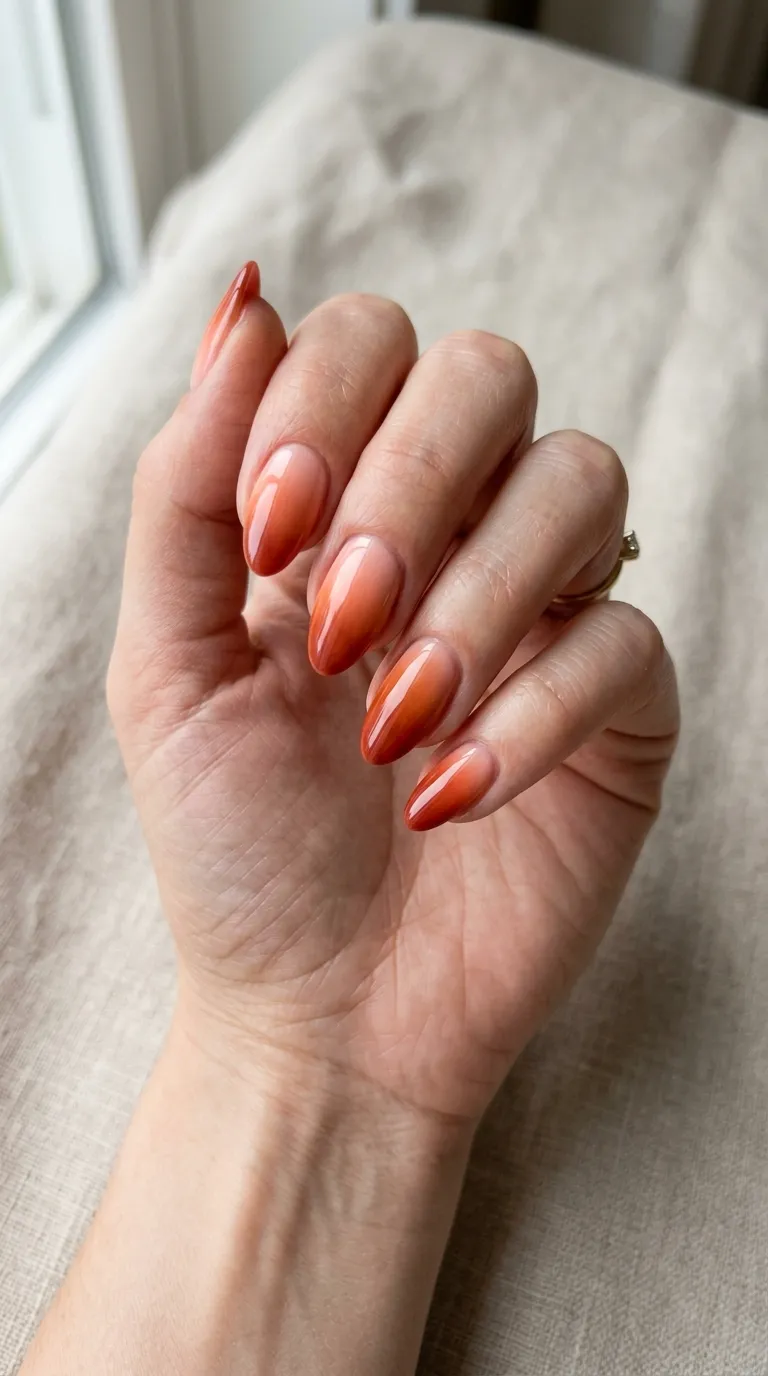
Confetti glitter in fun shapes like hearts, stars, or hexagons looks especially cute!
19. Simple Geometric Shapes
Triangles, squares, and circles make for cool modern designs. Use striping tape to create shape outlines, or paint simple shapes freehand with a thin brush.
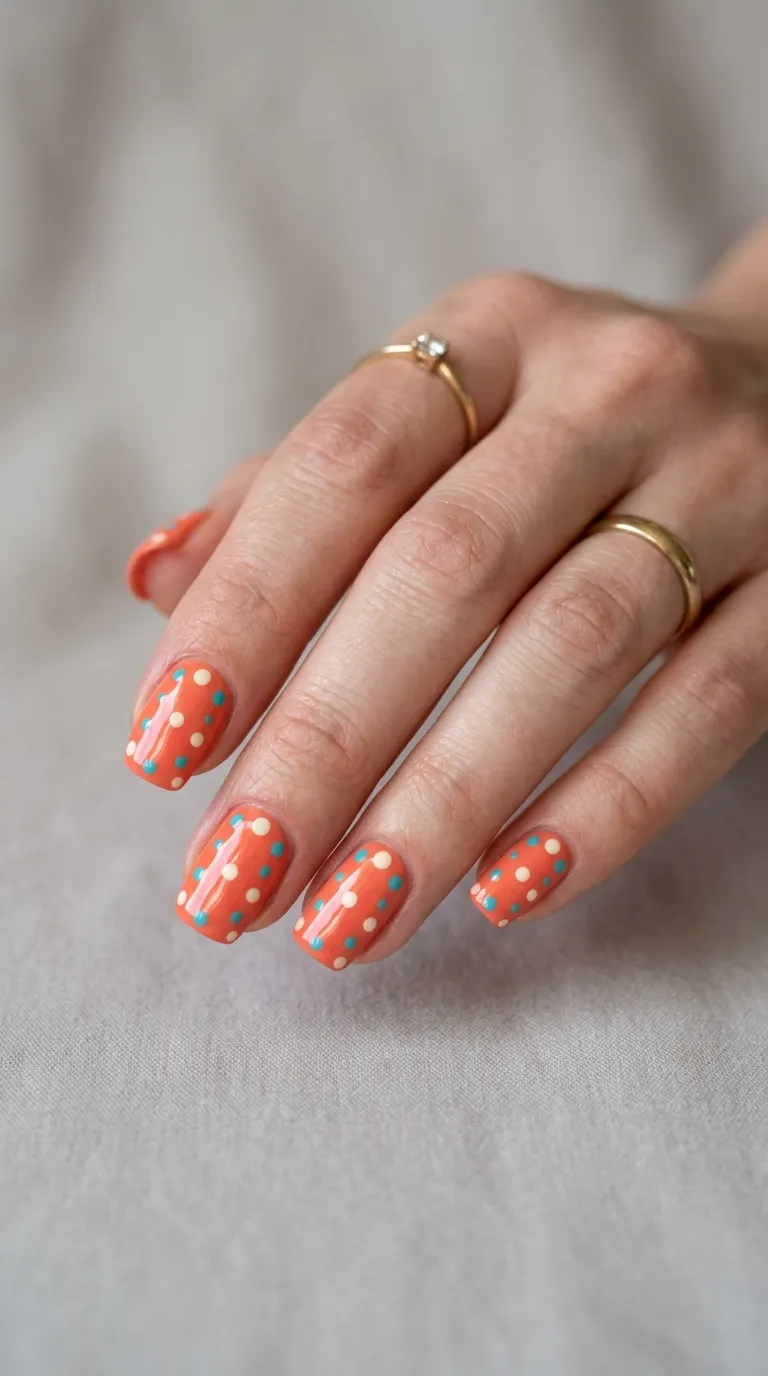
Even basic shapes look really trendy when you use good color combinations!
20. Two-Tone Half Moon Nails
This retro design is making a comeback! Paint your base color and cure. Use hole reinforcement stickers (yes, the office supply ones!) at your cuticle line to create a half-moon shape. Paint the rest of your nail a different color, cure, and remove stickers.
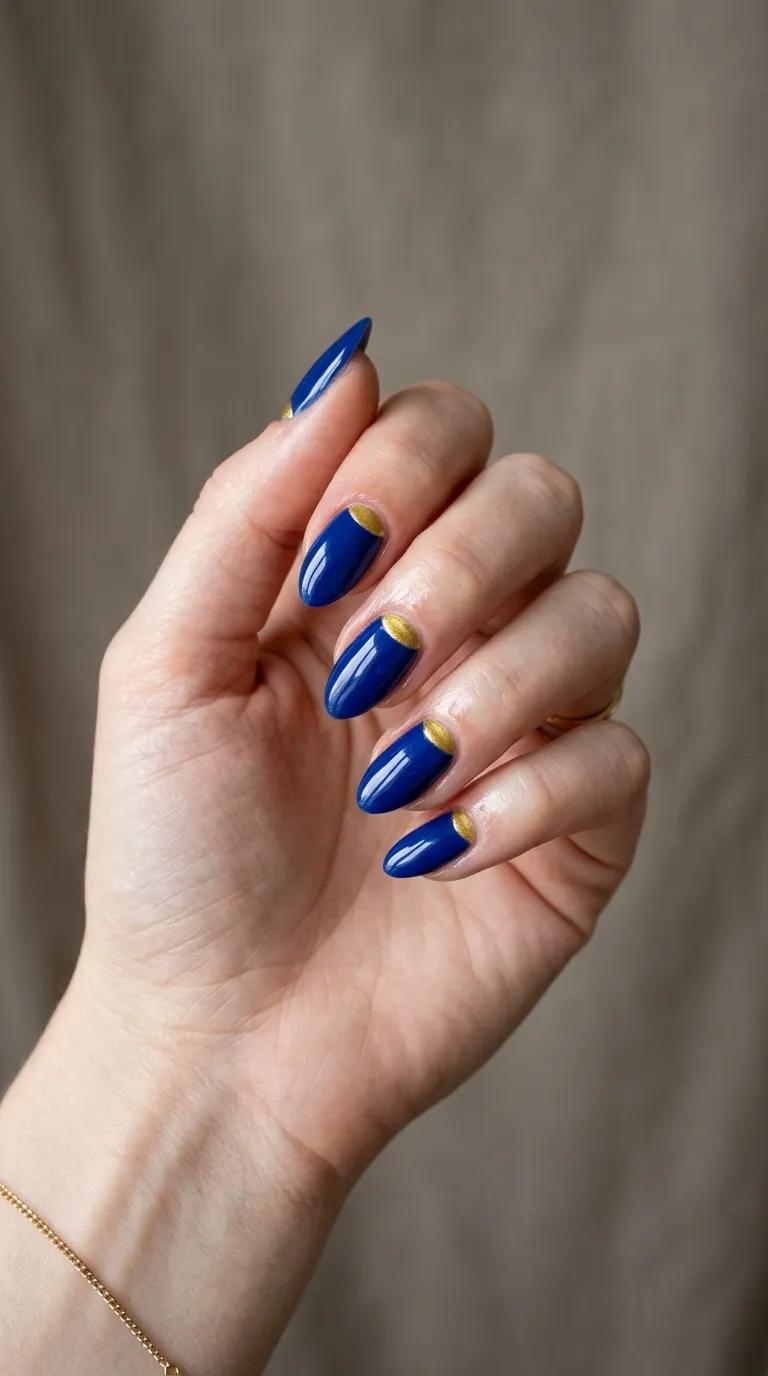
Pink and white half-moons look classic and feminine!
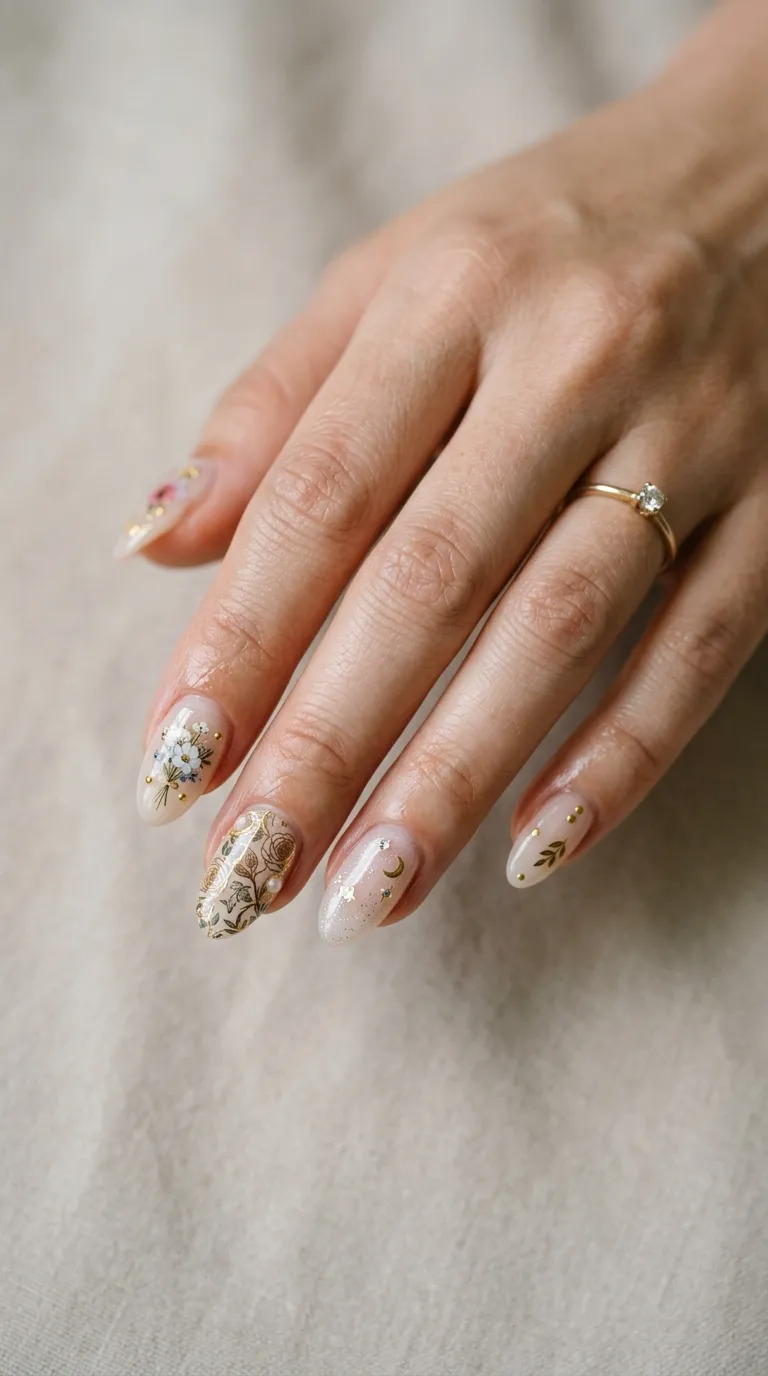
21. Gel Nail Stickers and Decals
Nail stickers aren’t cheating—they’re smart! Apply your gel base color and cure. Stick on your decals or stickers while the last coat is still slightly tacky. Cure, then seal everything with gel top coat and cure again.
There are thousands of sticker designs available: flowers, butterflies, logos, patterns, you name it!
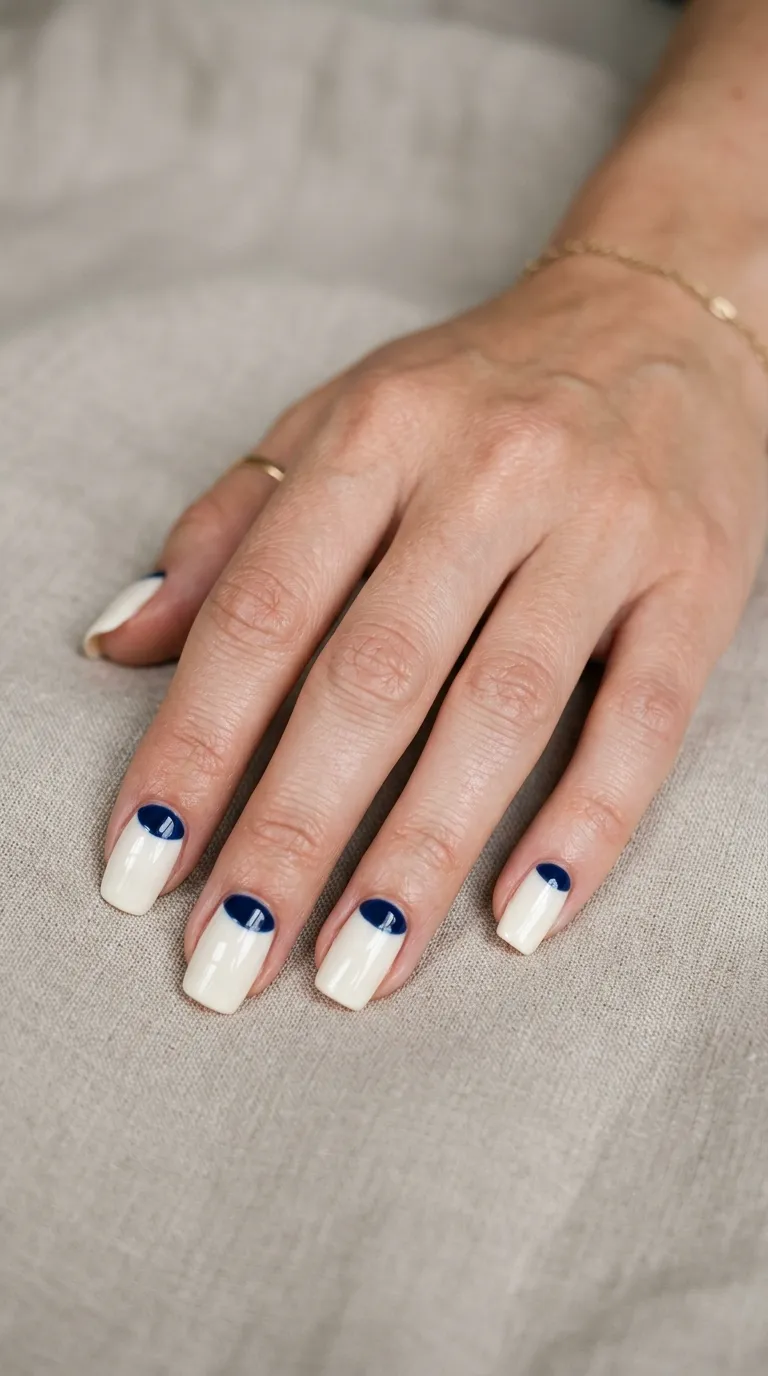
22. Reverse French Manicure
Instead of tips, highlight your cuticle area! Paint your nails a bold color but leave a curved strip at the base unpainted or paint it a contrasting color.
This design is unexpected and looks really modern and cool!
Step-by-Step: How to Apply Gel Nails at Home
Now that you’ve seen all the ideas, let’s walk through the basic process. Every design starts with these steps!
Step 1: Prep Your Nails
Remove any old polish completely. Push back your cuticles gently with a cuticle pusher. File your nails to your desired shape and length. Lightly buff the surface of your nails to remove shine—this helps gel stick better.
Step 2: Clean Your Nails
Wipe your nails with nail cleanser or rubbing alcohol on a lint-free pad. This removes oils and dust. Let them dry completely. Some people also use nail dehydrator or primer at this step.
Step 3: Apply Base Coat
Paint a thin layer of gel base coat on all nails. Make sure to cap the free edge (run the brush along the tip). Cure under your LED lamp for 30-60 seconds (check your product instructions).
Step 4: Apply Color
Apply your first thin coat of gel color. Thin is key! Cure for 30-60 seconds. Apply a second thin coat and cure again. If needed, add a third coat, but usually two is enough.
Step 5: Add Your Design
This is where your chosen design happens! Whether it’s glitter, nail art, stamping, or whatever—do it now. Cure after each layer you add.
Step 6: Apply Top Coat
Seal everything with gel top coat. Apply generously and don’t forget to cap the free edge. Cure for 30-60 seconds.
Step 7: Remove the Sticky Layer
Most gels leave a sticky residue called the inhibition layer. Wipe it off with nail cleanser or rubbing alcohol on a lint-free wipe.
Step 8: Moisturize
Massage cuticle oil into your cuticles and hands. You’re done!
Common DIY Gel Nail Mistakes (And How to Avoid Them)
Everyone makes mistakes when starting out! Here are the most common ones and how to fix them:
Mistake: Thick Polish Layers
Thick gel doesn’t cure properly. It stays goopy, peels off easily, or gets dents. Always use thin coats! It’s better to do three thin coats than one thick one.
Mistake: Not Capping the Free Edge
If you don’t paint the tip edge of your nail, gel peels up from there first. Always run your brush along the free edge with base coat, color, and top coat.
Mistake: Getting Gel on Your Skin
Gel on your cuticles and skin causes lifting and can irritate your skin. Use a clean brush dipped in cleanser to wipe away any gel that touches skin before curing.
Mistake: Not Curing Long Enough
Under-cured gel stays sticky or dents easily. Always follow your specific gel polish’s cure time. When in doubt, cure longer rather than shorter!
Mistake: Skipping Base Coat
Base coat protects your natural nails and helps color stick. Never skip it, even if you’re in a hurry!
Mistake: Not Prepping Nails Properly
If your nails are oily or shiny, gel won’t stick well. Always remove shine by lightly buffing and clean with alcohol before starting.
Mistake: Shaking Gel Polish
Shaking creates air bubbles in the gel. Roll the bottle between your hands instead to mix it.
How to Remove Gel Nails at Home Safely
Removing gel is just as important as applying it! Here’s the safe way:
You’ll Need:
- Acetone or gel polish remover
- Aluminum foil
- Cotton balls or pads
- Cuticle pusher
- Nail file
The Process:
- Lightly file the shiny top coat off your gel nails
- Soak cotton pads in acetone
- Place soaked cotton on each nail
- Wrap each fingertip tightly with aluminum foil
- Wait 10-15 minutes
- Gently push off softened gel with a cuticle pusher
- If gel doesn’t come off easily, rewrap and wait longer—don’t force it!
- Buff nails lightly and moisturize like crazy
Never peel or pick off gel polish! It damages your natural nails and makes them weak and thin.
Making Your DIY Gel Manicure Last Longer
Want your gel nails to last the full 2-3 weeks? Follow these tips:
Prep Is Everything
Properly prepped nails make all the difference. Don’t skip the buffing, cleaning, and dehydrating steps.
Thin Coats Always
We’ve said it before, but it’s that important! Thin layers cure better and last longer.
Cap Those Edges
Sealing the free edge with every coat prevents premature chipping and peeling.
Avoid Water Right After
Don’t soak your hands in water (dishes, bath, swimming) for at least 2-3 hours after doing your gel nails. Let everything fully harden first.
Wear Gloves for Chores
Protect your manicure! Wear gloves when cleaning, washing dishes, or gardening.
Moisturize Daily
Dry cuticles can cause gel to lift. Apply cuticle oil daily to keep everything moisturized and healthy.
Don’t Use Your Nails as Tools
Resist the urge to open cans, peel stickers, or pick at things with your nails. That’s how chips and breaks happen!
Best Gel Polish Brands for DIY
Not all gel polishes are created equal! Here are some favorites for home use:
Beetles Gel Polish
Super affordable and comes in tons of colors. Great for beginners because it’s forgiving and easy to work with. Around $7-10 per bottle.
Modelones Gel Polish
Another budget-friendly option that performs well. Good color selection and it cures nicely under LED lamps.
OPI GelColor
Professional salon quality for home use. More expensive ($12-15 per bottle) but the quality and color payoff are excellent.
Gellen Gel Polish
Mid-range price with great quality. Easy application and long-lasting results.
Makartt Gel Polish
Affordable and reliable. Their base and top coats are especially good.
Start with a few colors you love, then build your collection over time!
Troubleshooting Common Gel Nail Problems
Problem: Gel is peeling or lifting
Usually caused by poor prep (oily nails), not capping the free edge, or getting gel on skin. Make sure to prep thoroughly and apply carefully.
Problem: Gel is sticky after curing
Some gels leave an inhibition layer that’s meant to be wiped off. Use cleanser and a lint-free wipe. If it’s still goopy, you under-cured it—cure longer next time.
Problem: Gel is wrinkling or not smoothing
This happens when coats are too thick or you didn’t cure long enough between coats. Always use thin layers and proper cure times.
Problem: Color is streaky or patchy
Usually means your coats are too thin or the polish needs mixing. Roll the bottle to mix, and add a second or third thin coat.
Problem: Gel is yellowing
Cheaper base coats or too much sun exposure can cause yellowing. Invest in a good base coat and use UV-protective top coat if you’re in the sun a lot.
Problem: Nails feel weak after removal
You probably peeled off the gel or soaked too long. Give your nails a break, use strengthening treatments, and moisturize constantly. They’ll recover!
Gel Nail Safety Tips
Gel nails are generally safe, but keep these things in mind:
UV Lamp Concerns
UV lamps use UV light (like tanning beds) which can age hands over time. LED lamps are a better choice—they work faster and don’t emit UV-A rays. If you use UV lamps, consider applying sunscreen to your hands first.
Acetone Drying
Acetone is harsh and drying. Always moisturize after removal and consider using acetone with added conditioners.
Don’t Ignore Pain
If your nails hurt during application or curing, something’s wrong. Stop immediately! Burning sensations can mean the gel is too thick or you have damaged nails.
Allergy Alert
Some people develop allergies to gel polish ingredients. If you get redness, itching, or swelling around your nails, stop using gel and see a dermatologist.
Give Your Nails Breaks
Don’t wear gel constantly forever. Every few months, take a break and let your natural nails breathe for a week or two.
Money You’ll Save with DIY Gel Nails
Let’s do some fun math! Here’s what you’ll save:
Salon Gel Manicure:
- $40 average per visit
- Every 2-3 weeks
- About $480-$960 per year
DIY Gel Nails at Home:
- $80 for starter kit (one-time)
- $10-15 per new polish color
- About $120-$200 per year after initial investment
You could save $300-$700 per year! That’s vacation money, new clothes, or literally whatever you want. Plus, you can do your nails anytime without appointments or waiting.
Building Your Perfect Gel Nail Kit
Start small and build your collection over time. Here’s a smart approach:
Month 1: Get the Essentials
LED lamp, base coat, top coat, and 3-5 colors you’ll wear all the time (think nudes, reds, and one fun color).
Month 2: Add Tools
Nail art brushes, dotting tools, and striping tape for simple designs.
Month 3: Get Creative
Add glitter polishes, chrome powder, or stamping kit.
Month 4 and Beyond: Collect Colors
Add seasonal colors, trendy shades, and specialty finishes as you discover what you love.
You don’t need everything at once! Building slowly means you’ll actually use what you buy.
When to See a Professional Instead
DIY is great, but sometimes professionals are worth it:
Go to a Salon If:
- You want gel extensions or sculpted nails (requires professional training)
- You have nail damage or infections
- You want super complex nail art you can’t do yourself
- It’s for a major event like your wedding (less stress!)
- Your natural nails have issues that need professional assessment
There’s no shame in going to salons! Many people do their regular manicures at home but treat themselves to professional services for special occasions.
Wrapping Up Your DIY Gel Nail Journey
Congratulations! You now know 22 different ways to do gel nails at home, plus all the tips and tricks to make them look professional. Whether you start with simple solid colors or jump right into chrome and glitter, you’re ready to create gorgeous nails that last for weeks.
Remember, everyone’s first few attempts are a learning experience. If your first gel manicure isn’t perfect, that’s totally normal! You’ll get better and faster with practice. Soon you’ll be doing gel nails like a pro without even thinking about it.
The best part about DIY gel nails? You’re saving money, having fun, and creating something beautiful with your own hands. Plus, you get to experiment with colors and designs whenever inspiration strikes—no appointments needed!
Which of these 22 DIY gel nail ideas are you most excited to try first? Start with something simple to build your confidence, then work your way up to more complex designs. Before you know it, your friends will be asking you to do their nails too!
Happy gel-ing, and here’s to beautiful, long-lasting nails without ever leaving your house!
