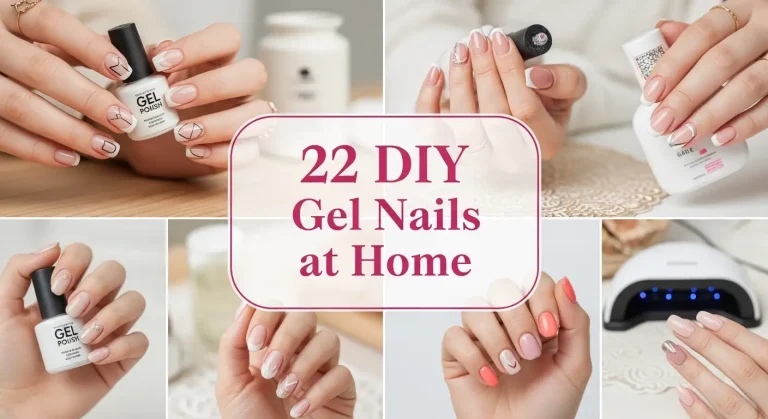
Pinstripe Nails for Beginners: Tools, Tips, and Common Mistakes
Pinstripe nails have a clean, graphic quality that looks effortlessly sophisticated whether you wear them on short rounded nails or long stilettos. The look involves thin lines—sometimes a single stripe, sometimes a series of parallel lines—painted across the nail in a contrasting or complementary color. The effect reads as intentional and polished, which is probably why it seems intimidating for beginners.
Here is the thing: pinstripe nails are actually one of the more forgiving nail art techniques once you have the right tools and understand a few fundamental principles. The difficulty is not in the execution but in the setup. Once you have the proper brush and know what to expect from it, clean stripes become achievable even on your first attempt.
The Tool That Changes Everything
The single most important thing about creating pinstripe nails is using a striping brush rather than a standard nail brush. A striping brush—sometimes called a liner brush or nail art liner—has an extremely long, thin head made of flexible synthetic or natural bristles that hold paint while releasing it in a controlled, even stream.
Standard brushes have short, dense heads designed to deposit a lot of product quickly. They create uneven lines when dragged across a nail surface because the pressure varies along the stroke. A striping brush is engineered to do the opposite: the long bristles act like a reservoir that maintains consistent product delivery from the start of the stroke to the finish.
Nail striping brushes are widely available online and at beauty supply stores for just a few dollars each. It is worth buying a few so you have backups and can try slightly different lengths. Some people prefer very long stripers for dramatic single lines while shorter ones give more control for multiple close stripes.
Choosing the Right Polish Consistency
The consistency of your nail polish or gel liner matters almost as much as the brush. Polish that is too thick will drag and create uneven lines with visible texture. Polish that is too thin runs quickly and bleeds outside intended boundaries.
For beginners, a gel nail liner or a specifically formulated striping polish is easier to work with than regular nail polish thinned with acetone. Gel liners stay workable longer because they do not begin to dry until you cure them, which gives you time to correct mistakes or reposition. Regular nail polish striping works too, but you have less margin for error as it begins to set relatively quickly.
If you are using regular nail polish, make sure the base coat underneath is fully dry—ideally for at least twenty minutes—before attempting to paint stripes on top. Rushing this step is one of the most common reasons stripes smear.
Basic Technique for Single-Stripe Pinstripes
Start by applying your base color and allowing it to dry completely. Load your striping brush by dipping just the tip into the polish rather than submerging the entire bristle head. Blot excess on the side of the bottle opening.
Position the brush at the base of the nail near the cuticle area where you want your stripe to begin. Rest the side of your hand against a steady surface—not your own finger, but a table or the edge of your non-dominant hand resting on the table—to give yourself a stable reference point. Using your whole hand rather than just your fingers to guide the stroke produces steadier lines.
Draw the brush from the cuticle to the free edge in one continuous motion without stopping mid-stroke. Speed matters here: moving too slowly gives the bristles time to wobble; moving at a confident, moderate pace keeps the line clean. Do not press down hard—light pressure is enough since the length of the bristles does the work.
Setting Up Parallel Stripes
If your design involves multiple parallel stripes, the key is establishing consistent spacing before you begin. One method is to use tape to mask off the areas between stripes, removing it while the polish is still wet. This produces perfectly even spacing but requires patience to apply and remove the tape without disturbing the other stripes.
A freehand approach is also workable for beginners: paint the first stripe, let it dry slightly, then use it as a visual reference to place the second stripe at an even distance. Eyeballing is not as precise as tape but feels more natural for most people, and small inconsistencies in spacing read as charming rather than sloppy at typical viewing distance.
Common Mistakes Beginners Make
Using Too Much Product
Loading the striping brush too heavily is the most common beginner error. An overloaded brush deposits a blob of polish at the starting point of the stroke and runs out before reaching the free edge. The result is a line that starts wide and tapers to nothing. Load lightly and reload frequently rather than trying to do an entire stripe on one dip.
Painting on an Uneven Base
Stripes look best on a smooth base coat. If your base color has visible ridges, brush marks, or is not fully level, those imperfections will show through the stripe and make the line look uneven. Two thin coats of base color leveled carefully produce a better surface than one thick coat.
Not Correcting Immediately
If a stripe goes wrong, do not try to fix it once it has started to dry. Either wipe the entire stripe cleanly with a brush dipped in acetone while it is still fresh, or remove the polish from that nail and start over. Attempting to touch up a semi-dry line almost always makes the problem more visible.
Skipping the Top Coat
Top coat is not optional for pinstripe nails. Without it, the thin stripe layer chips much faster than the base color beneath because it has far less surface area bonded to the nail. A careful top coat application—light pressure so as not to drag the stripe—seals everything and makes the look last significantly longer.
Building Confidence With Practice
Beginners often expect their first attempt to match the results they see in professional nail photos, and that expectation creates unnecessary frustration. The technical skill required for pinstripe nails improves dramatically with repetition. Practicing on a piece of paper, a fake nail tip, or even a flat phone screen cover gives you a chance to develop the hand pressure and speed that feel natural before working on actual nails.
Most people find that by their third or fourth attempt, the technique has clicked enough that the results look intentional and clean. Pinstripe nails are worth the small learning curve.